iPhone 12 Screen Refurbishment
Fixing the display panelexperiences a notably high success rate compared to other mobile device components. Utilizing specialized screen repair equipment and established procedures minimizes instances of unsuccessful display replacements while simultaneously accelerating the overall repair process.
The iPhone 12 series is recognized for incorporating an OLED display. This guide from REWA LAB will demonstrate current display panel restoration processes, using the iPhone 12 as a case study to showcase advanced equipment and methodologies currently employed.
Step 1 | Cosmetic Inspection
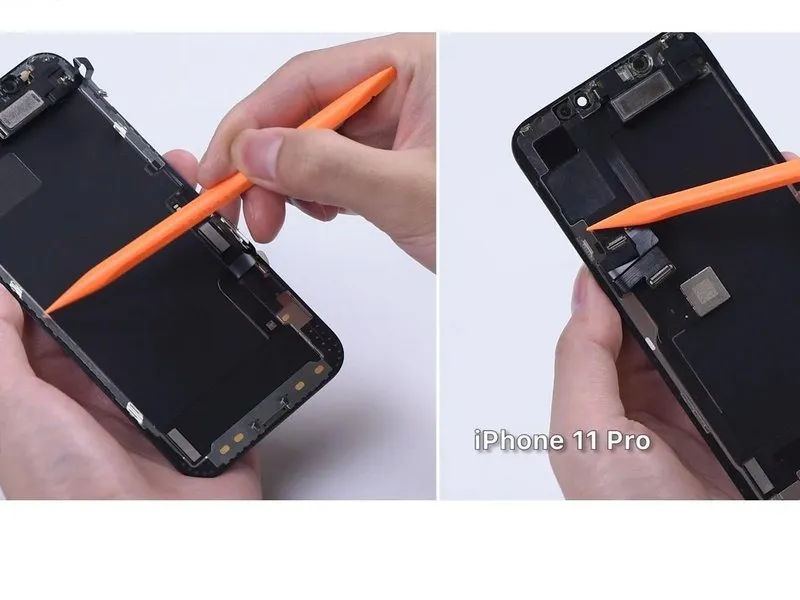
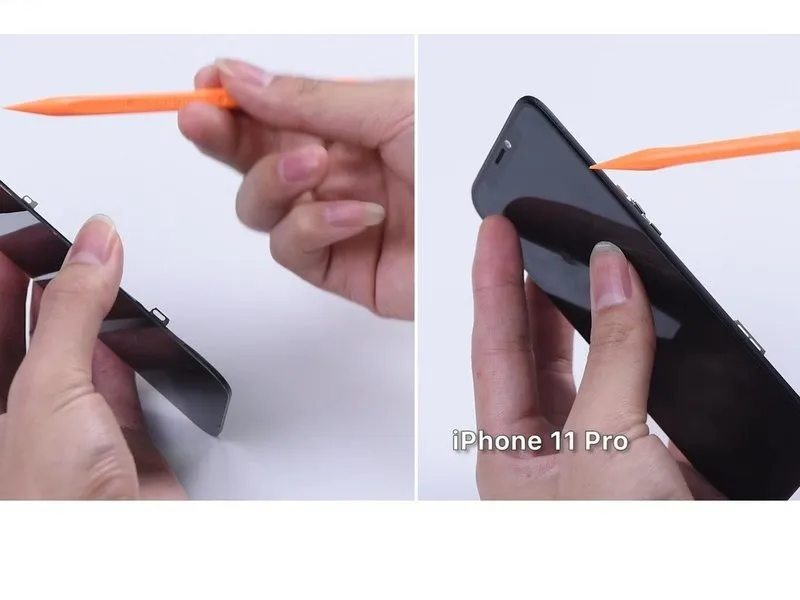
- Initially, perform a visual assessment of the display assembly.
- Observe that theiPhone 12 exhibits a reduced border width compared to theiPhone 11 Pro,iPhone 12 border might be slightly simpler to take apart.
- Furthermore,iPhone 12 bezel no longer integrates with the glass lens, necessitating a robust adhesive to maintain its integrity and prevent separation.
- Subsequently, we will proceed with the refurbishment of theiPhone 12 display.
Step 2 | Screen Testing
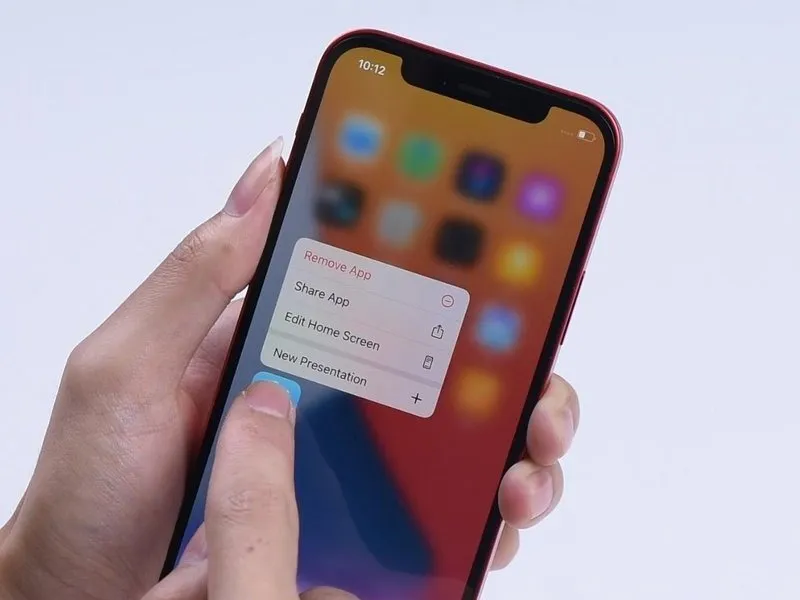
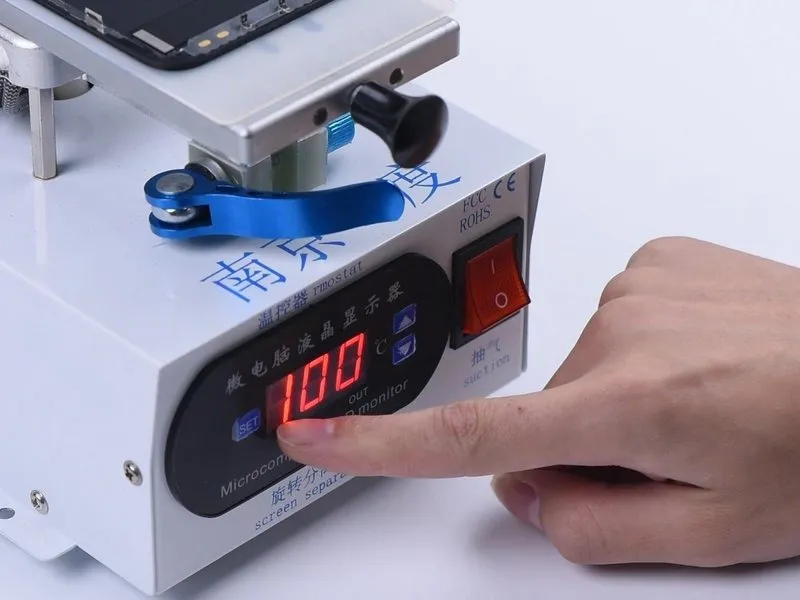
- Initially, verify the screen's functionality, confirming proper operation of the display, touch input, and 3D Touch capabilities.
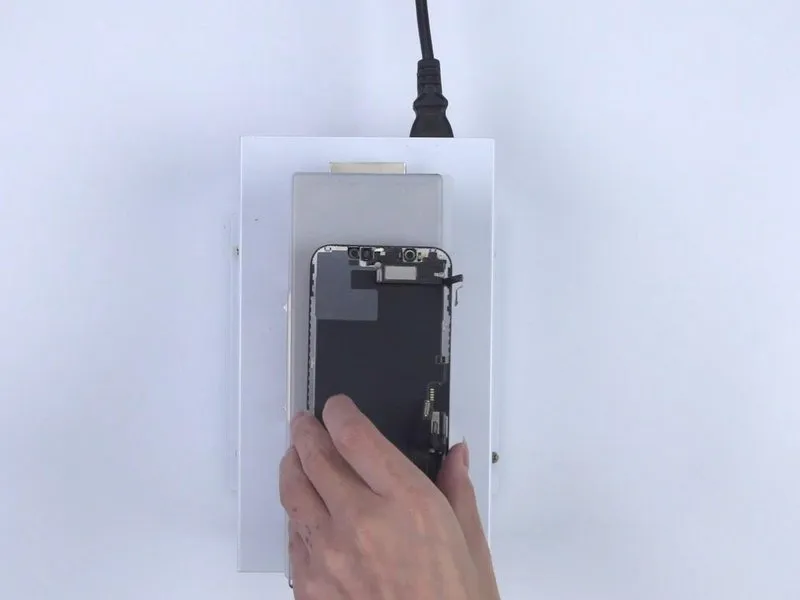
- Position the screen with the back facing down onto the Screen Separator, adjust the heating to a temperature of 100 °C, and initiate the vacuum process.
Step 3 | Bezel Removing
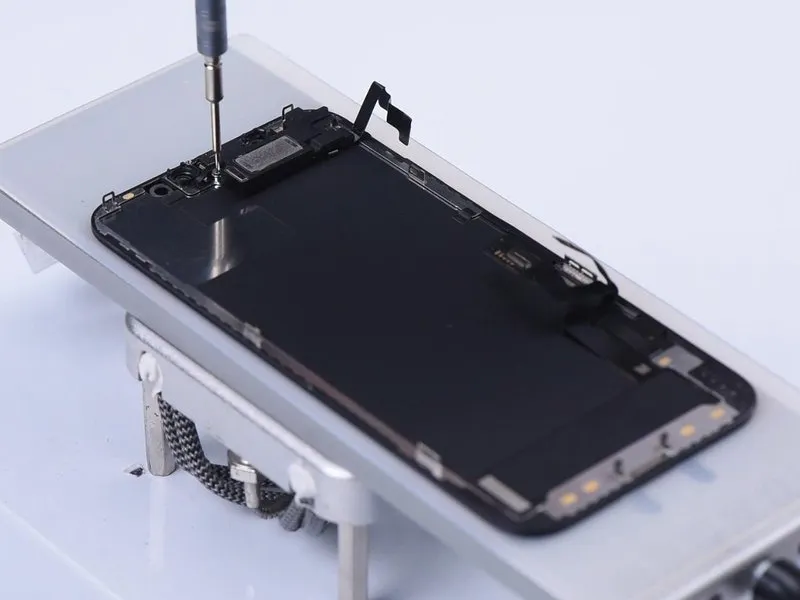
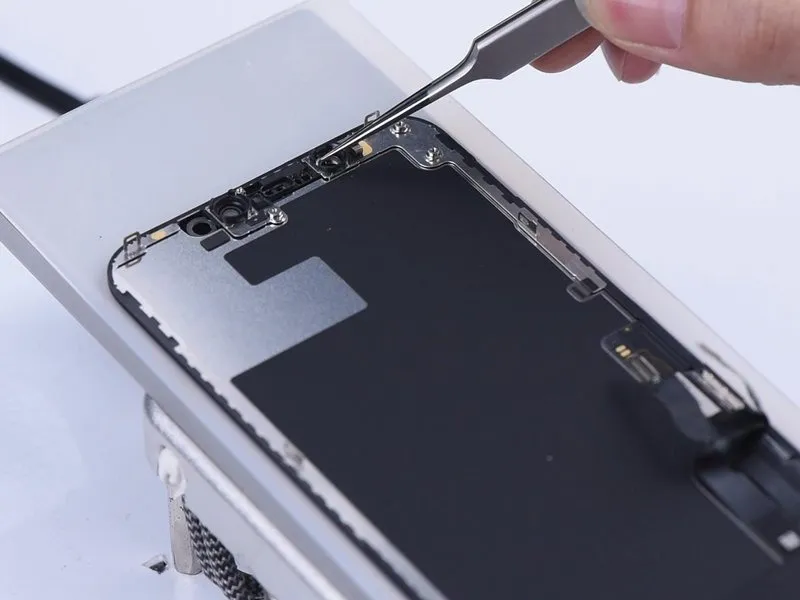
- Begin by disconnecting the ear speaker flex cable, exercising caution as this component is susceptible to damage; pre-heating the display is essential to facilitate its removal.
- Furthermore,the iPhone 12 incorporates the ear speaker sensor ring as an integral part of the bezel.
Step 4 | Bezel Removing
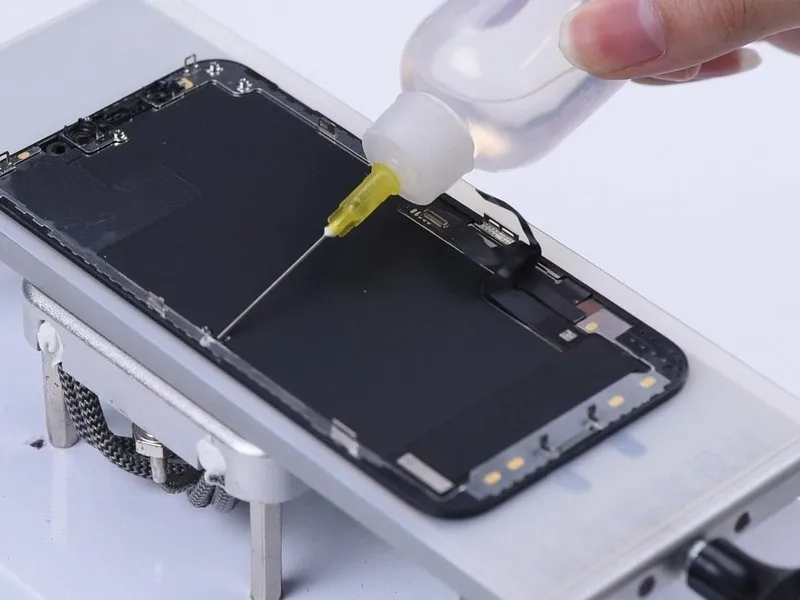
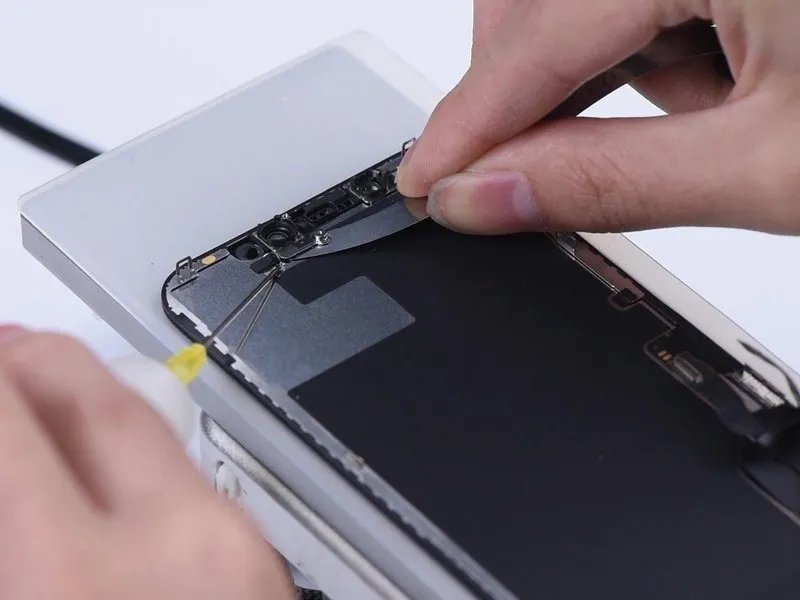
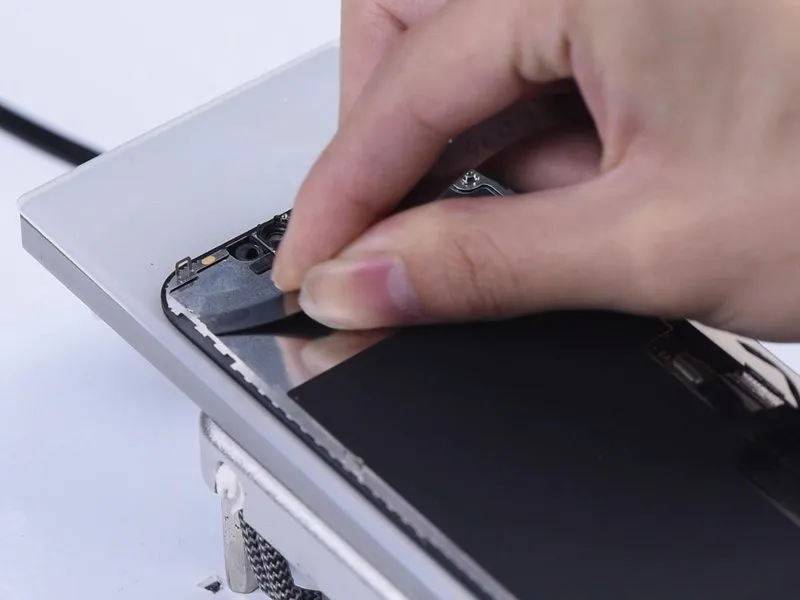
- To proceed, we will now detach the bezel; initially, apply adhesive remover directly onto its surface.
- During the separation process with the Razor Blade it is also necessary to periodically reapply adhesive remover.
- Employ the Razor Blade in a sliding motion, alternating with gentle upward pressure to release the bezel.
Step 5 | Bezel Removing
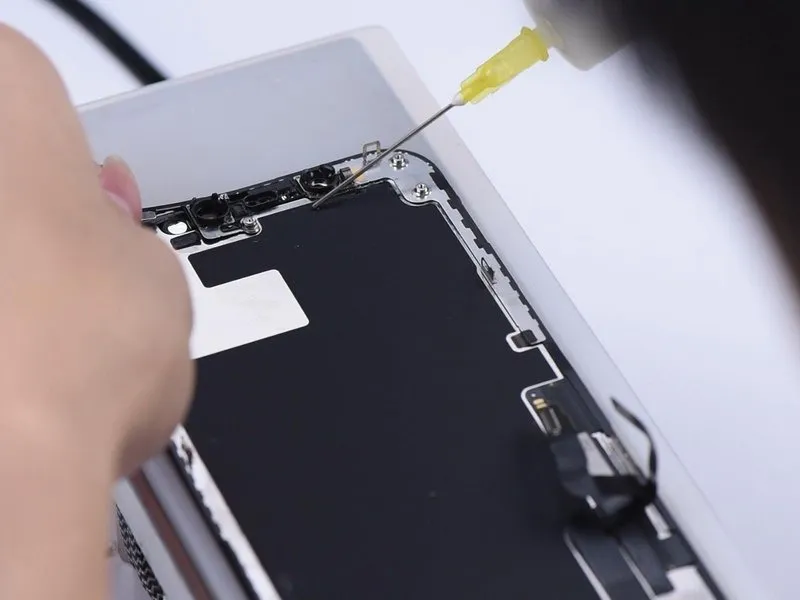
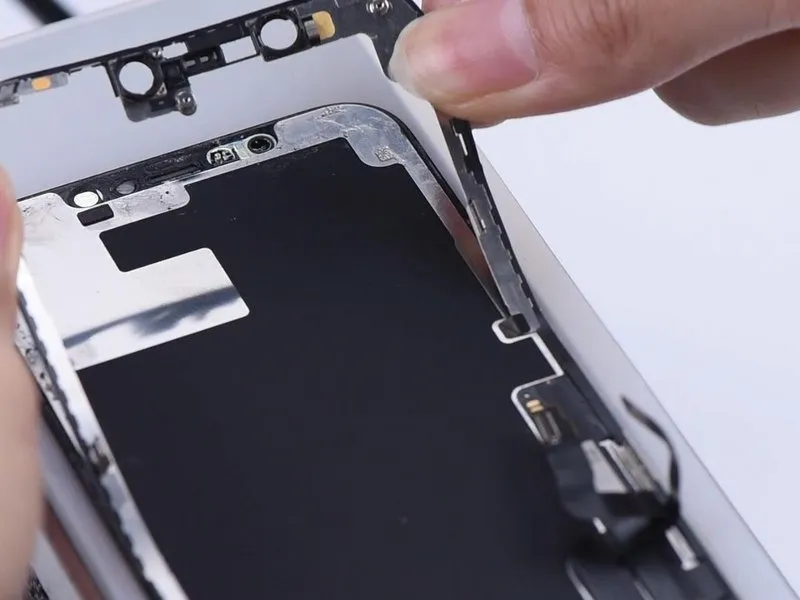
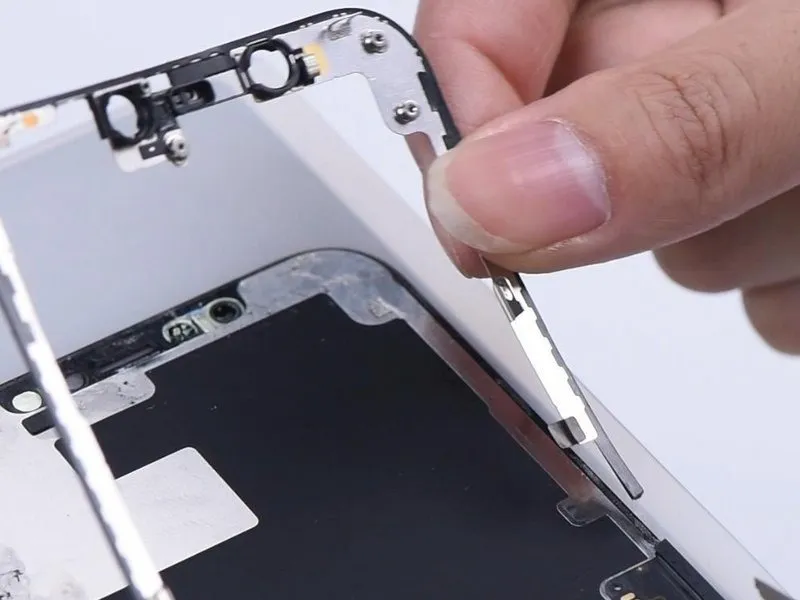
- Because the ear speaker flex cable incorporates a greater quantity of adhesive, applying a more generous amount of adhesive remover will facilitate its separation.
- Grasp the bezel's two corners firmly with your hands, and carefully release the bezel in a gradual motion.
- Initially, the plan involved a full detachment of the bezel for subsequent reuse.However, the bezel is currently damaged in this location; therefore, be aware that this bezel section is constructed from a fragile plastic material, rendering it highly susceptible to breakage. Should you desire a complete bezel separation, meticulous care is essential.
Step 6 | Bezel Removing
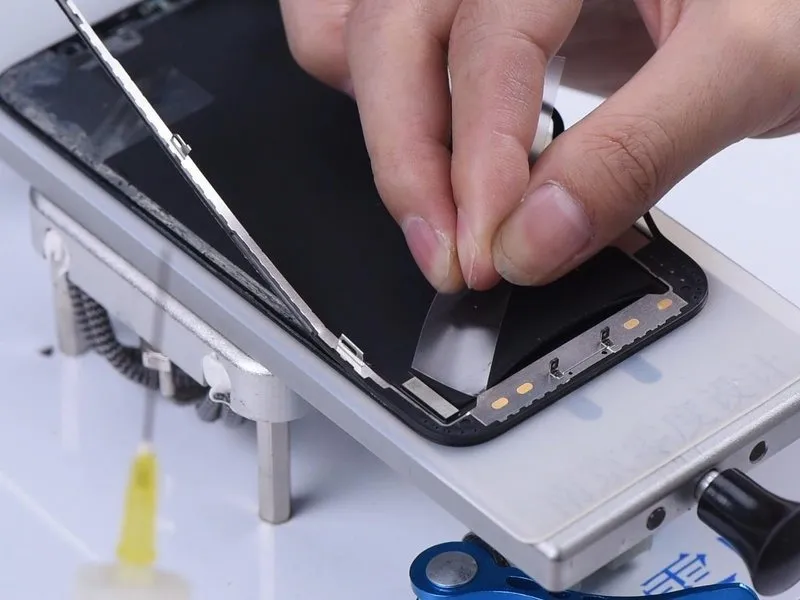
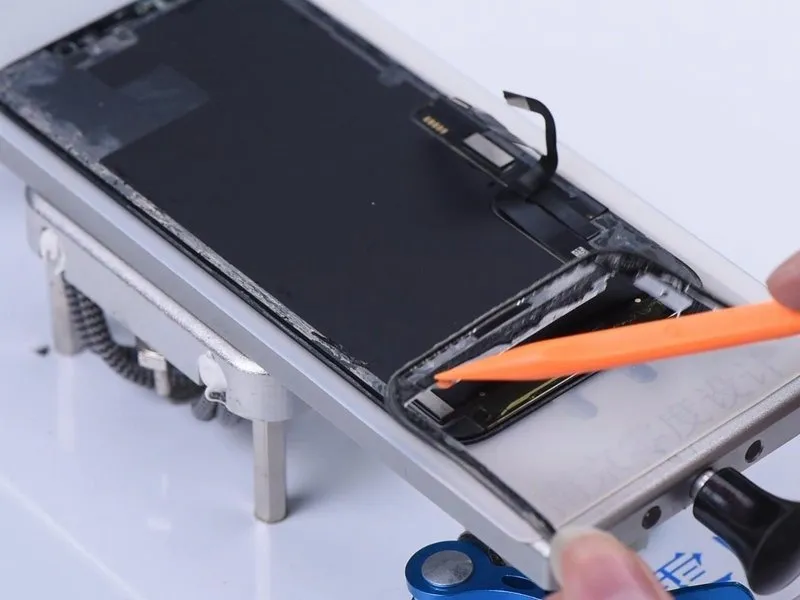
- To prevent potential harm to components, a delicate film is employed for the detachment of the flex cable assembly.
- Disassembly of the bezel reveals the presence of a3M adhesive which has lost its initial adhesive properties, indicating it is no longer a cold adhesive.This 3M adhesive facilitates relatively straightforward bezel removal.
Step 7 | Glass Lens Separating
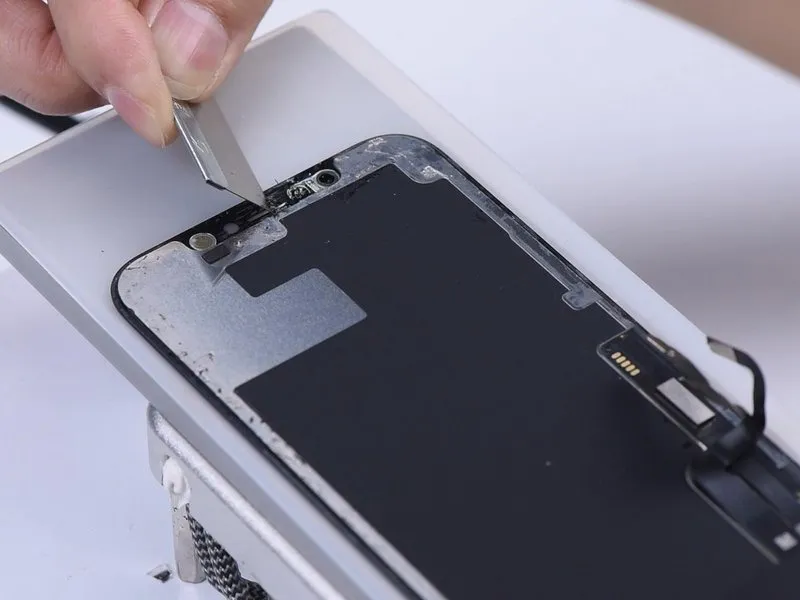
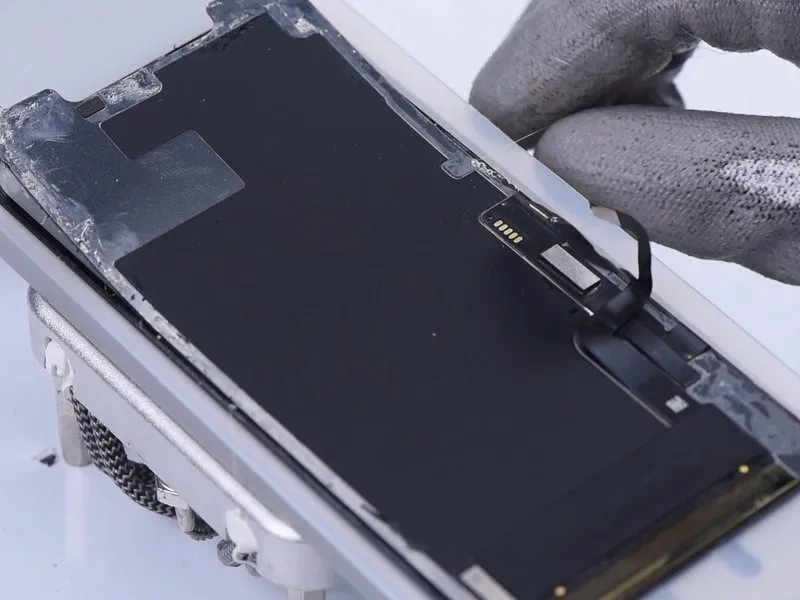
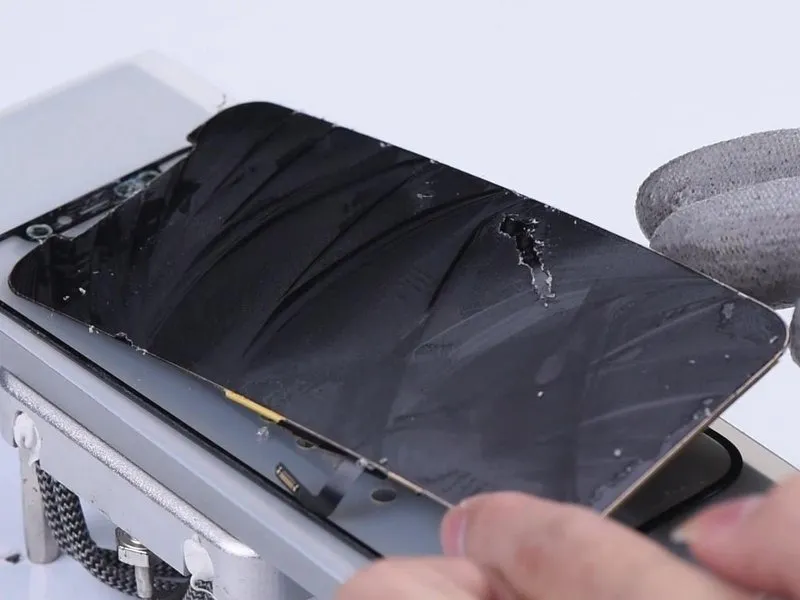
- Carefully eliminate any surplus adhesive residue from the ear speaker flex cable component.
- Initiate the separation of the OLED display from the lower section of the glass lens utilizing a Wire Cutting Procedure.
- Our analysis indicates that the iPhone 12's touch panel exhibits improved durability compared to the iPhone 11 Pro, demonstrating greater resistance to damage; specifically, the iPhone 12's touch panel possesses increased thickness and more distinct, wider cut lines.
Step 8 | OCA Adhesive Removing
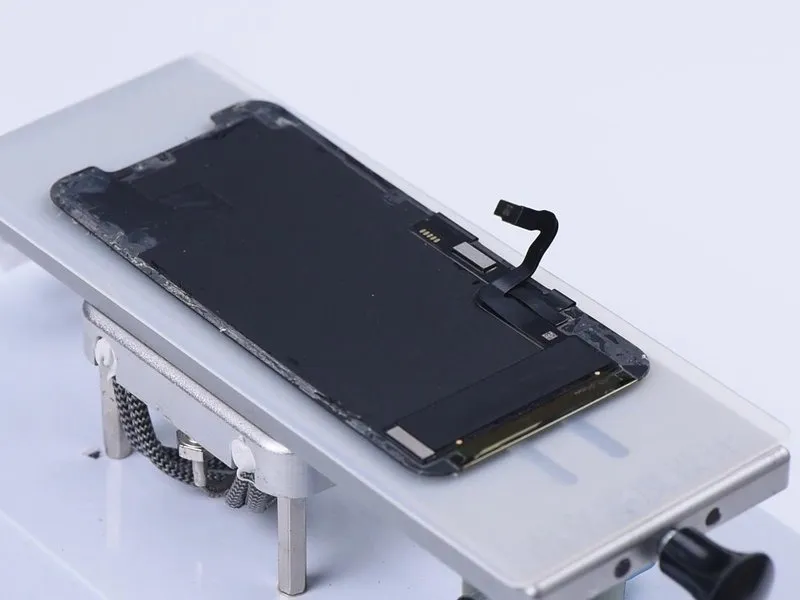
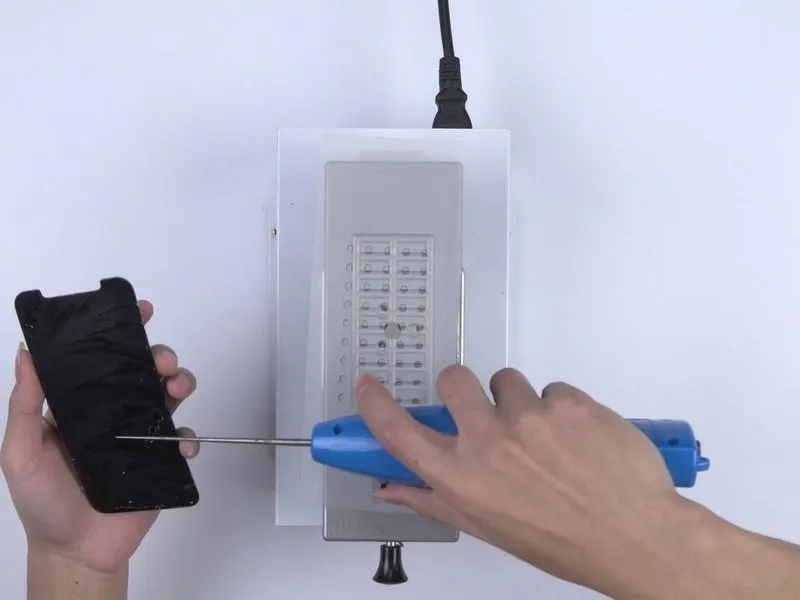
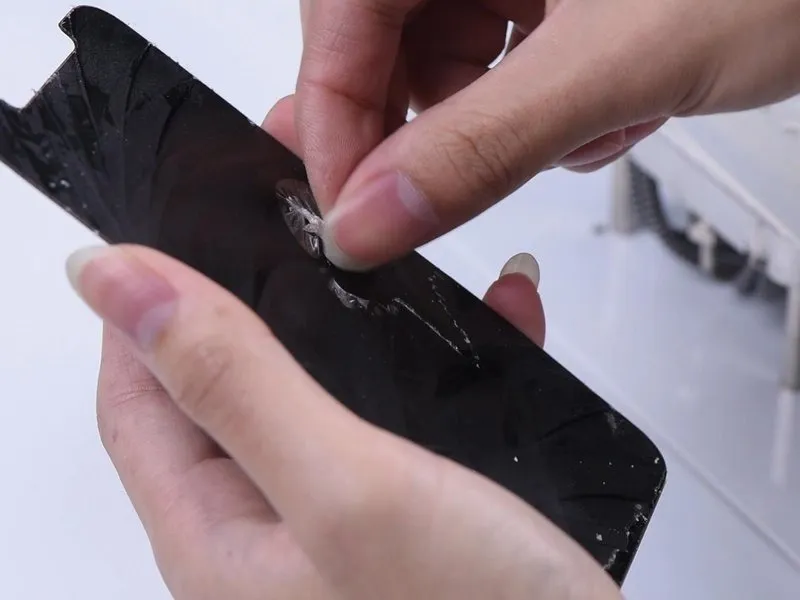
- Position the OLED display onto the designated heating surface.
- Utilize the Electric Adhesive Removing Tool to carefully wind up the OCA adhesive,Electric Adhesive Removing Tooland subsequently eliminate any residual OCA adhesive manually.
Step 9 | OCA Adhesive Removing
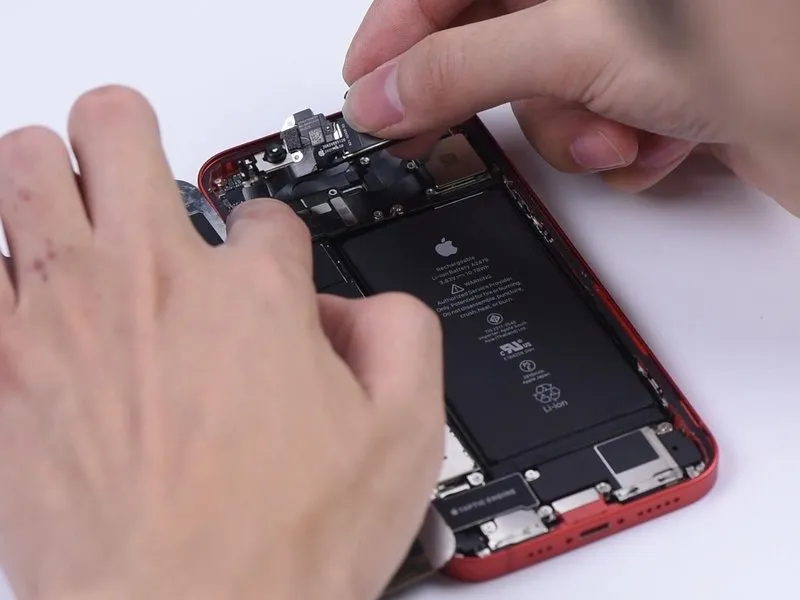
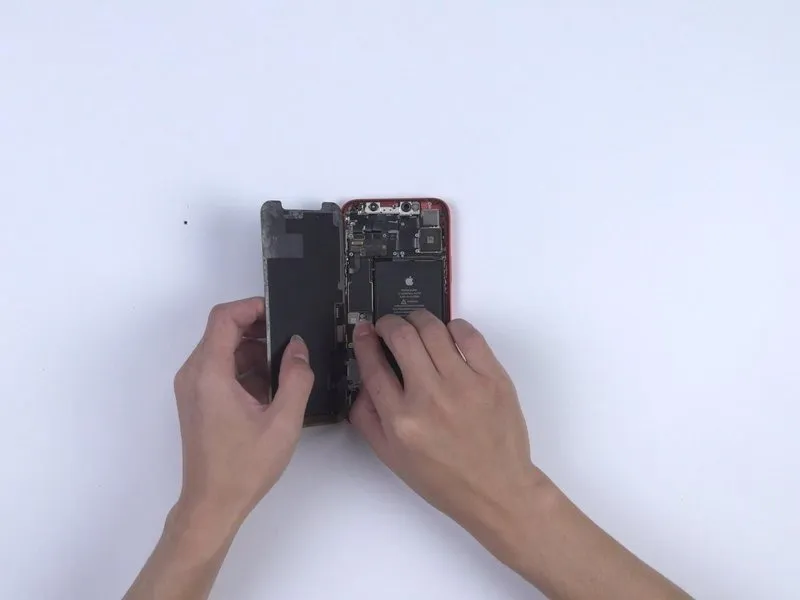
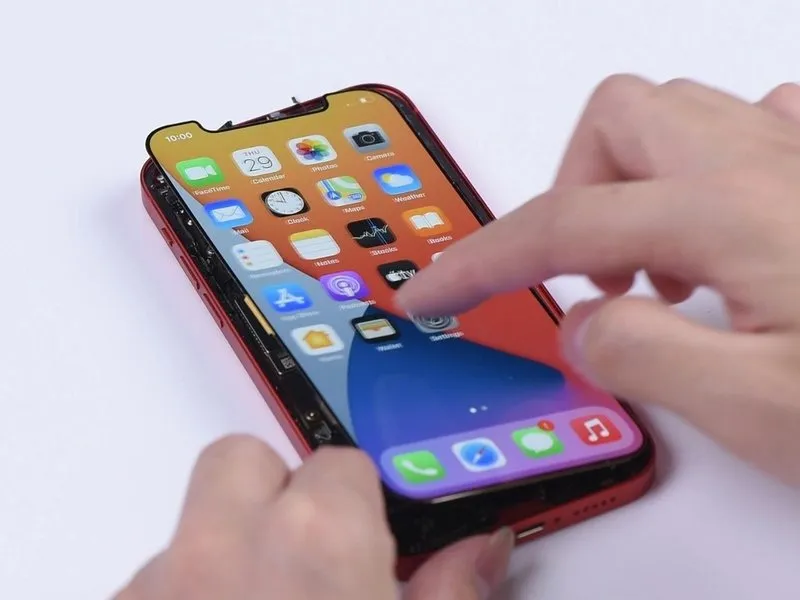
- Establish the connection between the OLED and ear speaker flexible circuit cables, confirming proper functionality of the display and touch capabilities.
- It's important to note that failure to attach the ear speaker flex cable will disable the ambient light sensor, resulting in an excessively dim screen unsuitable for testing.
Step 10 | Laminating
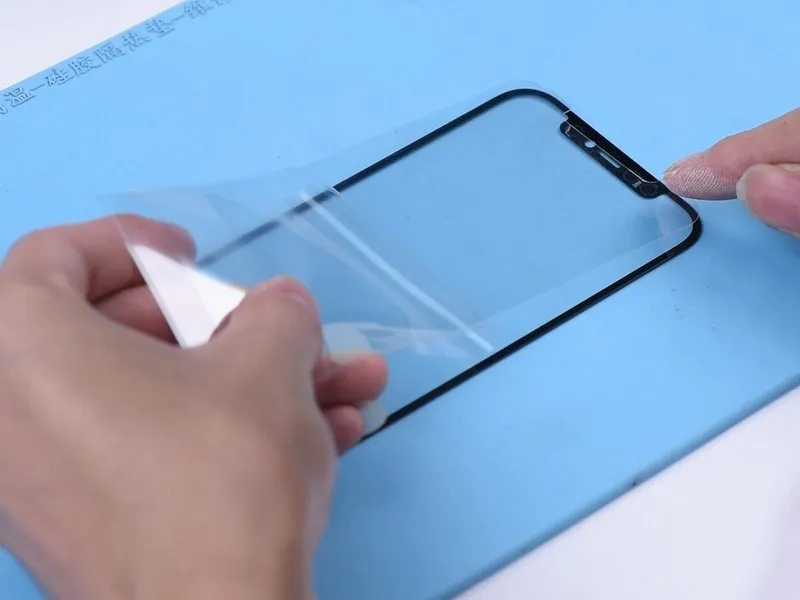
- Secure the OCA adhesive to the surface of the glass lens.
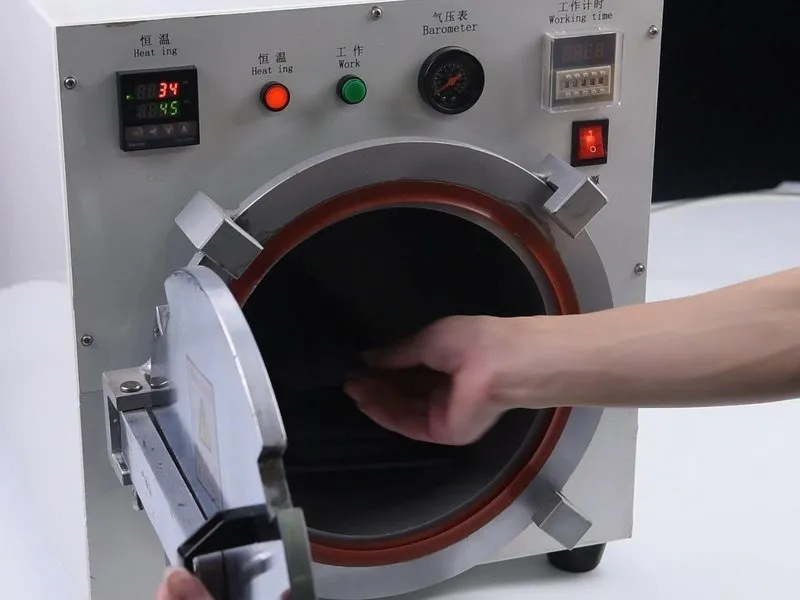
- Introduce the glass lens, already bonded with OCA adhesive, into the Bubble Removing Machine and operate it for a duration of3 minutes.
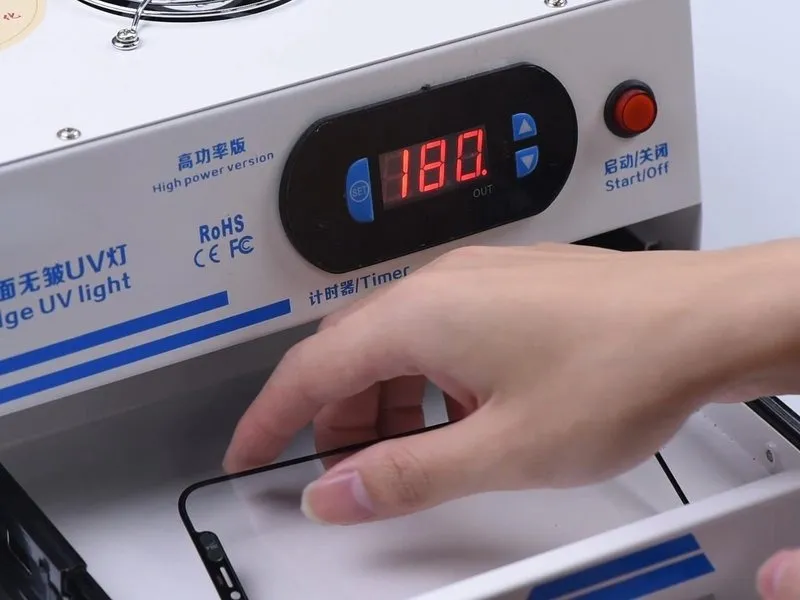
- Subsequently, place the assembly within the UV Lamp, designed for curing OCA adhesive, for a period of5 seconds.
Step 11 | Laminating
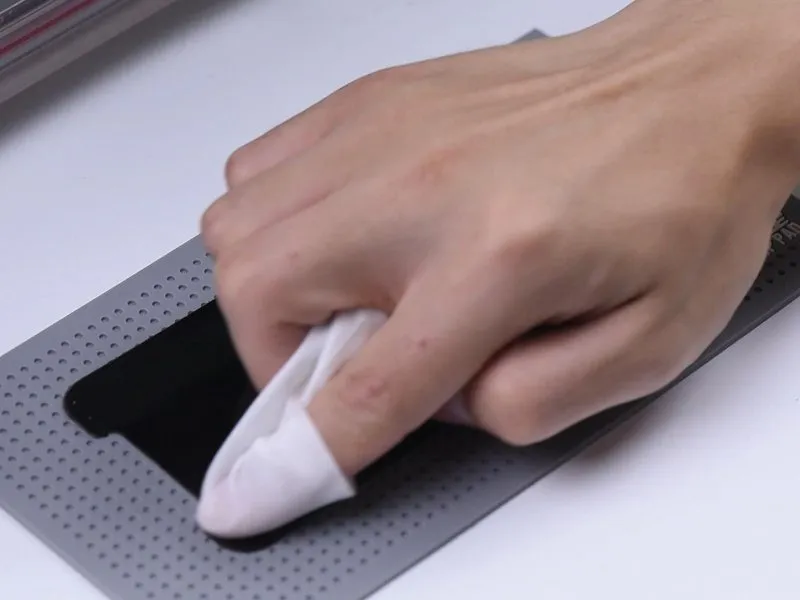
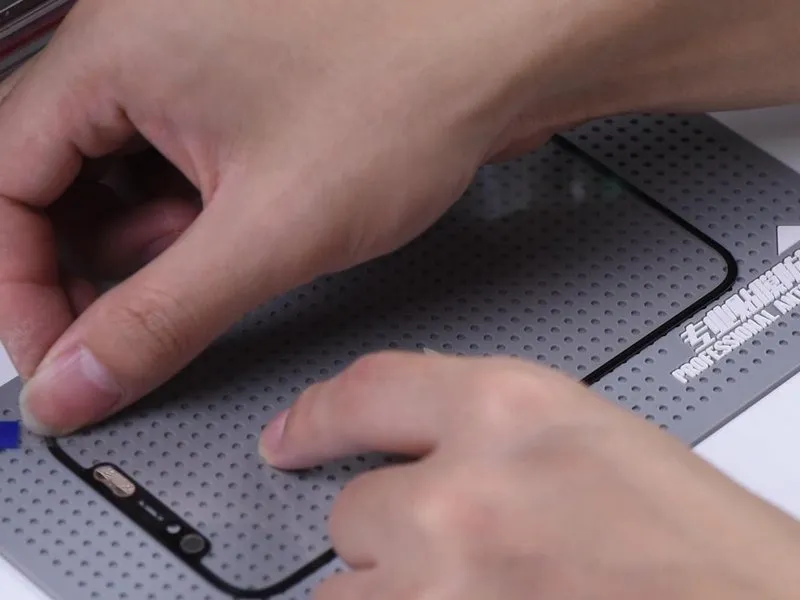
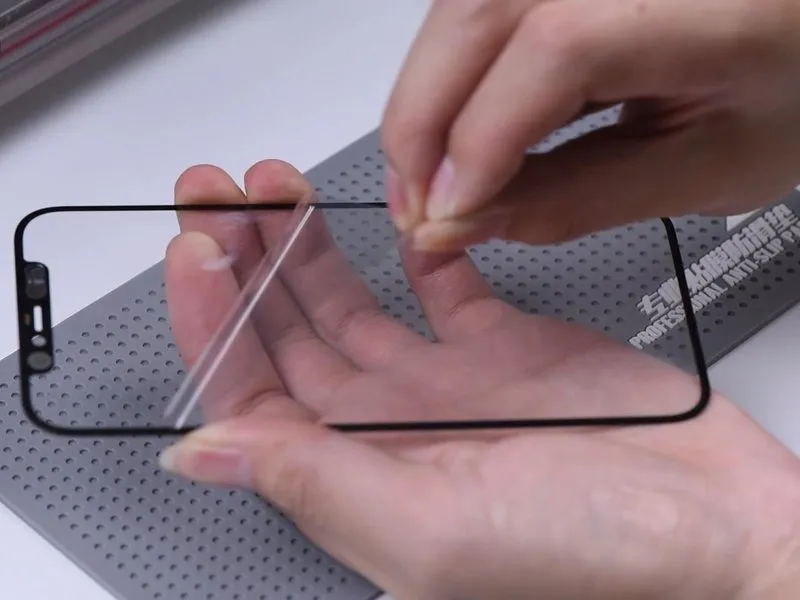
- Thoroughly cleanse the OLED screen's surface to remove any residue, and secure one edge of the glass lens using the provided pull tape.
- Apply firm, sustained pressure to the pull tape for a duration of several seconds before swiftly detaching the protective covering from the OCA adhesive.
Step 12 | Laminating
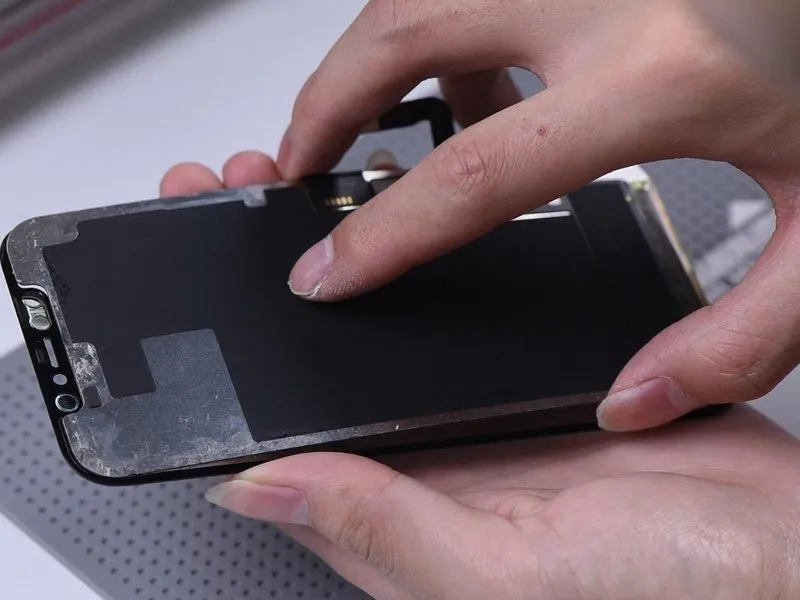
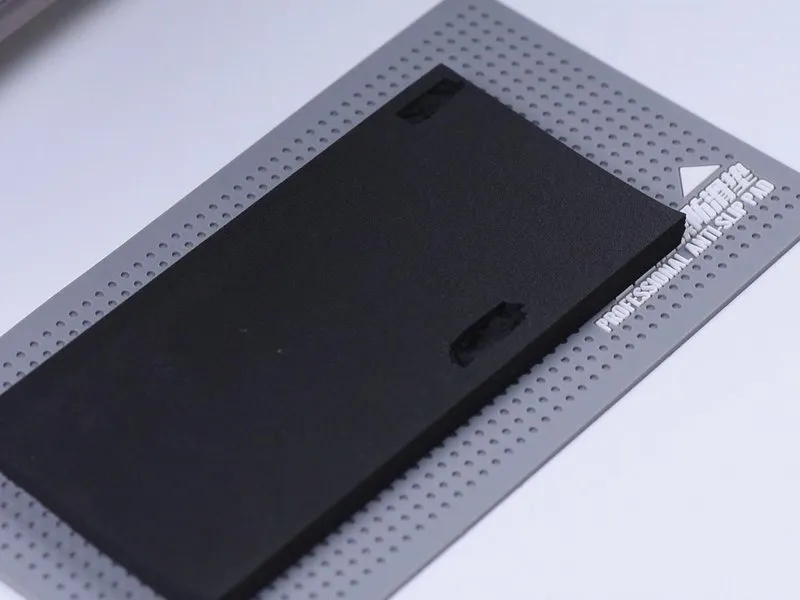
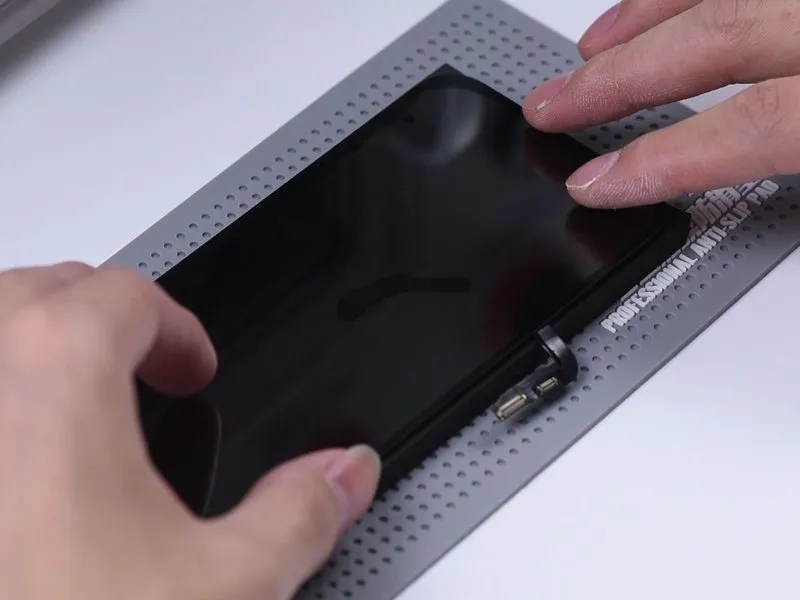
Due to the unavailability of a dedicated alignment fixture for the iPhone 12, precise screen positioning requires manual adjustment.
Following the alignment procedure, position the display assembly onto the laminating sponge, ensuring that the pre-cut slots within the sponge provide protection against potential damage to the OLED panel.
Step 13 | Laminating
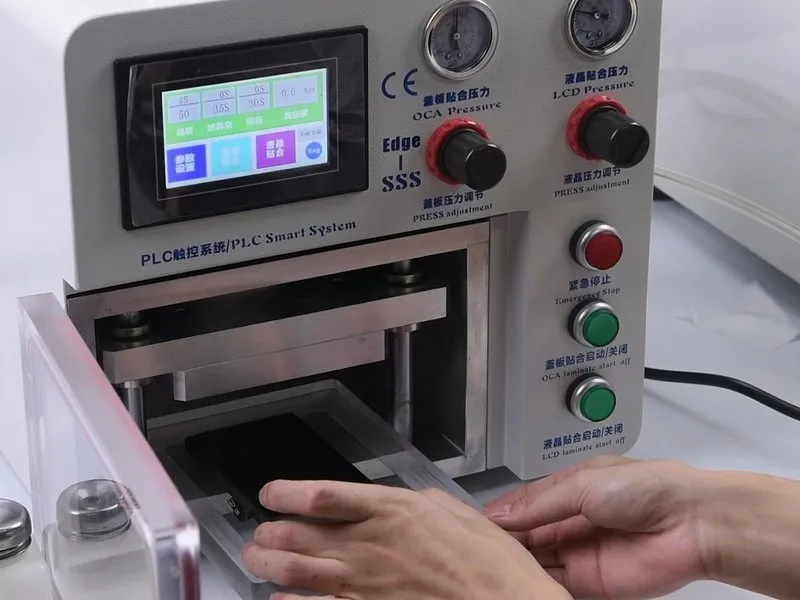
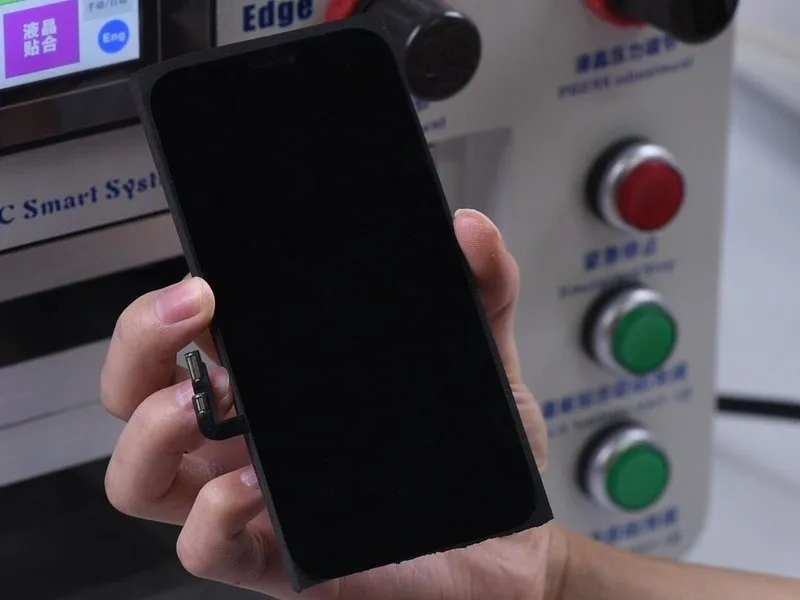
- Introduce the display panel into the laminating apparatus and initiate the process by selecting LCD laminate start.
- Following the procedure, retrieve the screen; observable air pockets will be present across the surface.
Step 14 | Laminating
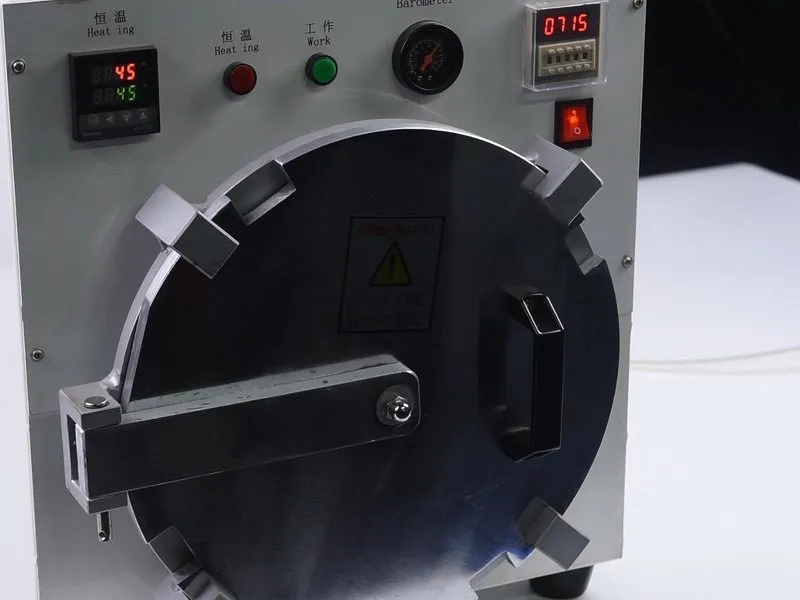
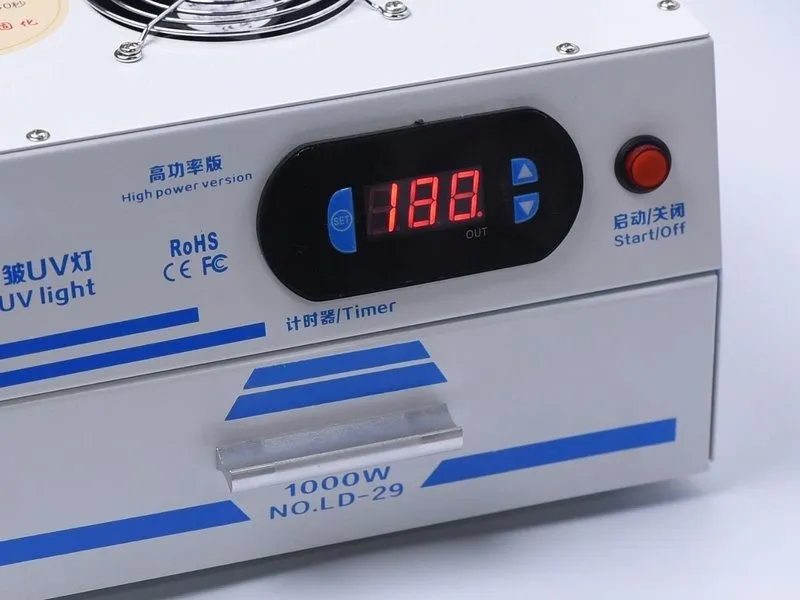
- To facilitate complete adhesion, reintroduce the display assembly into the Bubble Removing Machine for a duration of 10 minutes, subsequently exposing it to a UV Lamp for 180 seconds to cure the OCA adhesive.
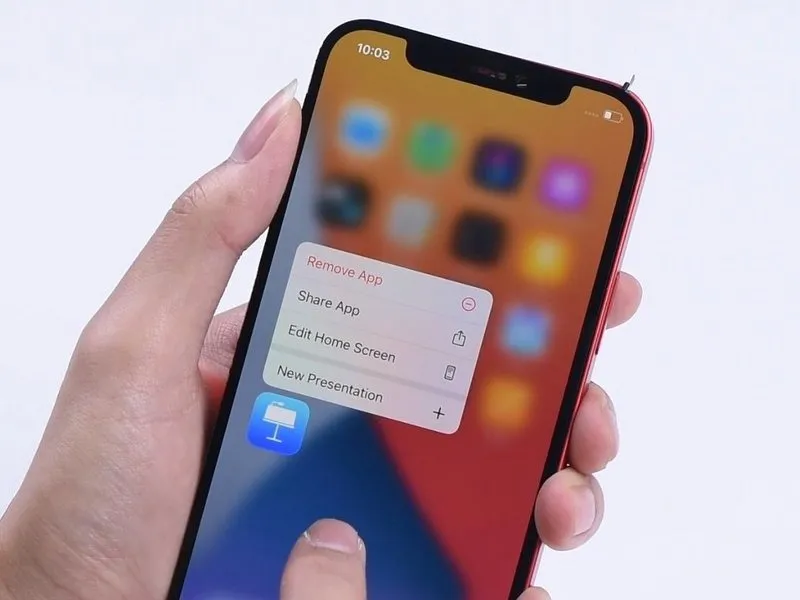
- Following the repair, reattach the restored display to the device and verify proper operation of all features.