How to Replace Your iPhone 16 Pro Rear Glass Adhesive
This document serves as instructions for applying adhesive and creating a secure seal for the rear glass, also known as the back panel, on your iPhone 16 Pro.To preserve your iPhone's ability to resist water and dust, substitute the adhesive following any repair or when the current seal degrades.The level of water resistance your iPhone possesses is directly tied to the precision with which the adhesive is applied.
Prior to commencing these instructions, confirm that all previous repair steps and reassembly of your iPhone 16 Pro have been completed, stopping just before the rear glass is installed.
- Should you have missed any prior steps, revisit the relevant repair guide and execute them.The visual representations included in this guide depict the Max variant of the iPhone; minor aesthetic differences may be present, but will not alter the repair process.Adhesive application is critical for maintaining the integrity of the device's environmental seals.
- Properly securing the rear glass is essential for preventing ingress of liquids and particulate matter.
Careful adherence to these instructions will help ensure a functional and protected iPhone 16 Pro.
Step 1 | Remove the leftover adhesive

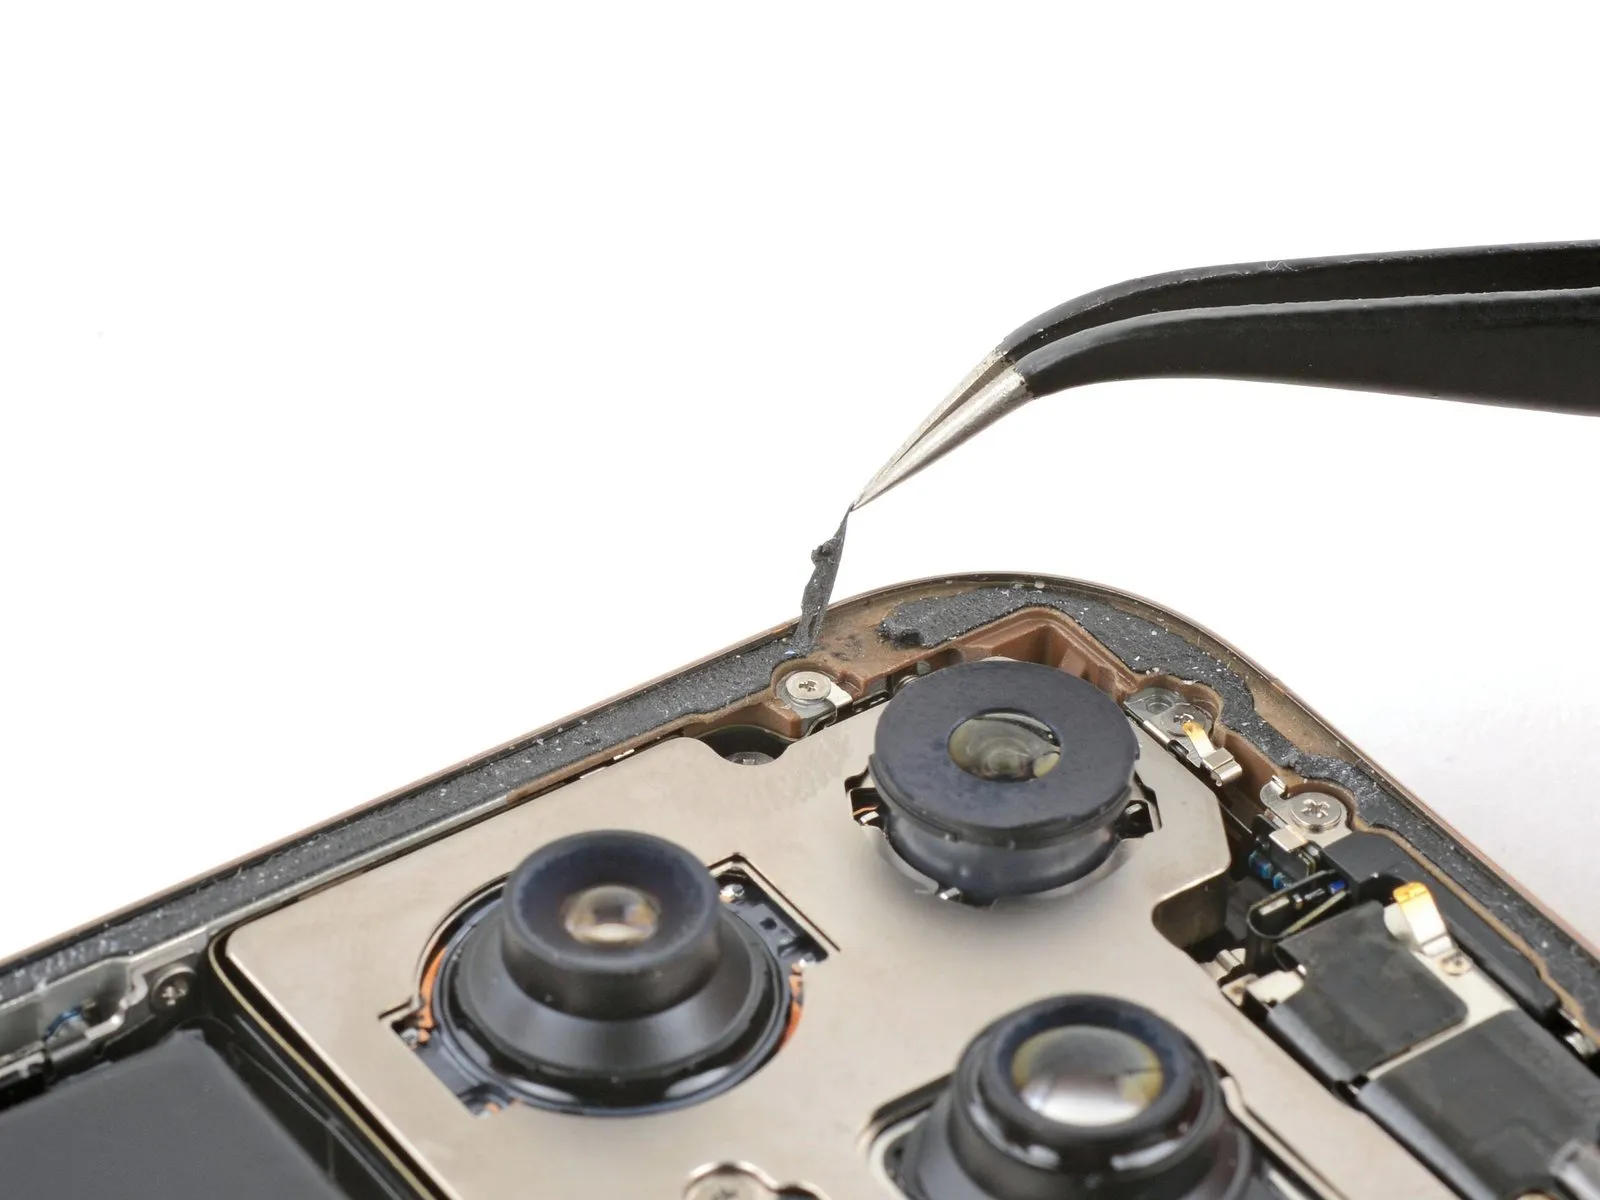

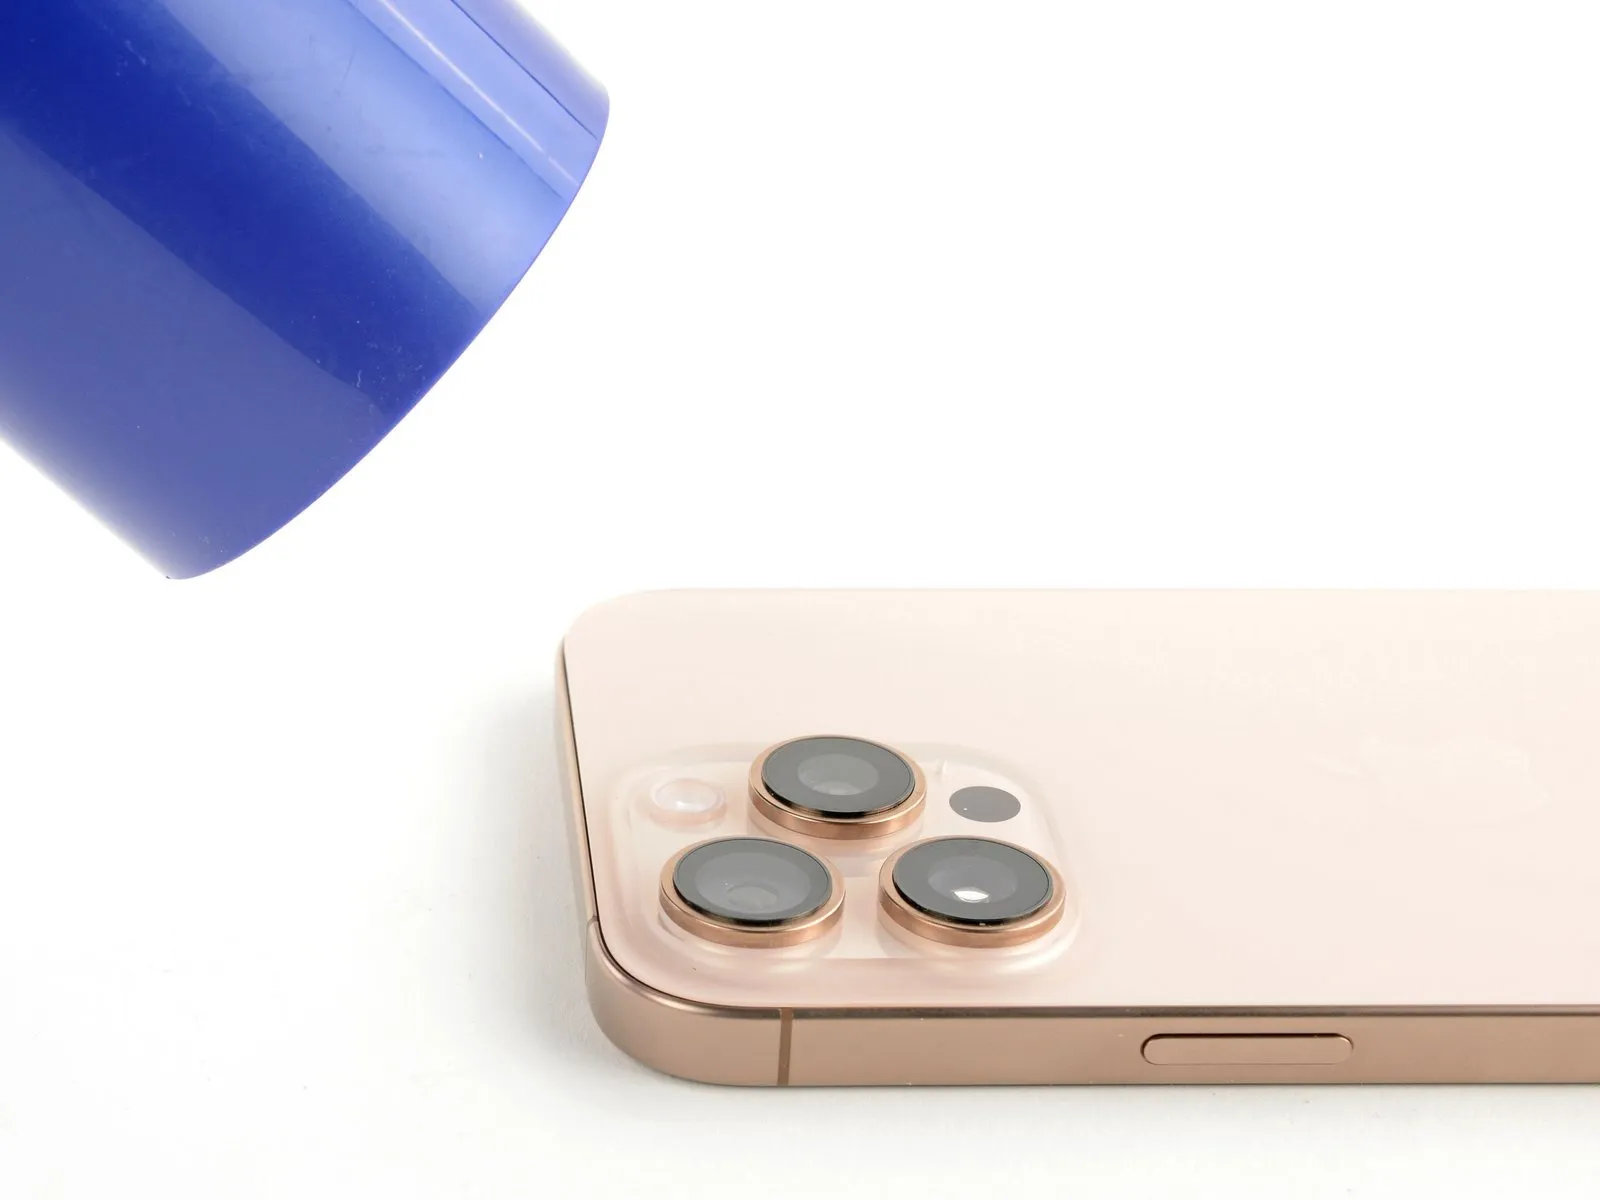
- Employing blunt-nosed tweezers or your fingertips, detach sizable portions of adhesive from the frame's outer edge.Utilize a spudger tool to meticulously remove any remaining adhesive residue adhering to the frame's surface.Should the adhesive prove resistant to removal, introduce warmth via a hair dryer or heat gun to facilitate its loosening.
- Following the application of heat, attempt to remove the adhesive again.Exercise caution when using a heat gun to avoid damaging surrounding components.Maintain a safe distance when using the heat gun, approximately 6 inches (15 cm).
- The hair dryer should be set to a low heat setting.Ensure adequate ventilation during the heating process.Adhesive removal requires patience and a delicate touch.Avoid excessive force to prevent further damage to the frame.Thoroughly inspect the frame after cleaning to ensure all adhesive residue has been eliminated.
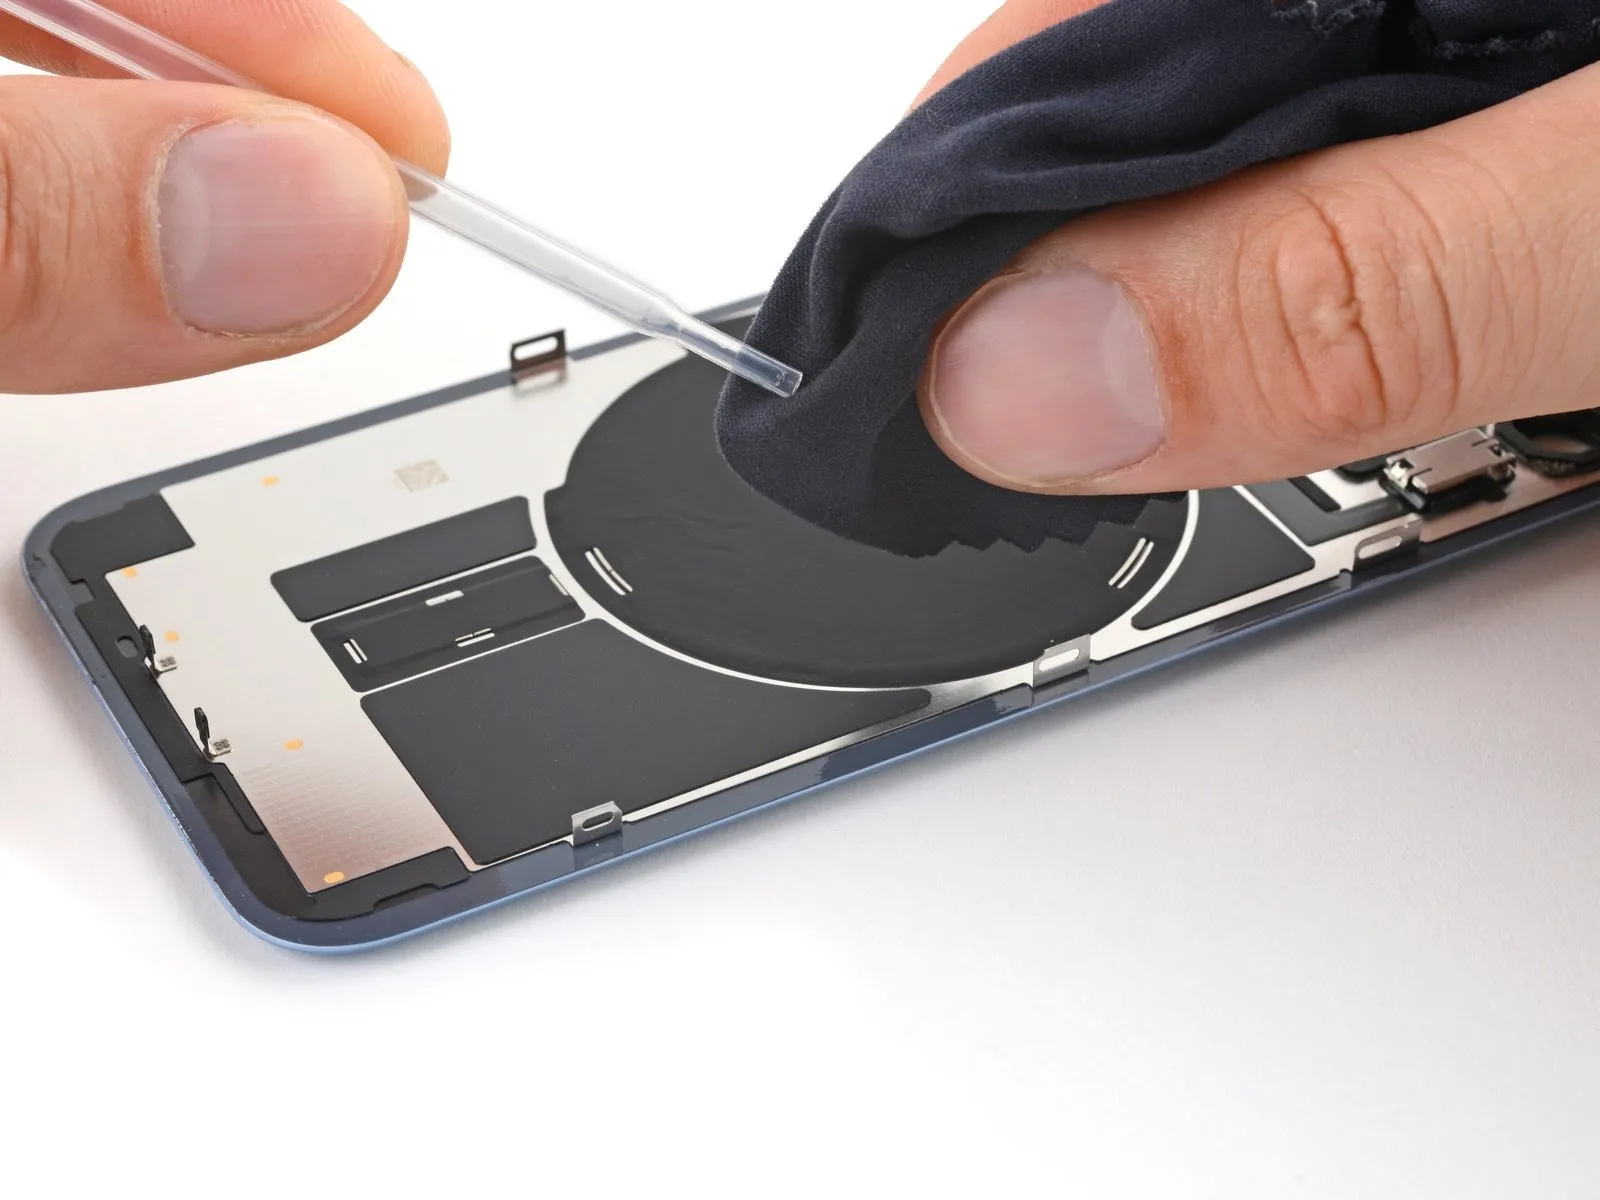
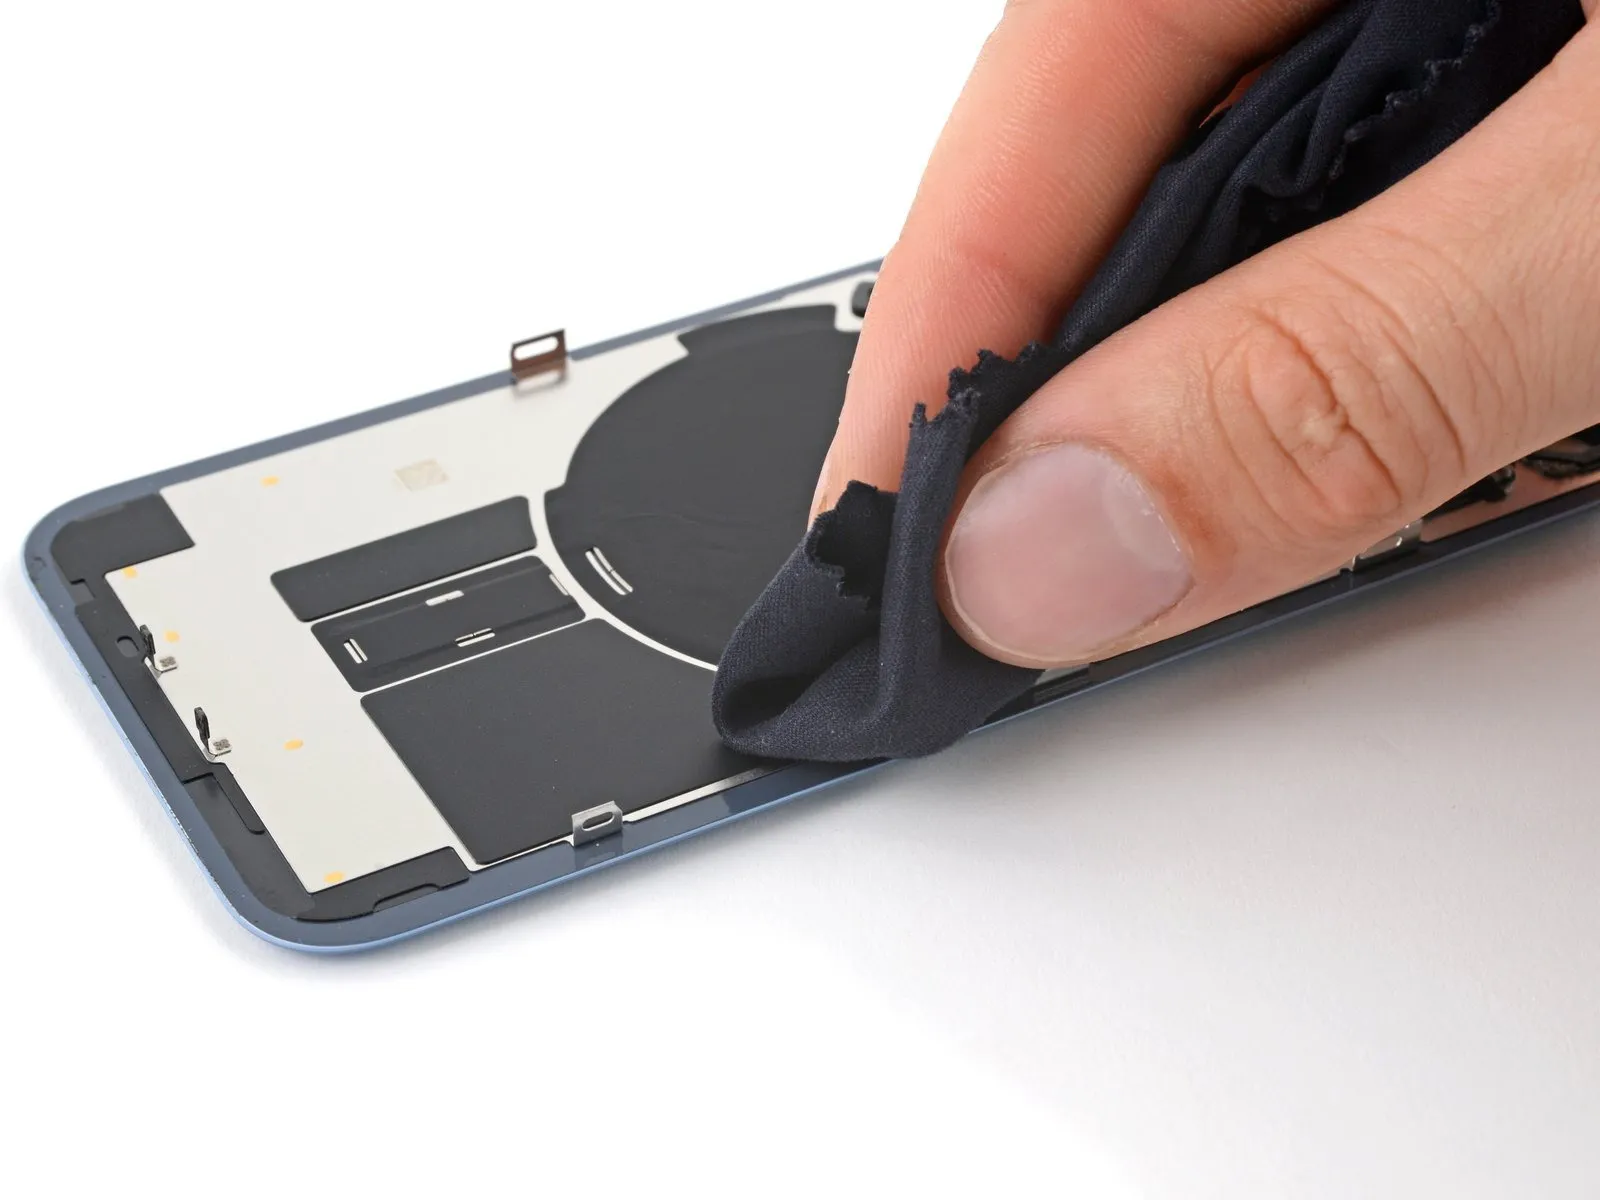
Step 2 | Clean the back glass
Step 3 | Clean the frame
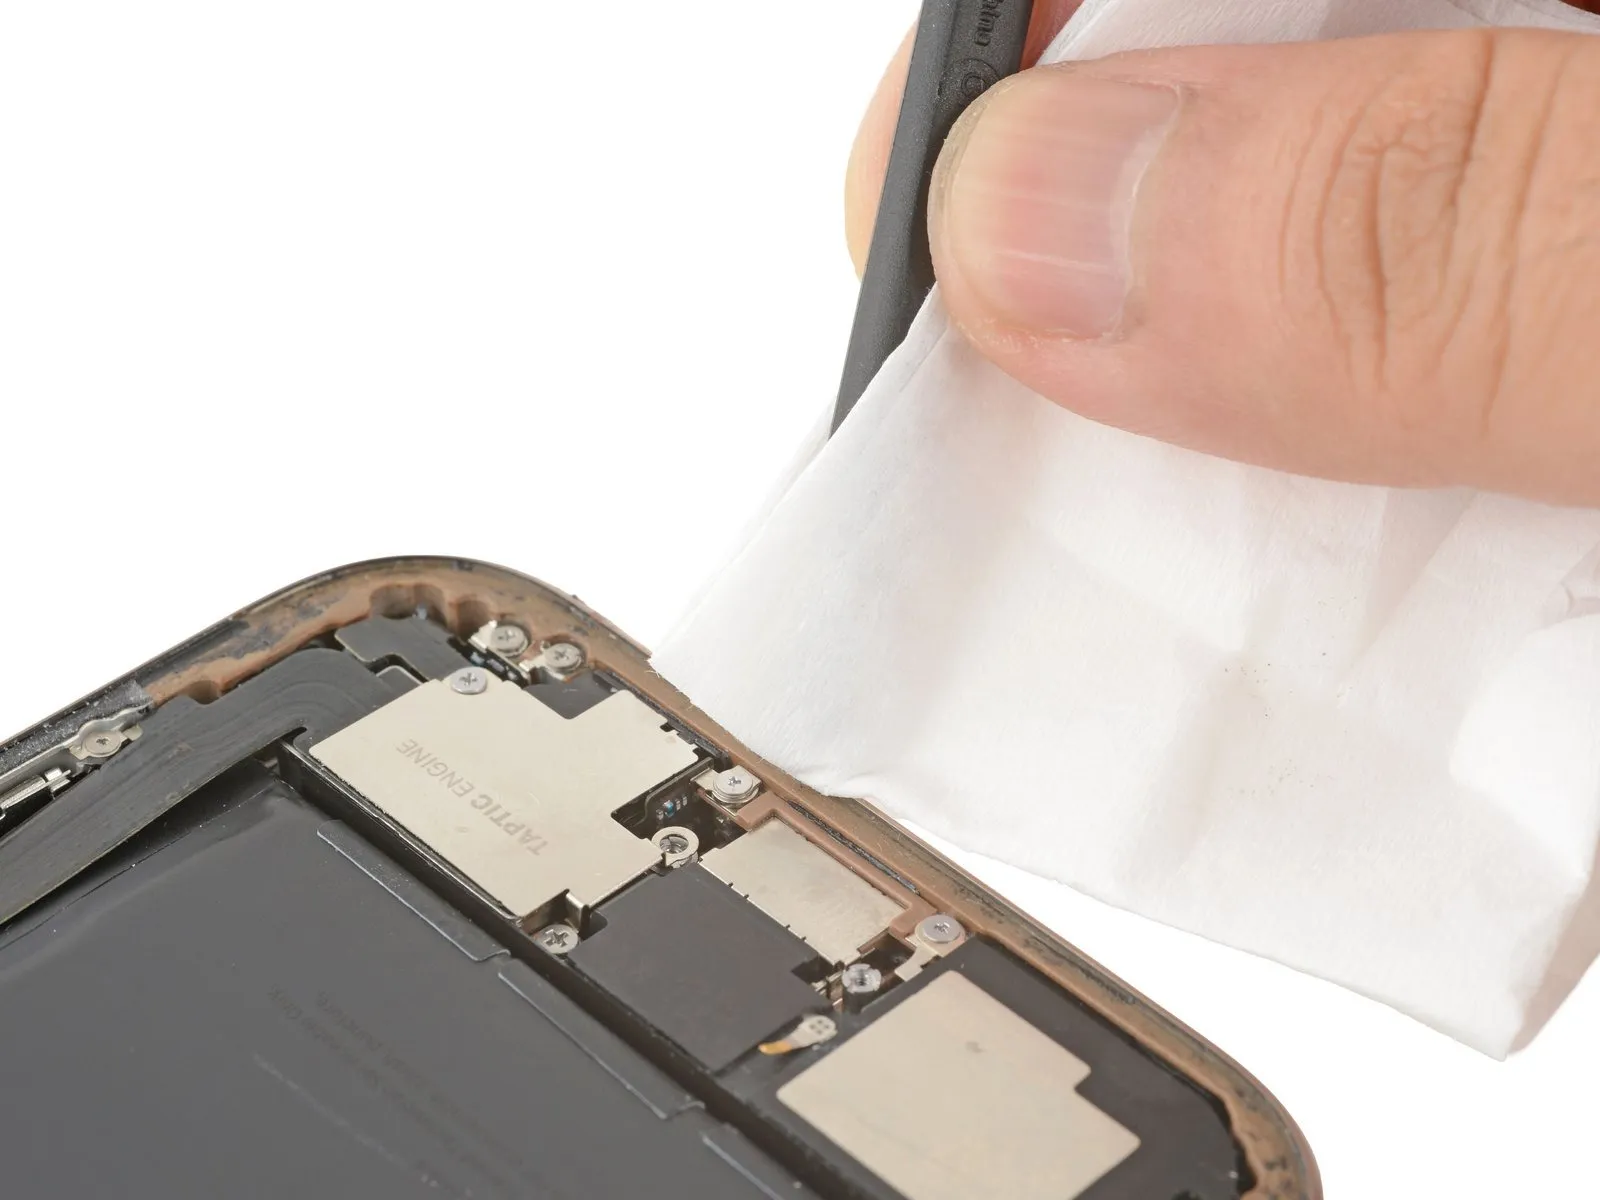
- Cover the tip of a spudger with a clean, non-abrasive cloth or a coffee filter.Dispense a small quantity of isopropyl alcohol with a concentration exceeding 90% onto the cloth covering the spudger's tip.Employ a single, consistent wiping motion along the frame's edge to remove any remaining adhesive.
- Execute this cleaning process deliberately to avoid rushing.
- Properly cleaning the frame's surface facilitates uniform adhesive application, which is crucial for a strong bond.
Step 4 | Apply the replacement adhesive

- Proper orientation is achieved by observing how the adhesive conforms to the frame's distinct characteristics.
Step 5
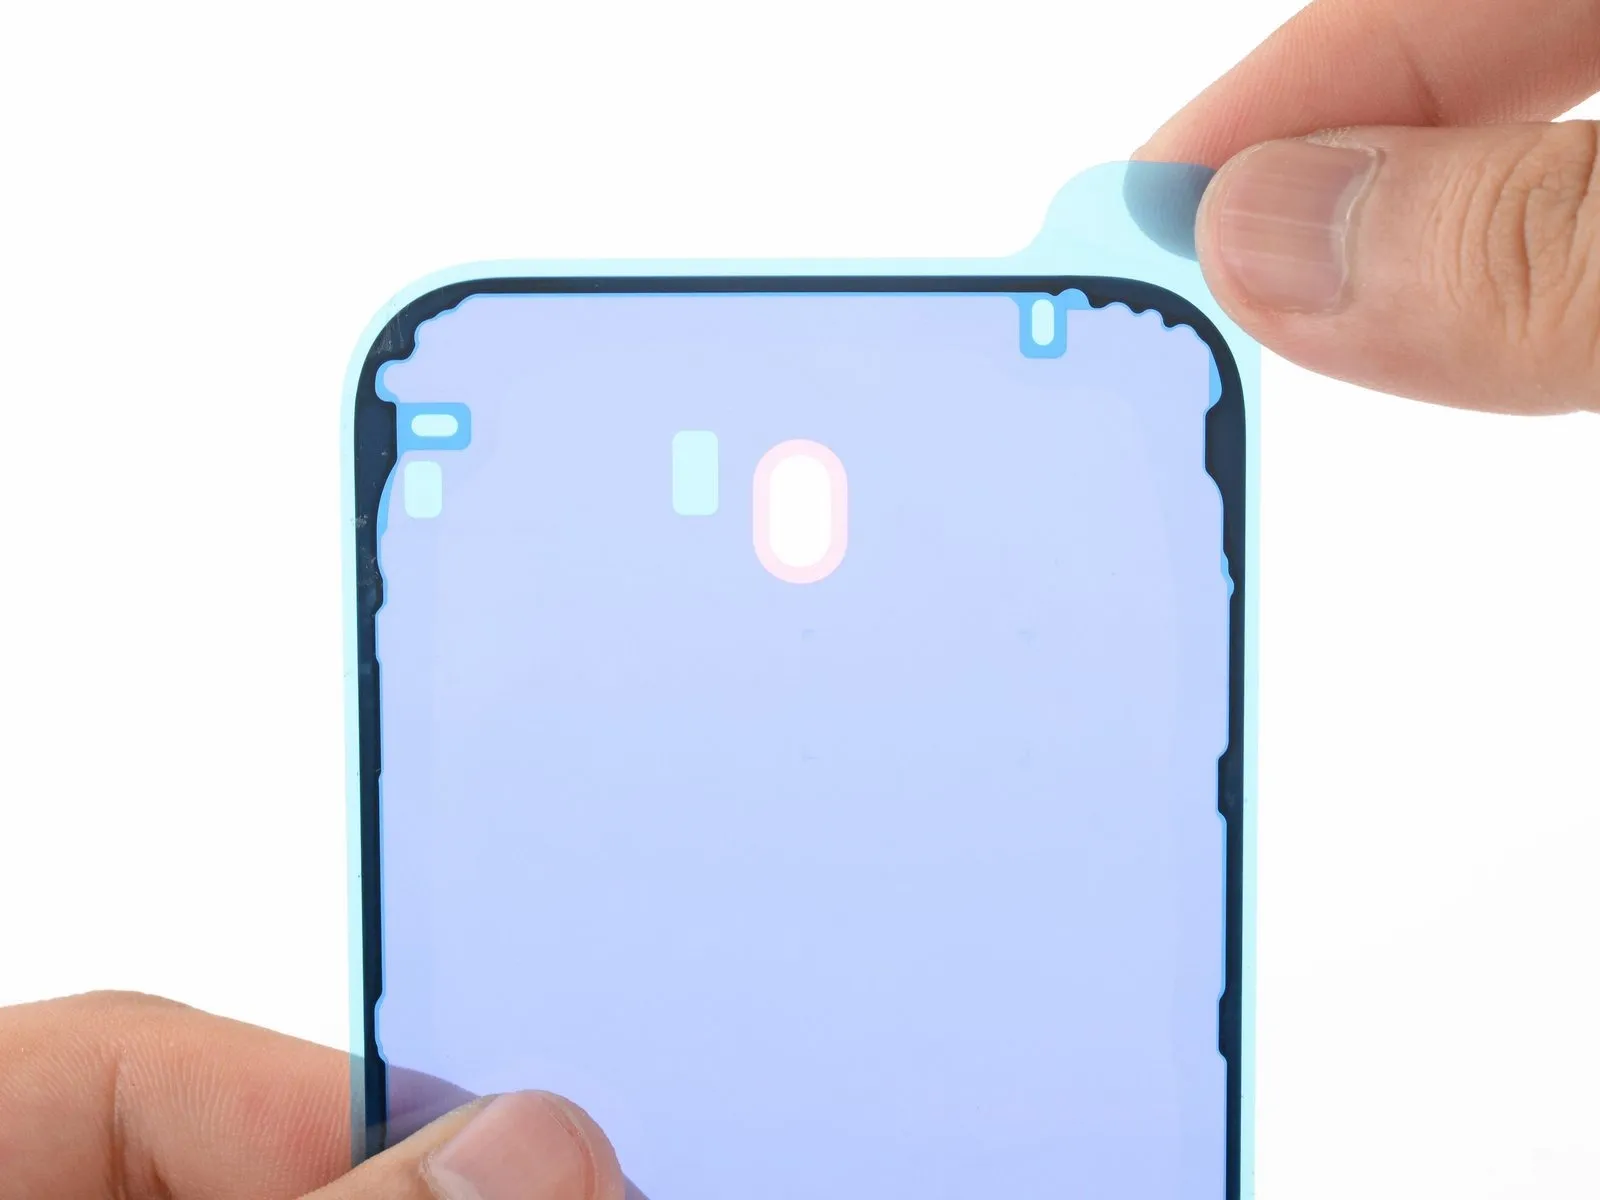
- Exercise caution, as the newly exposed adhesive possesses a high degree of tackiness; prevent unintended contact with surfaces until application to the frame is prepared.
- Should your adhesive contain several liners, remove only the liner layer that will adhere to the frame's surface.
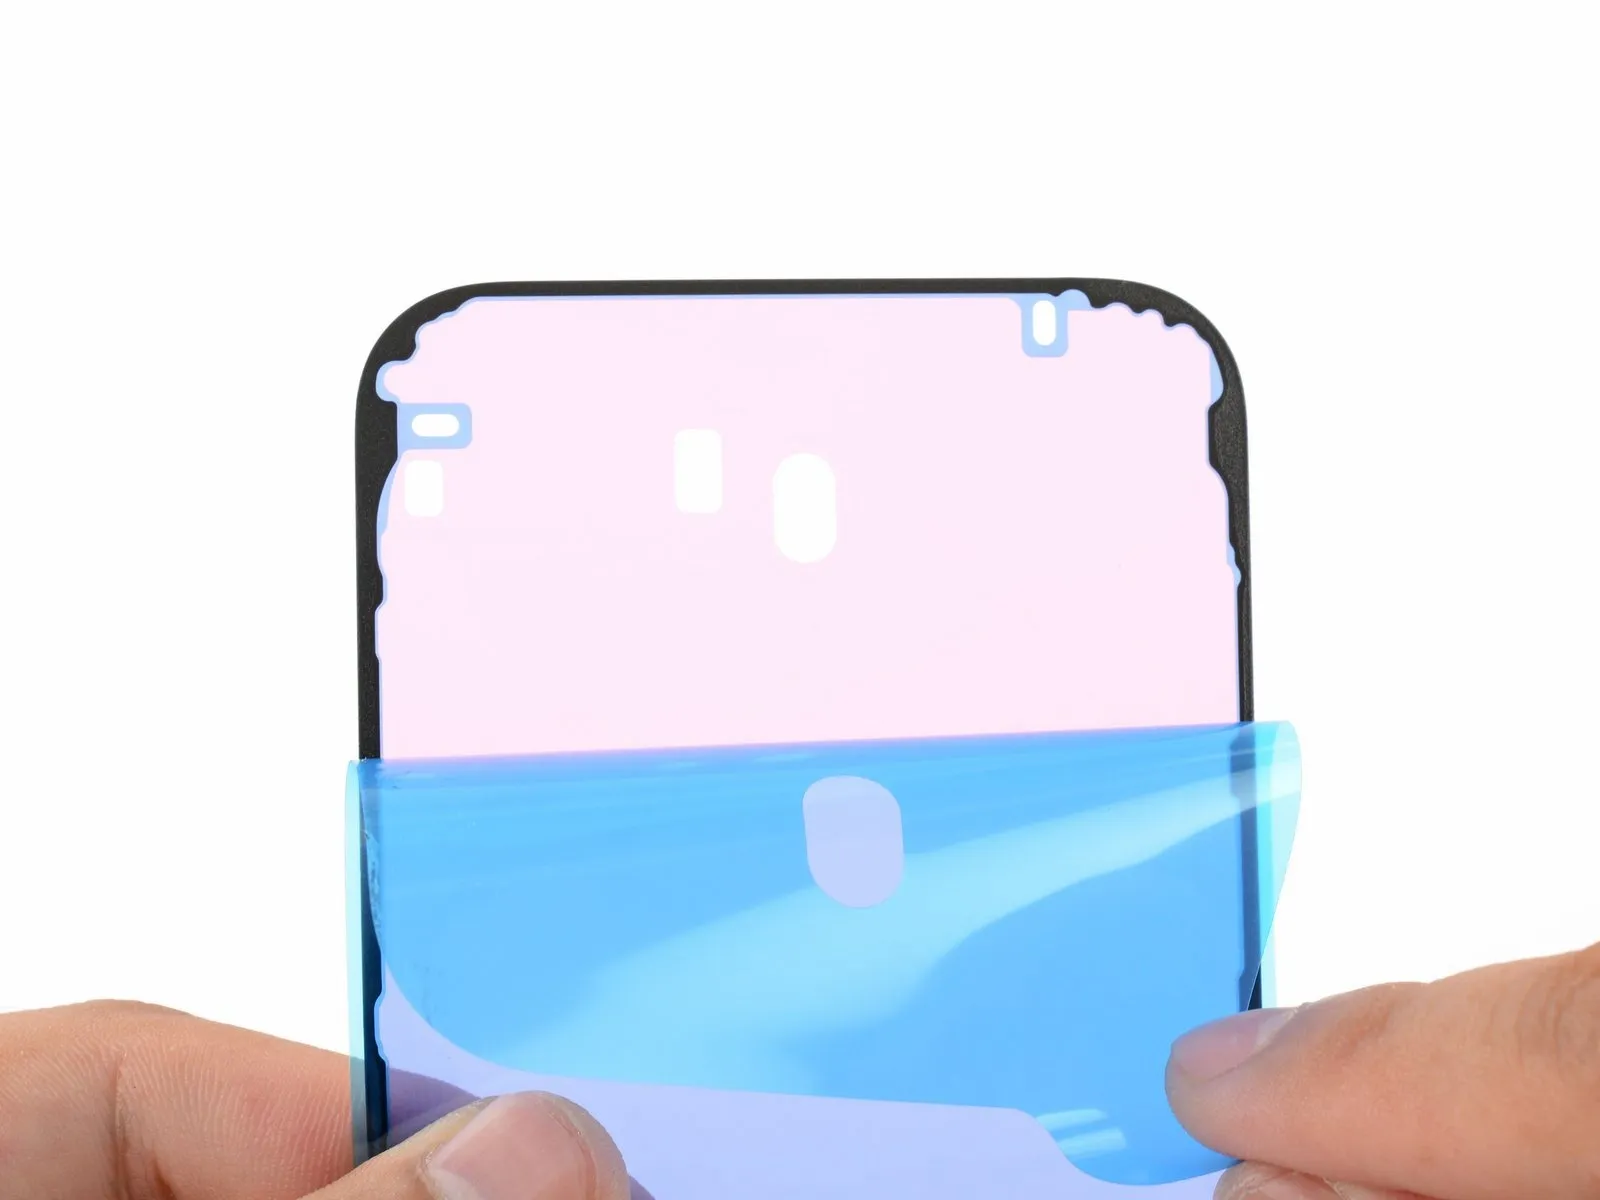
Step 6


- Any misalignment requires complete removal and replacement with fresh adhesive to ensure proper bonding.
- After confirming correct alignment, apply gentle pressure to secure the adhesive strip to the iPhone's frame.
Step 7

- Successful alignment of the adhesive is indicated by a seamless fit of the edges within the frame.
- Minor misalignments can be corrected by delicately adjusting the longer sides towards the frame's boundaries.
- Should the adhesive develop creases or wrinkles, discard it and reapply a new set for optimal results.
- In the absence of replacement adhesive strips, the iPhone can be reassembled and used temporarily; however, be aware that its water resistance will be reduced until a new adhesive seal is applied.
Step 8


- Exercise caution to avoid damaging the delicate grounding clips; should one become displaced, carefully reposition it using your fingers or tweezers.
- Avoid excessive force during this process, as it can cause the adhesive to overextend and lose its shape.
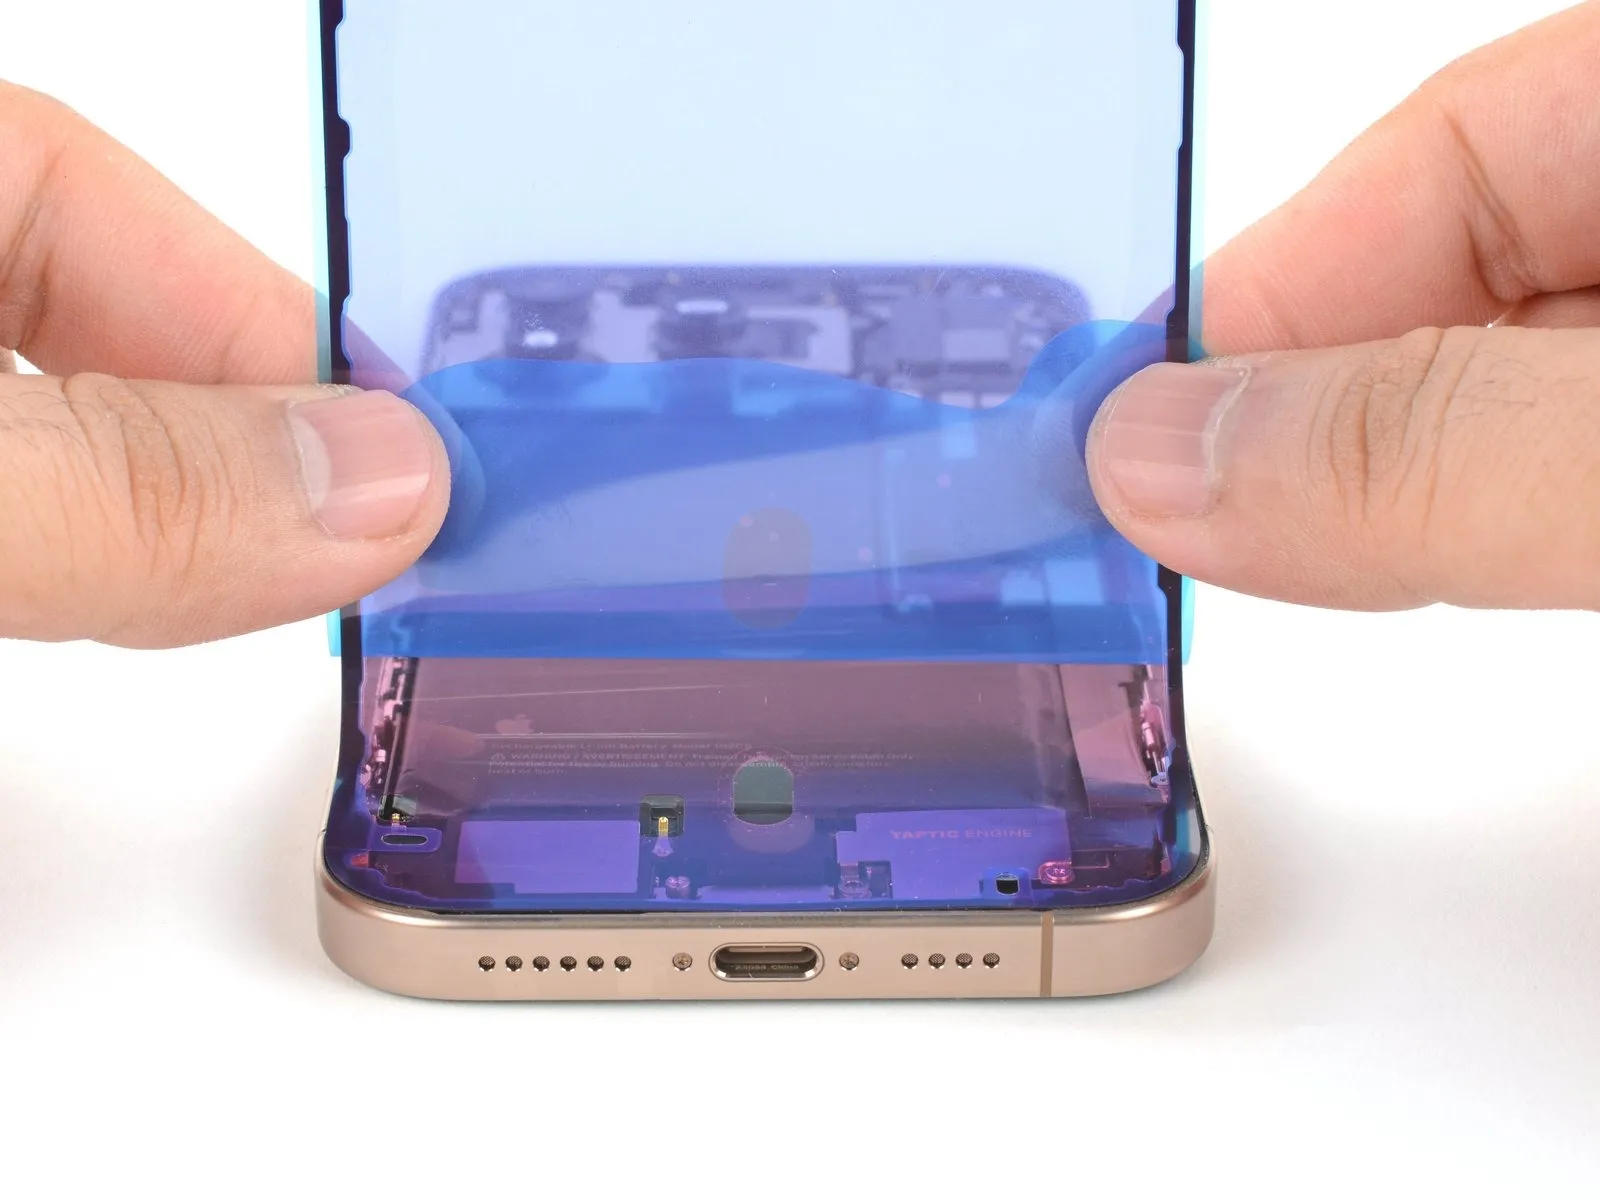
Step 9

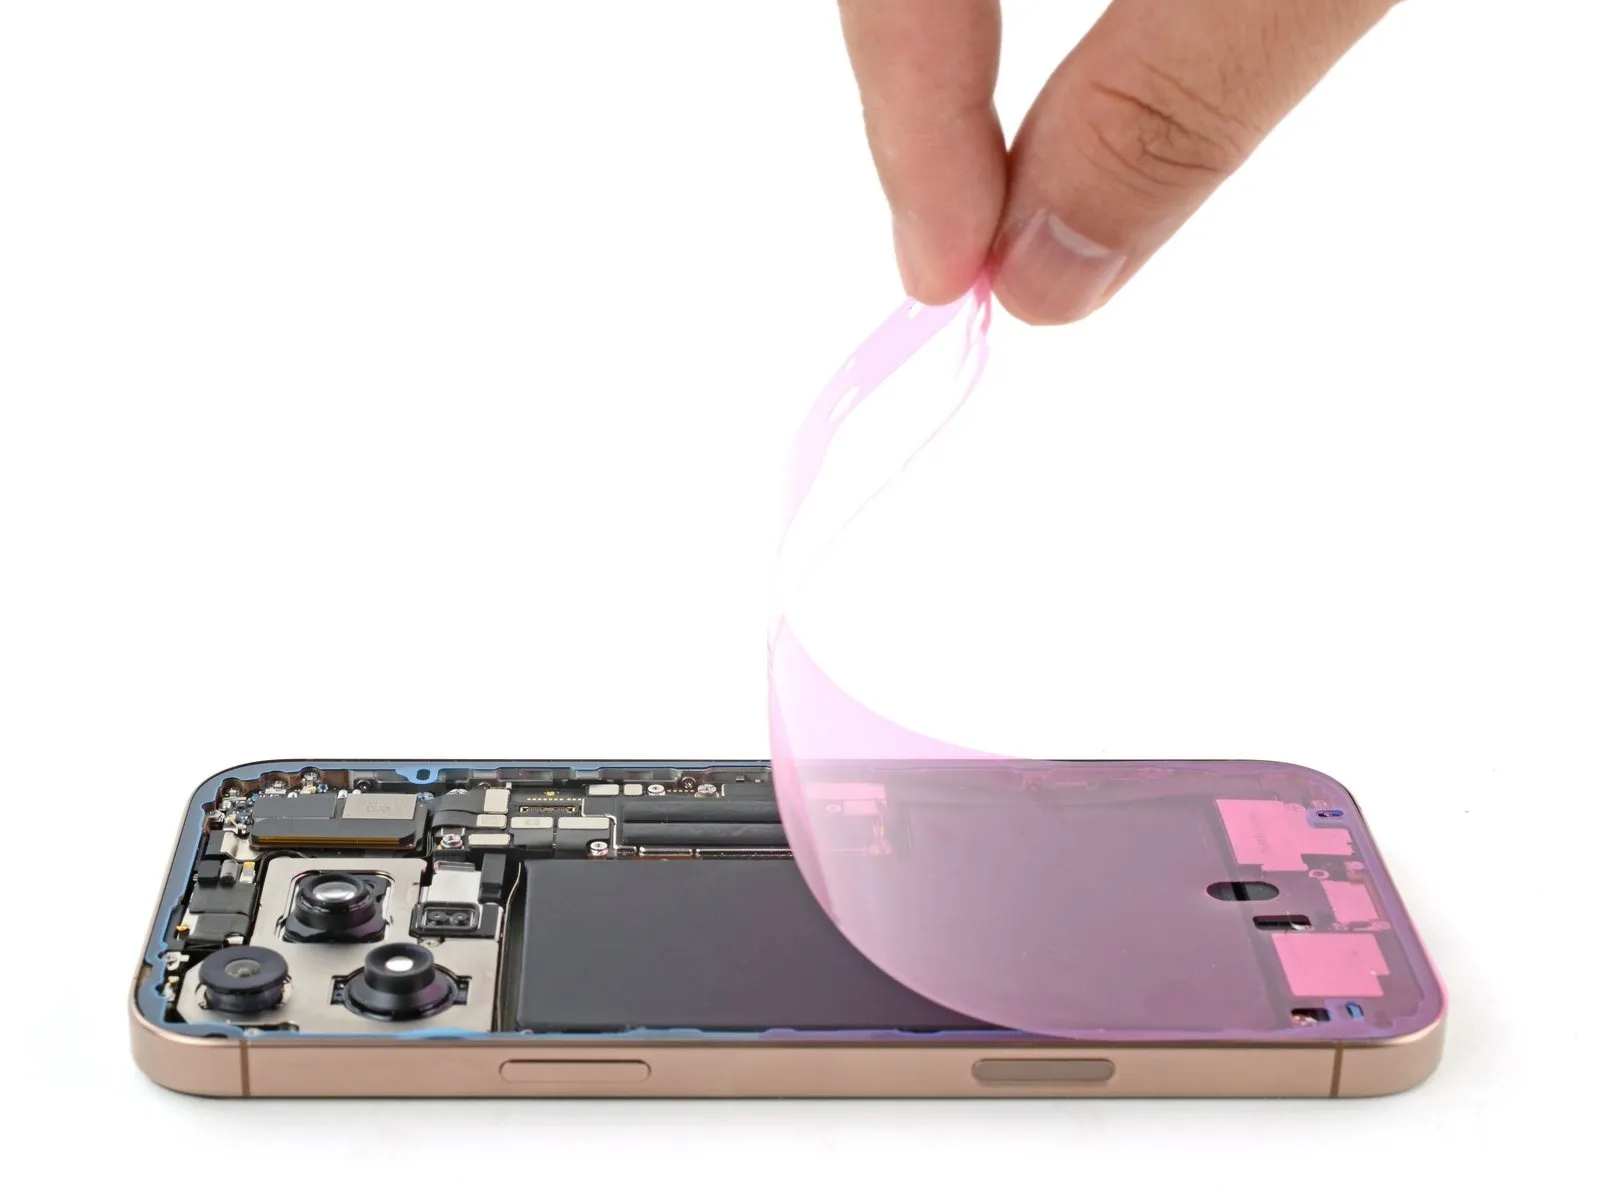
- Employ a spudger tool, or manually use your fingers, to detach the pull tab affixed to the extensive front liner.The pull tab's typical location is situated within a corner of the liner.Utilize the pull tab to carefully separate the large front liner from its adhesive backing.
- A remaining liner may still be present around the edges, safeguarding the adhesive during reassembly; refrain from removing these smaller release liners at this stage.
- These smaller liners serve to prevent unintended adhesion during the iPhone's reassembly process.
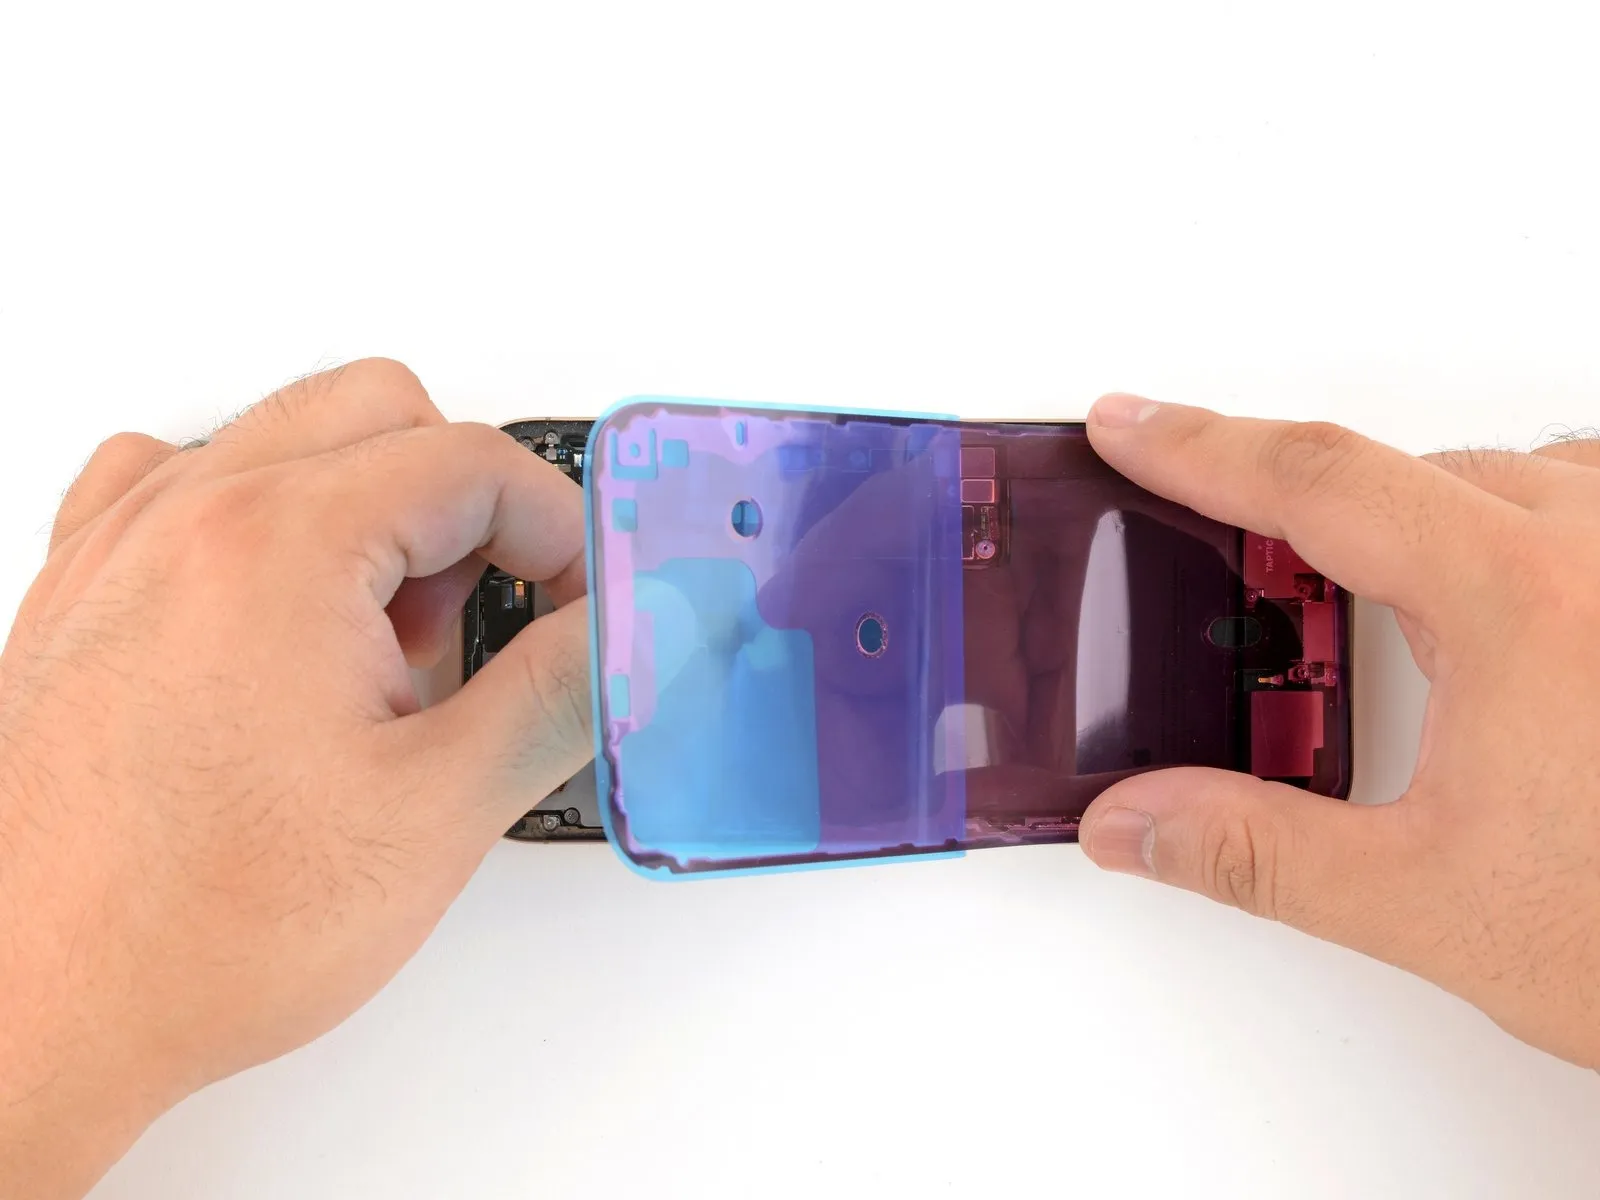
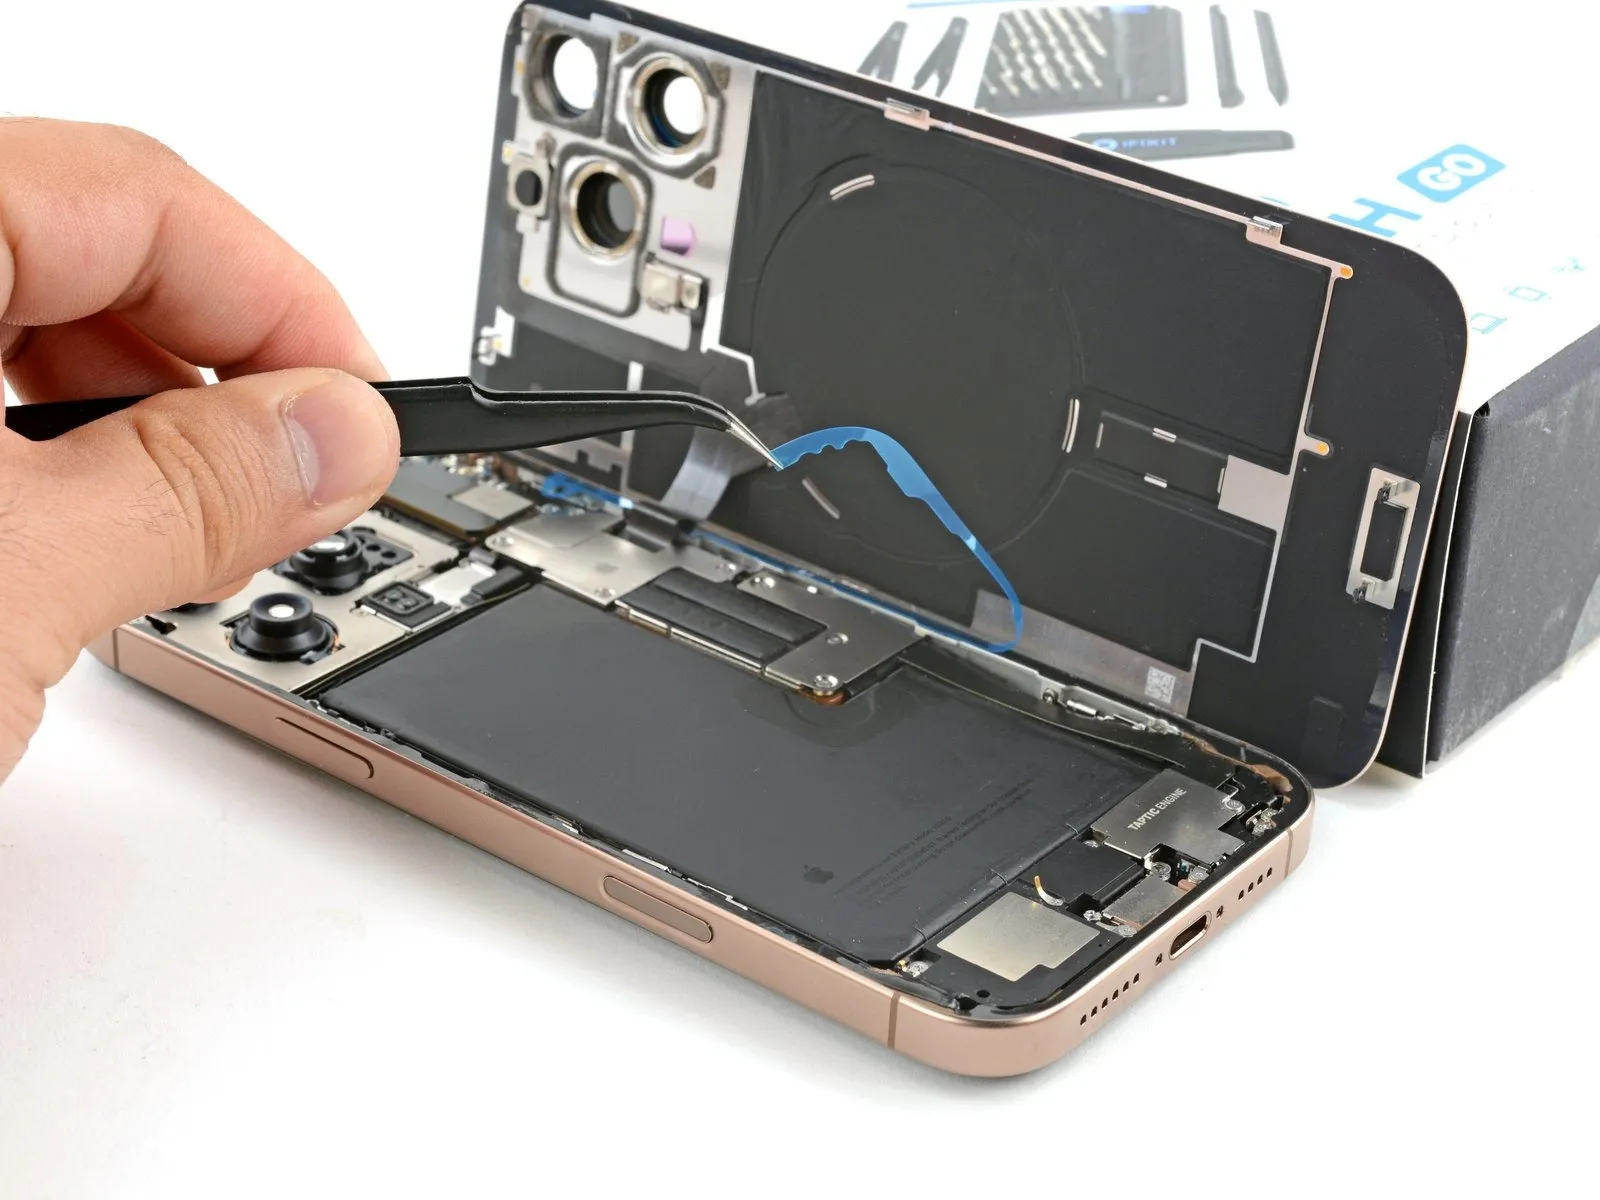
Step 10 | Connect the back glass

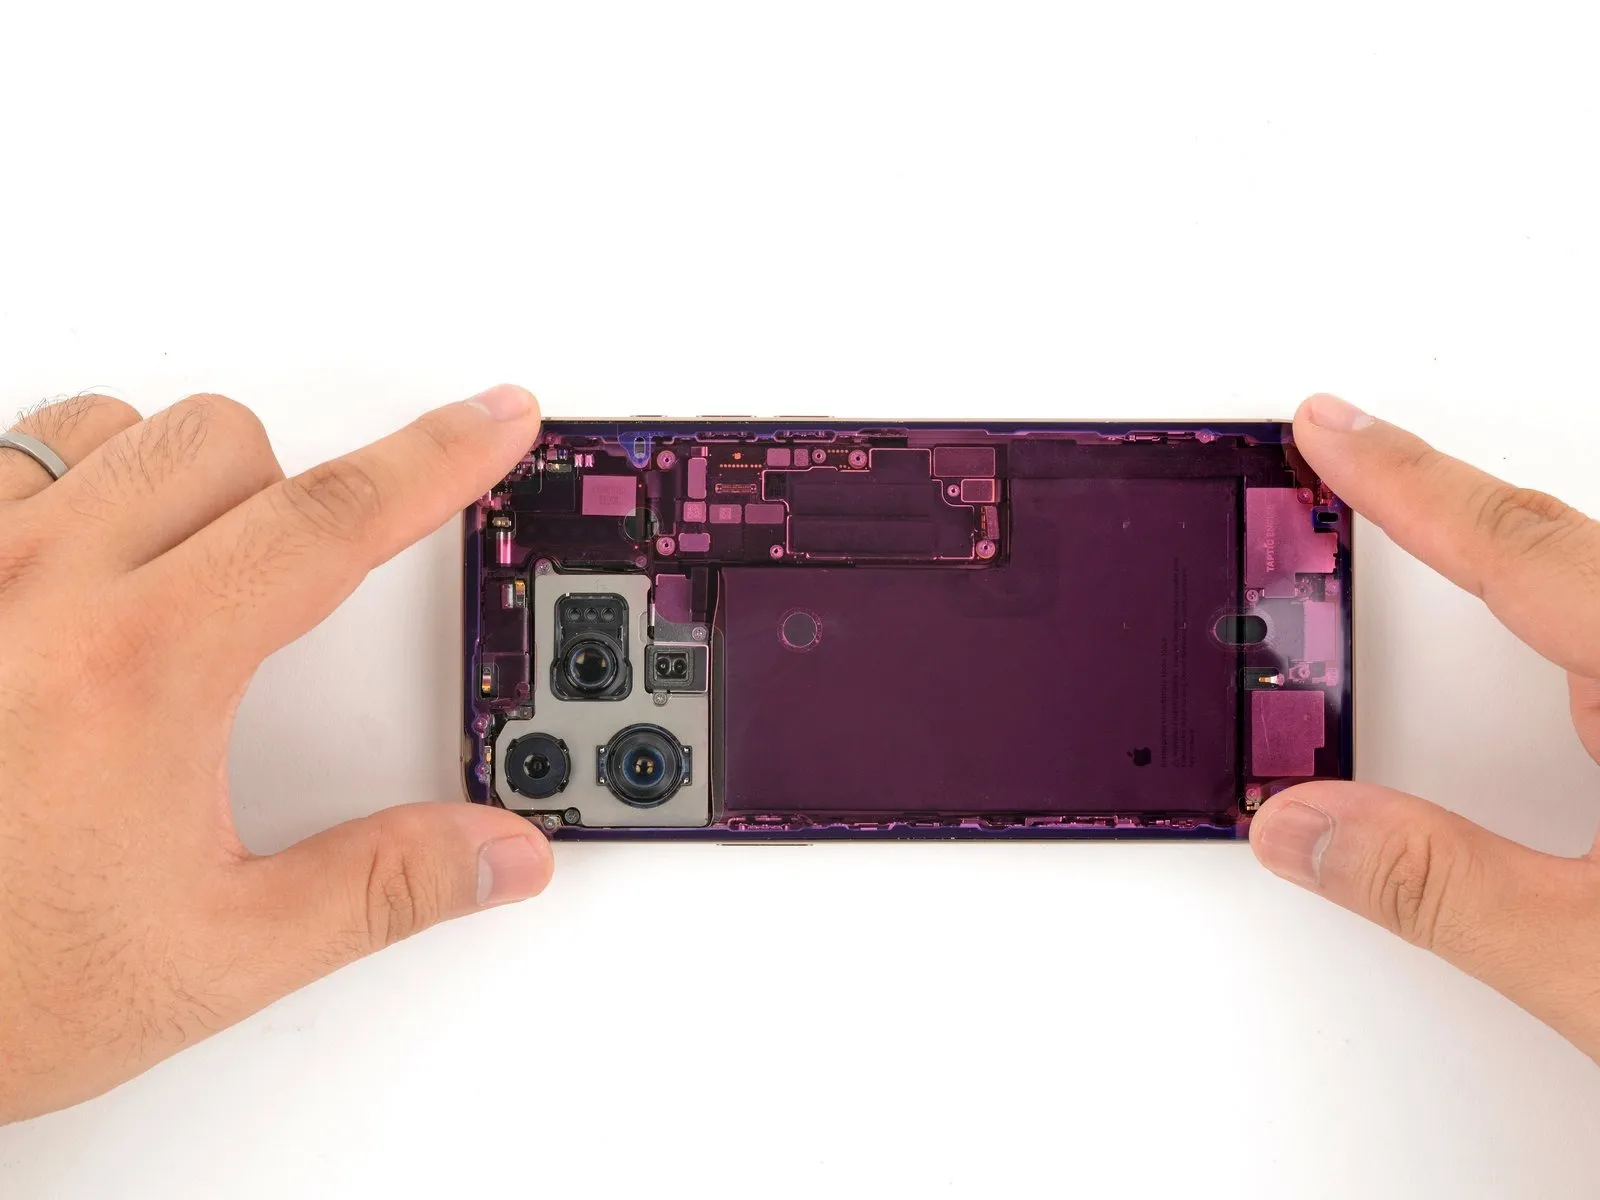
To facilitate access, carefully support the rear glass component by applying pressure along its right lateral boundary on the iPhone.
Step 11
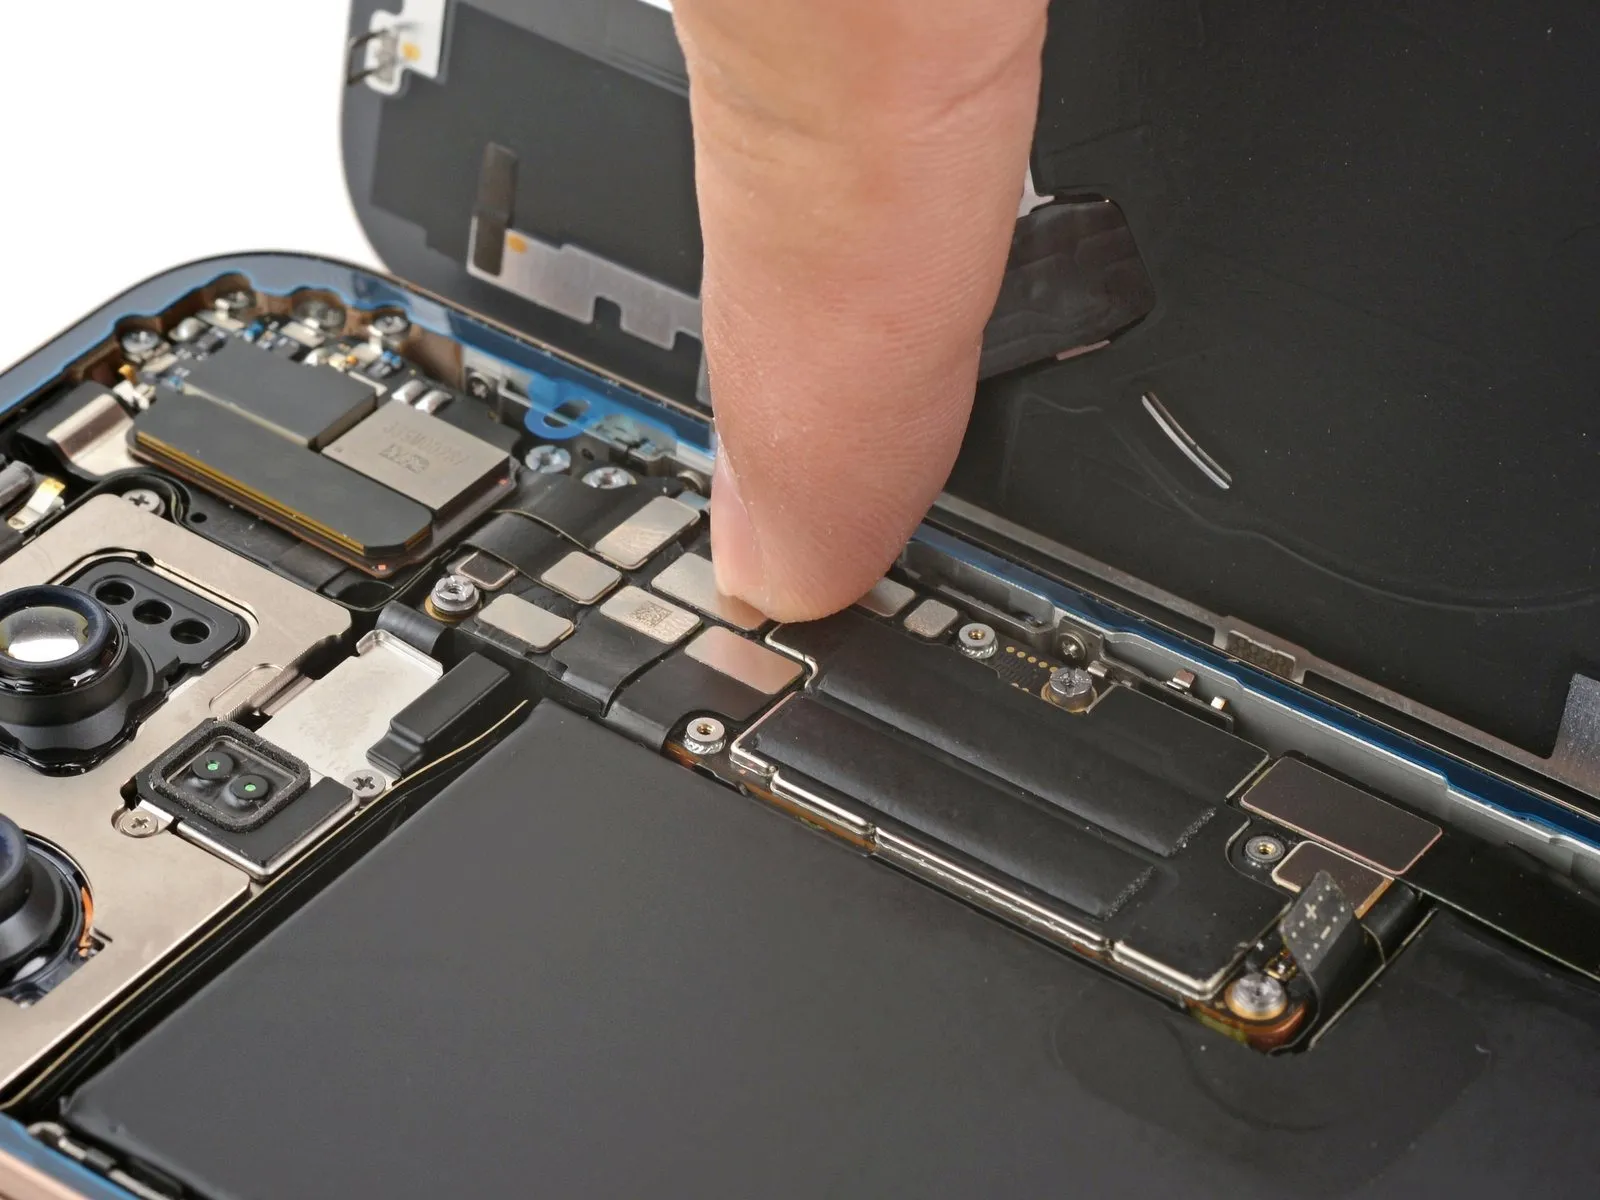
Employing either a fingertip or the planar edge of a spudger tool, establish a secure connection between the rear glass connector and the logic board by applying pressure.The back glass connector must be firmly affixed to the logic board, utilizing a finger or the broad, flat surface of a spudger for application of the necessary force.To ensure proper electrical contact, utilize a finger or the flat end of a spudger to apply pressure and join the back glass connector with the logic board.
Step 12 | Connect the battery

- Employ either your fingertip or a specialized spudger to firmly secure the battery press connector to the logic board.Before finalizing the iPhone's reassembly, it's advisable to verify the repair's functionality; initiate the device, confirming expected operation, then deactivate it to proceed.Should the iPhone fail to power on, establish a connection to an external power supply and attempt activation once more.
- In the event a logic board replacement occurs and the display remains inactive, consult the dedicated screen repair guide for instructions on manually interfacing the display connector.
- Ensure the battery press connector is properly engaged with the logic board by applying pressure with a finger or a spudger.
- To confirm successful repair, activate the iPhone and verify all functions operate normally, then deactivate the device to continue the reassembly process.
Step 13 | Install the connector covers

Step 14
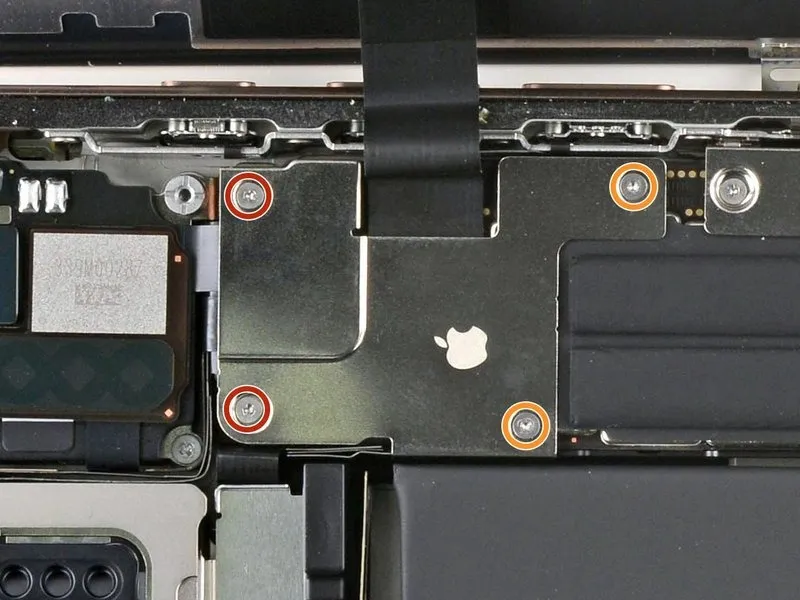
- Employ a tri-point Y000 driver for the installation of the screws that fasten the back glass connector cover.Four screws, with lengths of 1.3 millimeters and 1.0 millimeters respectively, are utilized for this purpose.The connector cover is held in place by these fasteners, requiring careful attention during removal and reinstallation.
Ensure the correct screw length is used to avoid damage to the connector or surrounding components.
Properly seating each screw is crucial to maintain the integrity of the back glass connection.
Step 15
Step 16
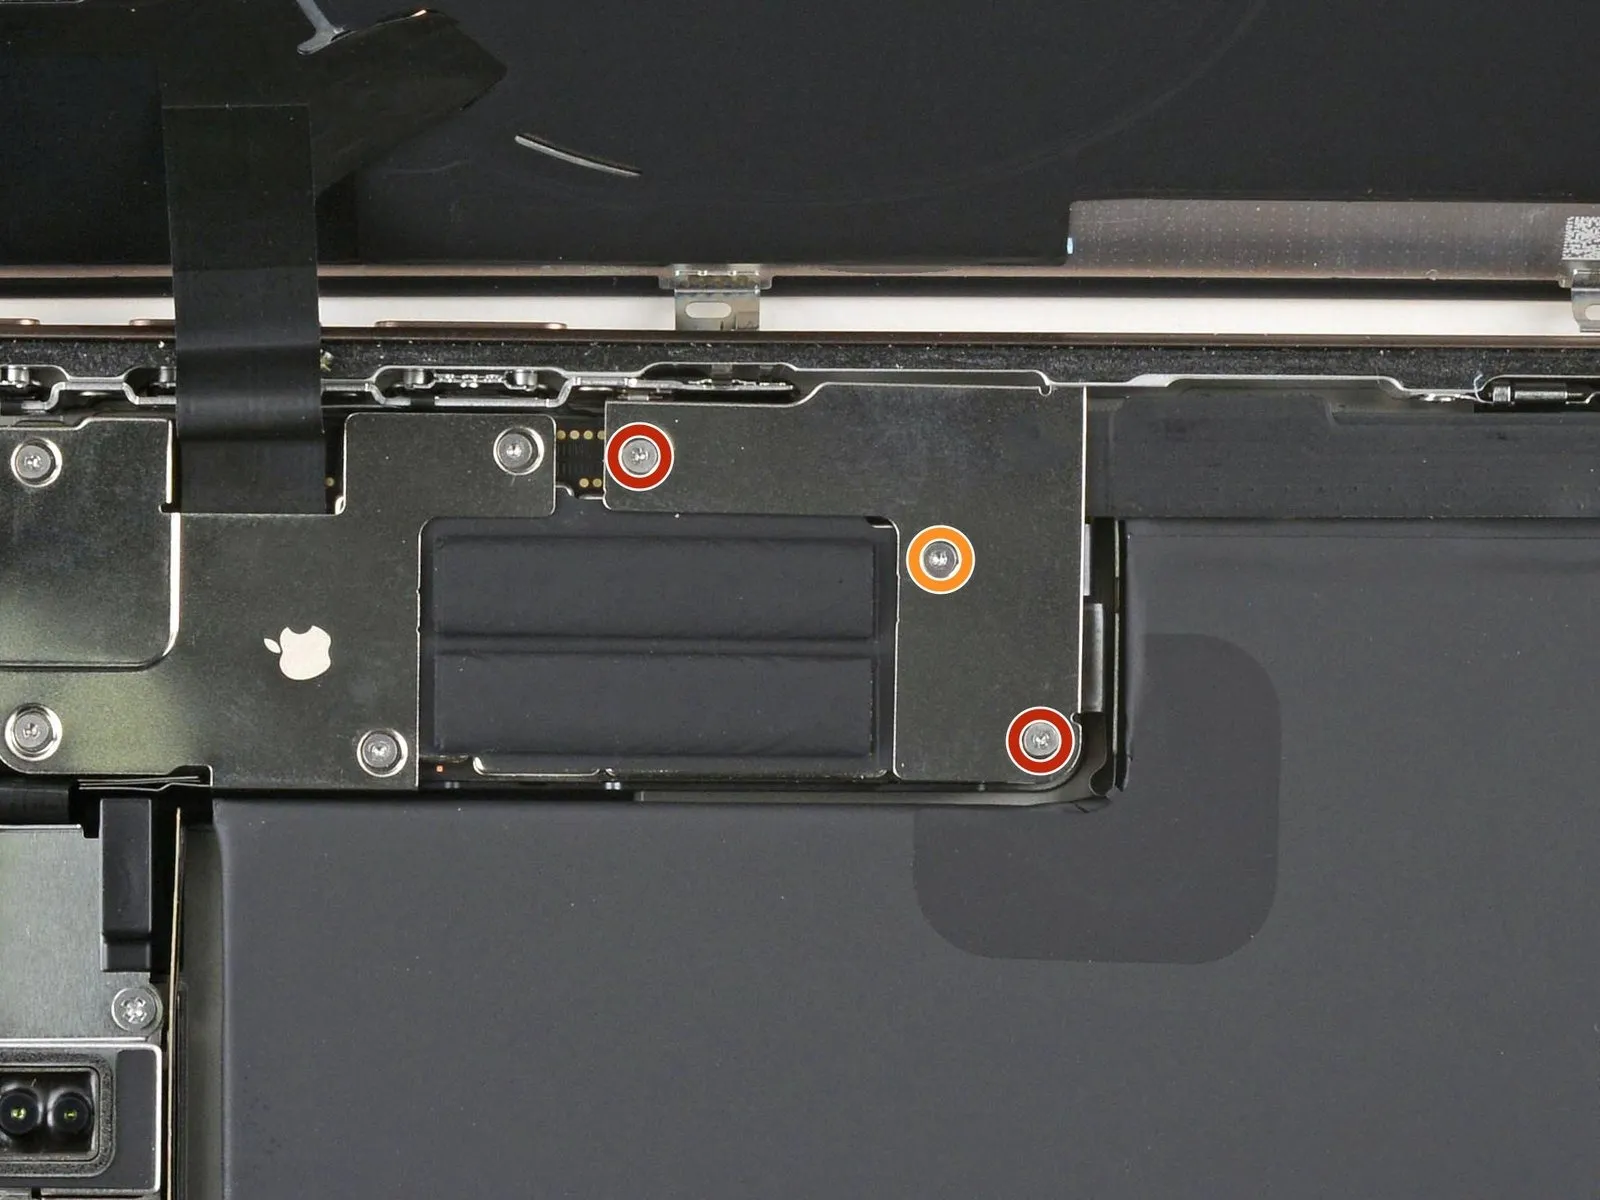
- Employ a specialized tri-point Y000 driver for the installation process.The battery connector cover is fastened with three screws requiring a tri-point Y000 driver for removal and installation.Two screws, each measuring 1.3 millimeters in length, are used to secure the cover.
A single screw, with a length of 1.0 millimeters, is also part of the fastening mechanism.
Properly utilize the tri-point Y000 driver to manage the screws holding the battery connector cover in place.
Step 17 | Remove the final adhesive liners

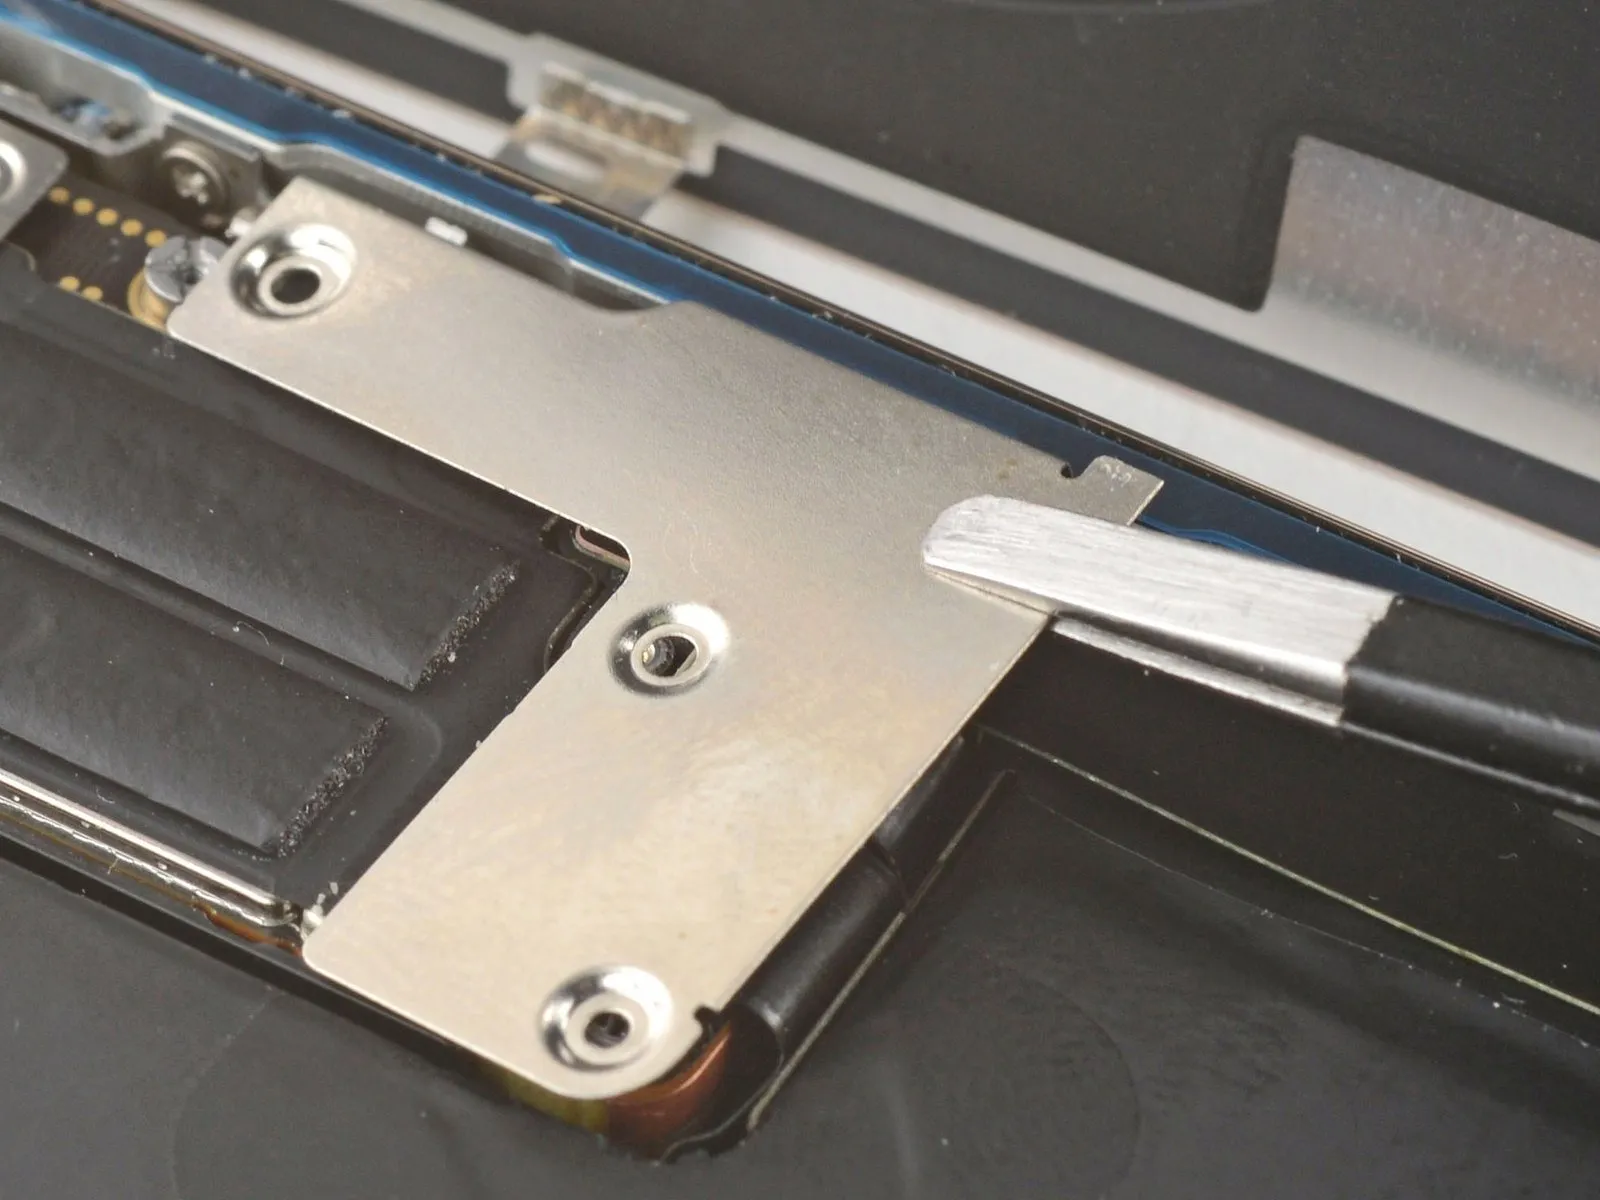
- Employ either your fingertips or a spudger tool to detach the surrounding liners, revealing the underlying adhesive.During liner removal, prevent any contact between surfaces and the newly exposed adhesive to avoid contamination.Thoroughly inspect both the frame and rear glass assembly for any detached liner fragments, and eliminate them.Ensure complete removal of all liners from the device's exterior surfaces.Carefully lift the liners, utilizing a spudger or fingertips, to avoid adhesive transfer.
The adhesive layer must remain untouched during the liner separation process to maintain proper adhesion.
A complete absence of liners is required on the frame and back glass after this step.
Step 18 | Install the back glass


- Position the rear glass component onto the device frame, initiating the alignment process from the uppermost boundary.
Should you encounter opposition during placement, a surrounding retaining clip might be deformed and compressed by the frame; carefully inspect the area of resistance and delicately restore any bent clips to their original shape.
Apply even pressure across the iPhone's perimeter to ensure the rear glass makes complete and uniform contact with the frame.
Step 19 | Apply heat to the perimeter
Apply warmth to the outer edge of the rear glass utilizing a hair dryer, heat gun, or iOpener until the surface reaches a temperature that is uncomfortable to briefly touch.
This thermal application reduces the adhesive's viscosity, facilitating a more secure reattachment.
Step 20 | Apply pressure to the perimeter

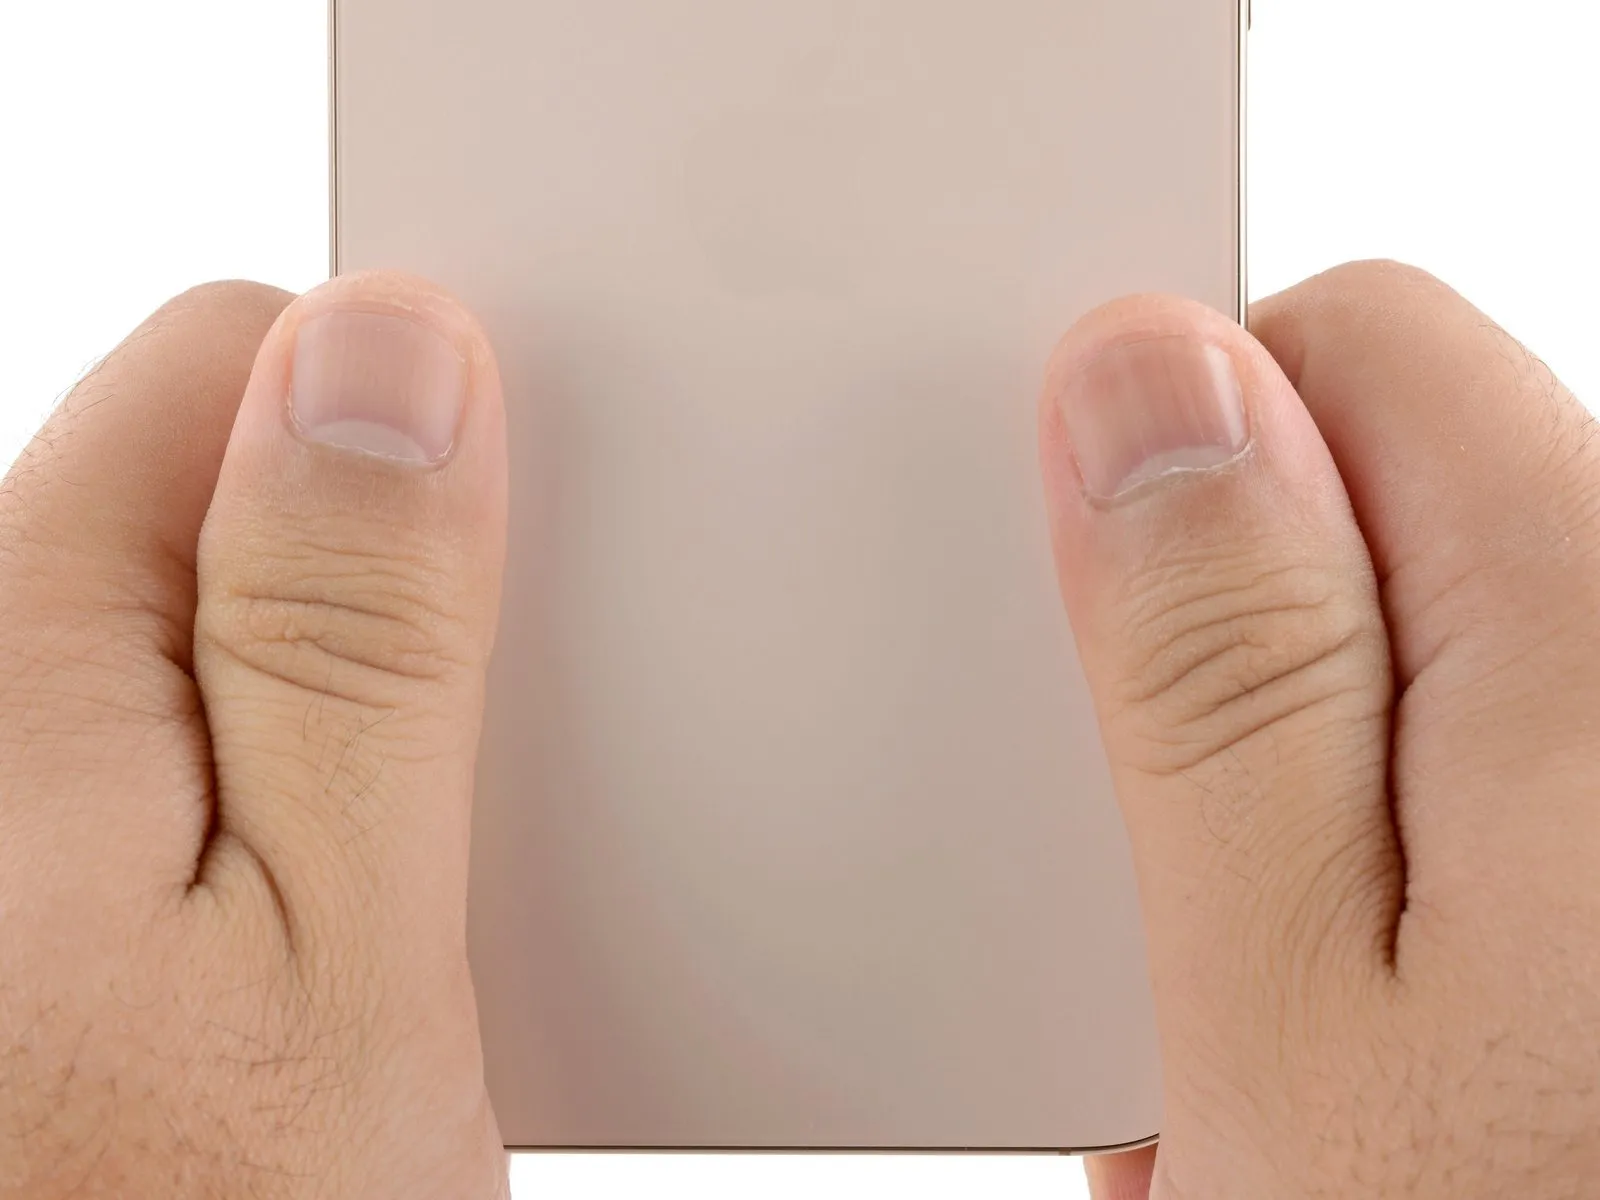
- Apply pressure evenly around the device's edges utilizing your hand.Employing manual force, grasp the iPhone's outer boundary with a secure hold.To ensure a tight seal, compress the iPhone's circumference with a firm grip.
Step 21
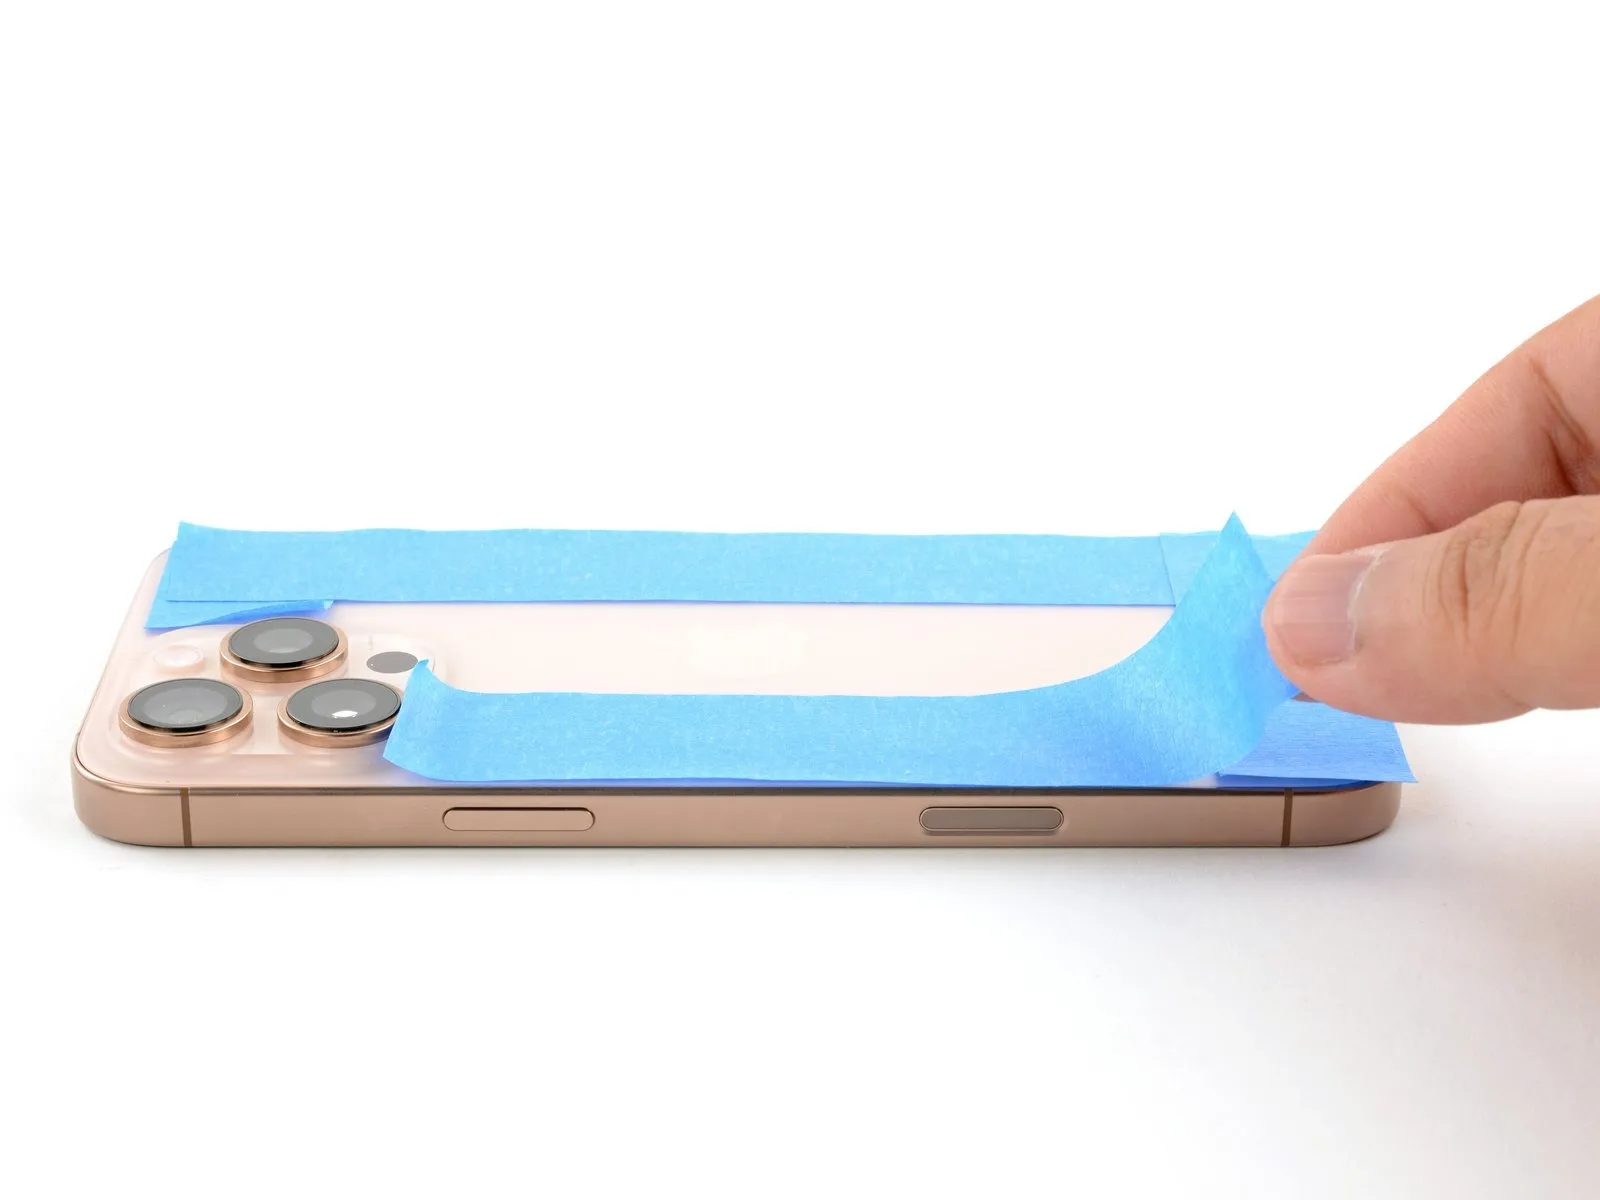

- Position the iPhone with its display facing downwards onto a pristine, level workspace.
Apply a strip of adhesive tape along the edges of the rear glass to safeguard its cosmetic appearance.
Arrange a circular stack of coins bordering the rear glass, constructing a barrier reaching the height of the rear camera lenses.
As an alternative method, secure vise clamps around the device's outer edges to establish the fresh adhesive seal.
Step 22
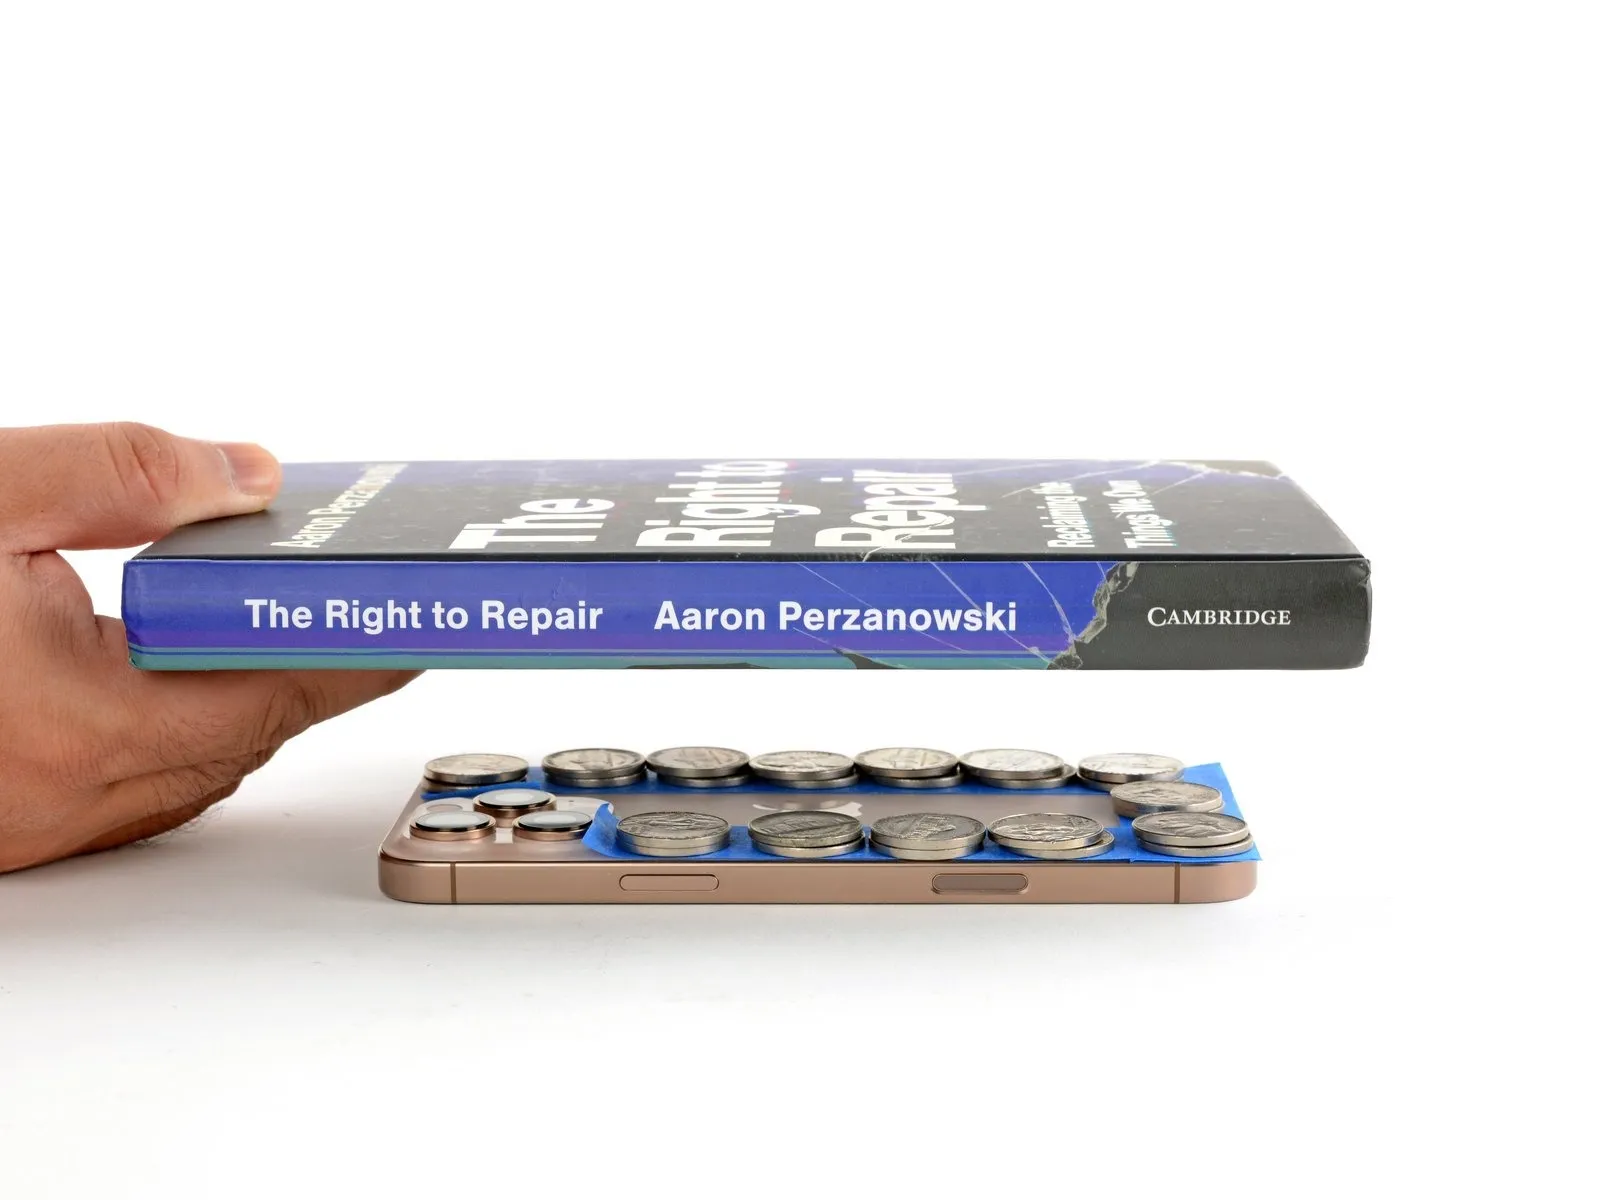

- To apply even pressure, position four to five substantial volumes directly atop the iPhone's surface.
Because the weight can create minor indentations, avoid using books with delicate or valuable covers.
Allow the applied pressure to remain constant for approximately half an hour.
This sustained force facilitates the bonding process of the adhesive material.
Step 23 | Install the pentalobe screws
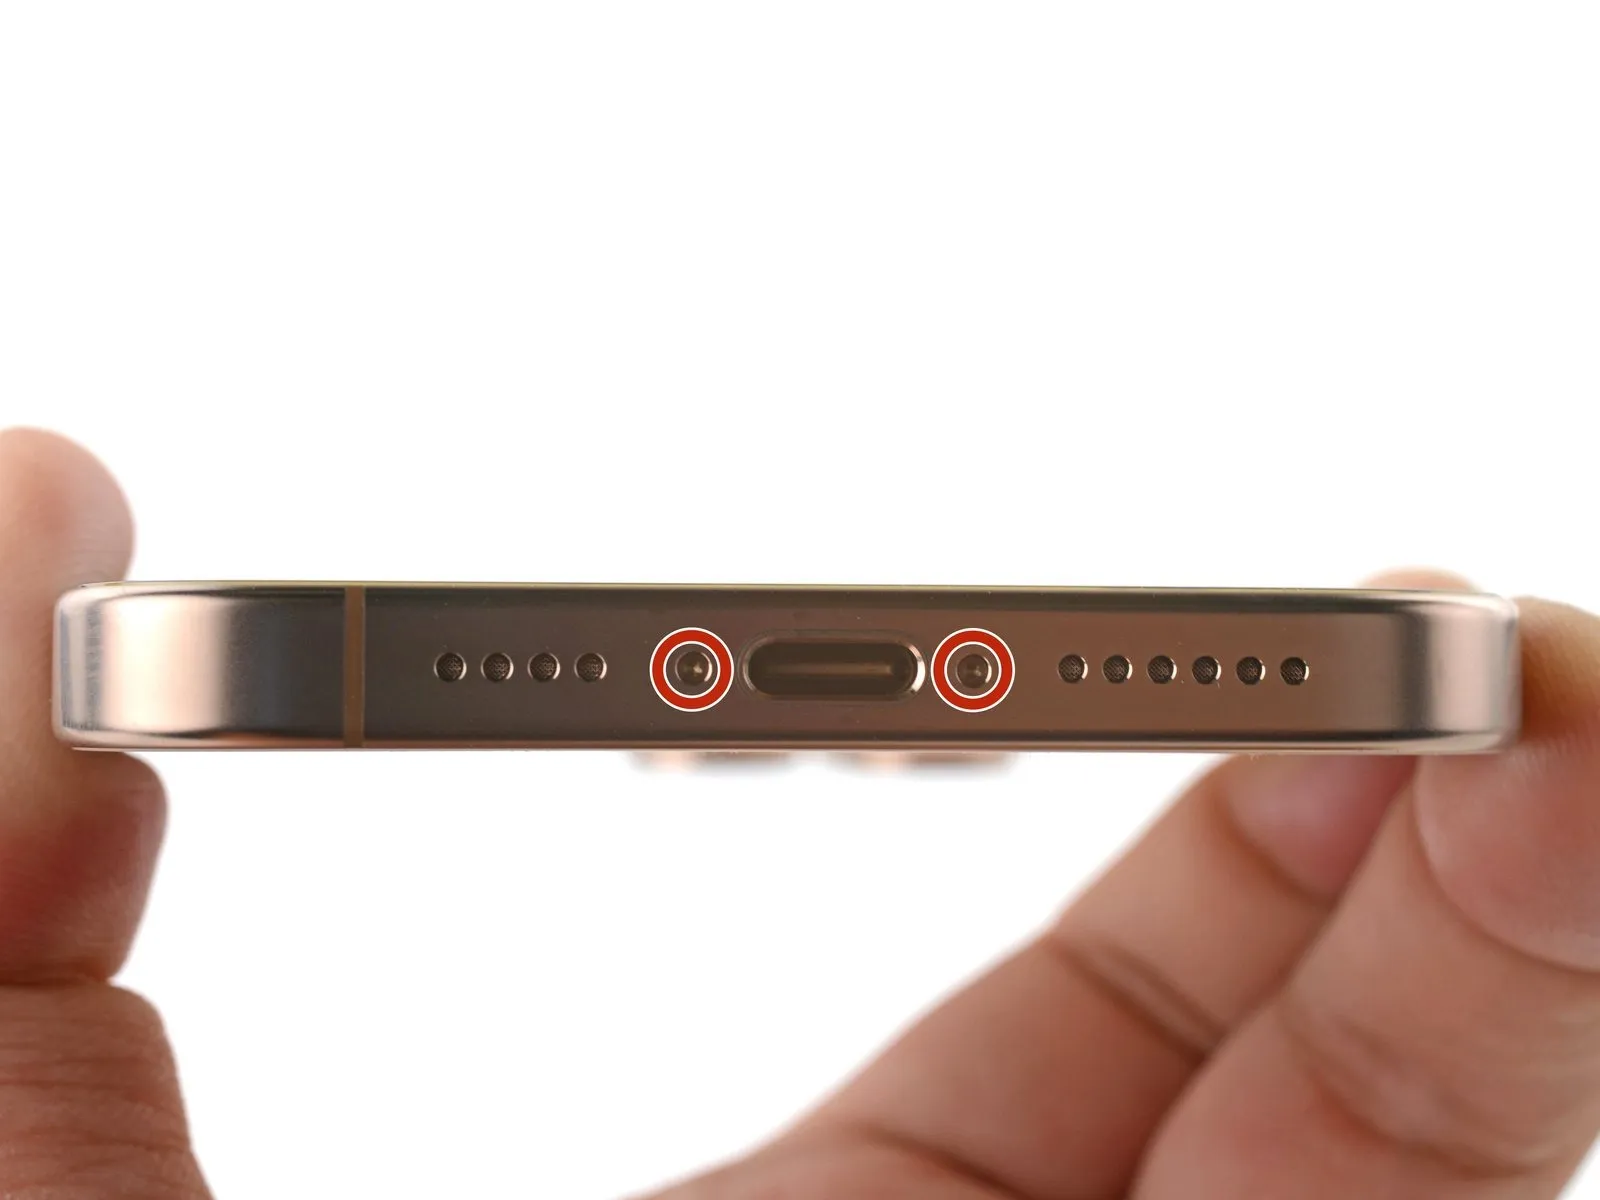

- Employ a P2 pentalobe driver for the installation process.The two screws, each measuring 7.4 mm in length, require this specialized tool.Securely fasten the screws to the device's chassis, positioning them on both sides of the charging port.A P2 pentalobe driver is essential for proper engagement with the screw heads.Ensure the screws are correctly aligned before applying torque to prevent damage.