iPhone 4 Rear Panel Replacement
To gain access to the internal components, detach the iPhone 4’s rear panel.
Step 1 | Rear Panel
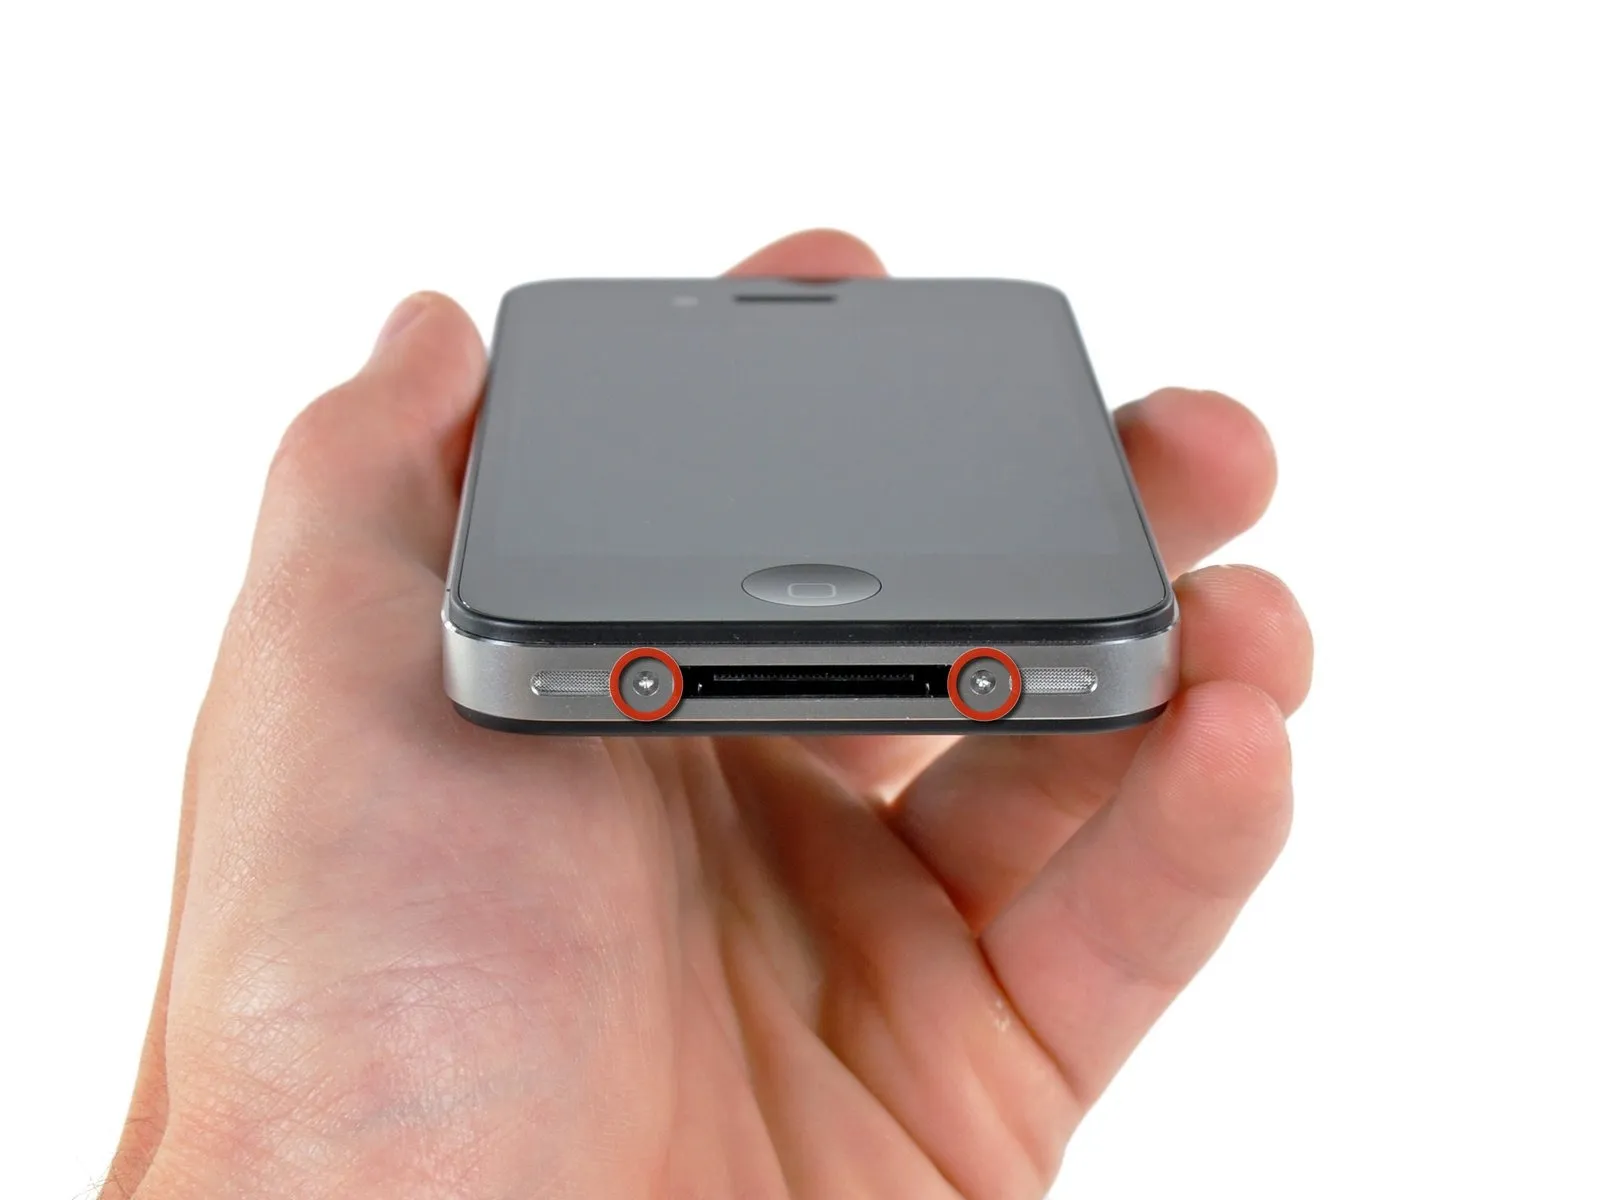

To start, ensure the iPhone's battery level is below 25%; a fully charged lithium-ion battery presents a fire and/or explosion hazard if damaged.
To prevent electrical shock or damage, ensure the iPhone is completely de-energized prior to starting the repair process.
Determine if your iPhone 4’s back cover uses two #000 Phillips screws or Apple’s 5-Point "Pentalobe" screws, referencing the second image for identification. Employ the corresponding screwdriver to successfully remove the screws.
Using either a Pentalobe or Phillips #000 screwdriver, detach the two screws measuring 3.6 mm located adjacent to the dock connector.
To prevent damage, ensure the driver is fully engaged with the Pentalobe screws before turning, as they are prone to stripping.
To prevent electrical shock or damage, ensure the iPhone is completely de-energized prior to starting the repair process.
Determine if your iPhone 4’s back cover uses two #000 Phillips screws or Apple’s 5-Point "Pentalobe" screws, referencing the second image for identification. Employ the corresponding screwdriver to successfully remove the screws.
Using either a Pentalobe or Phillips #000 screwdriver, detach the two screws measuring 3.6 mm located adjacent to the dock connector.
To prevent damage, ensure the driver is fully engaged with the Pentalobe screws before turning, as they are prone to stripping.
Step 2
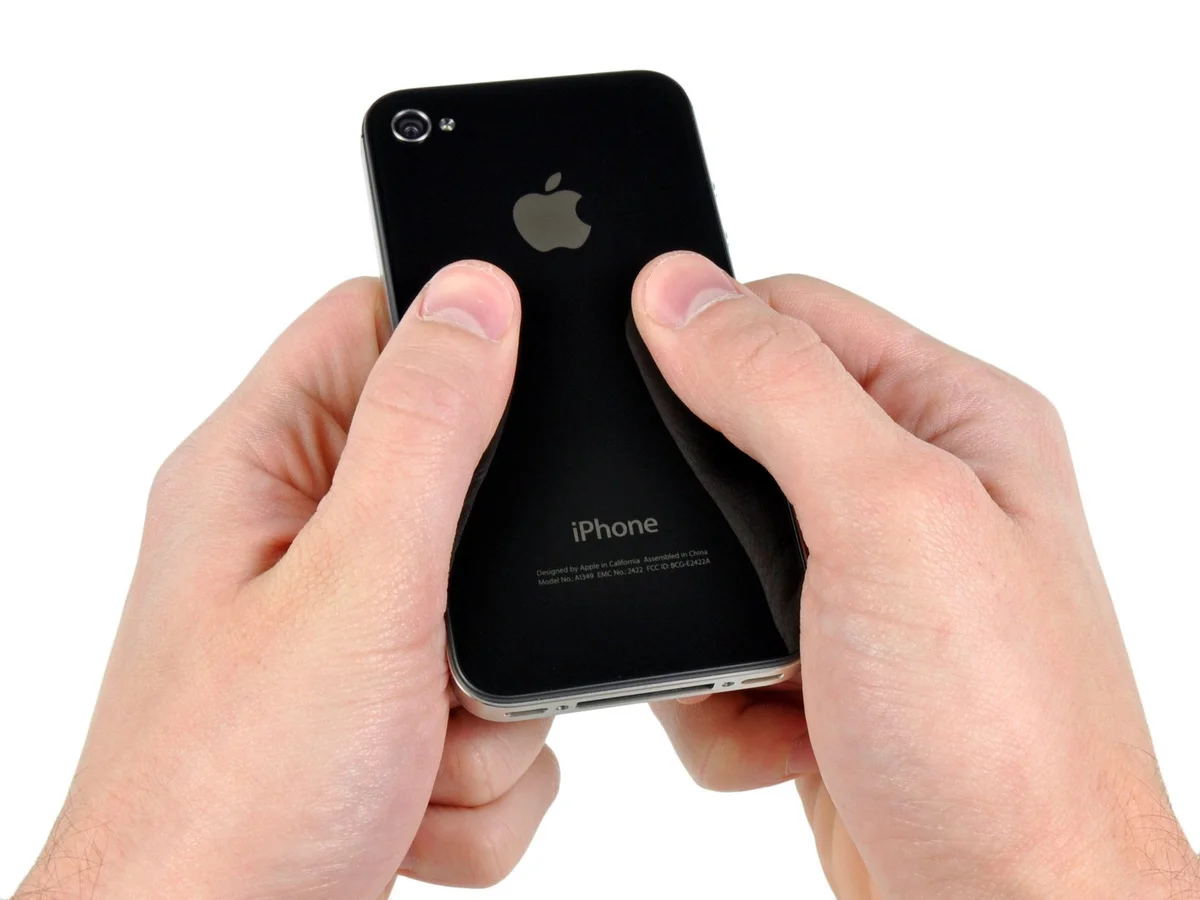
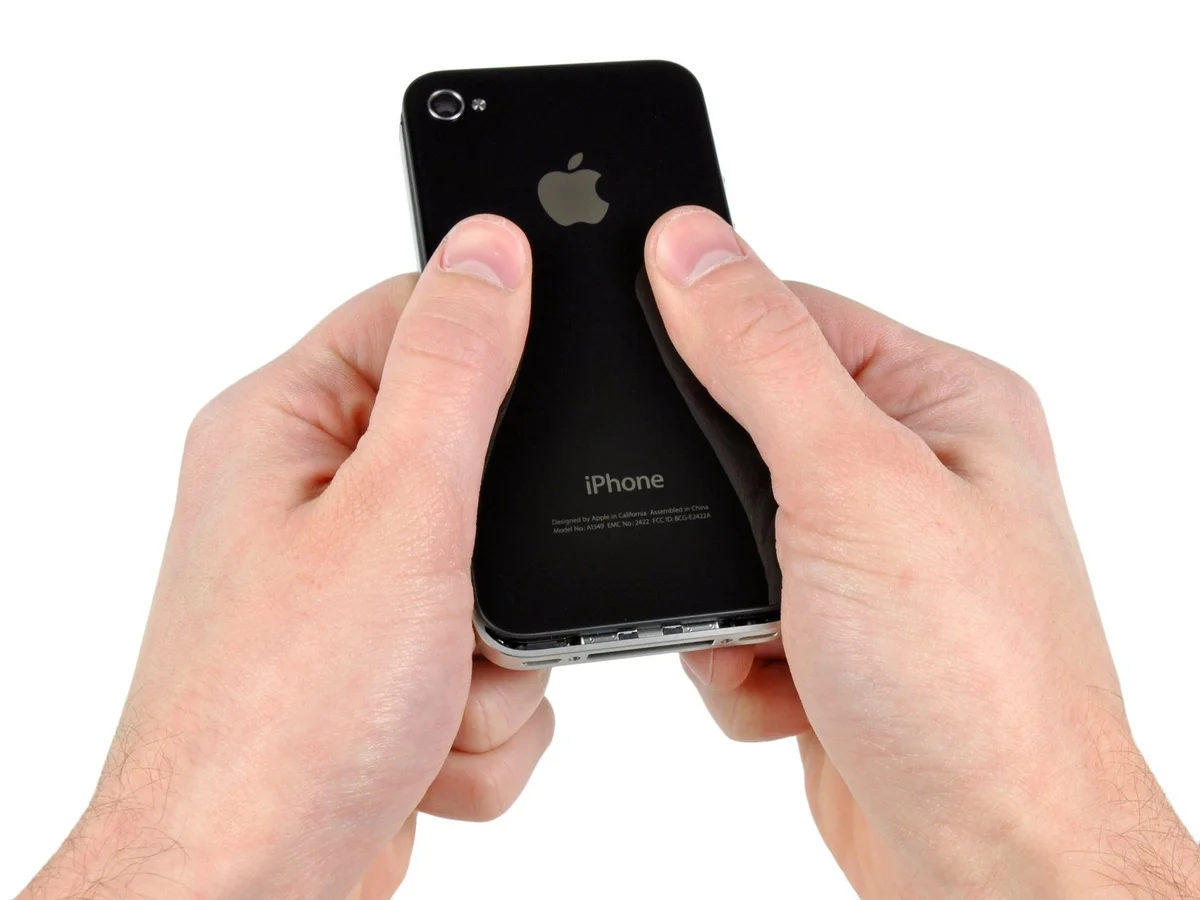
Carefully slide the rear panel upward, noting that it should shift approximately 2 millimeters.
Step 3
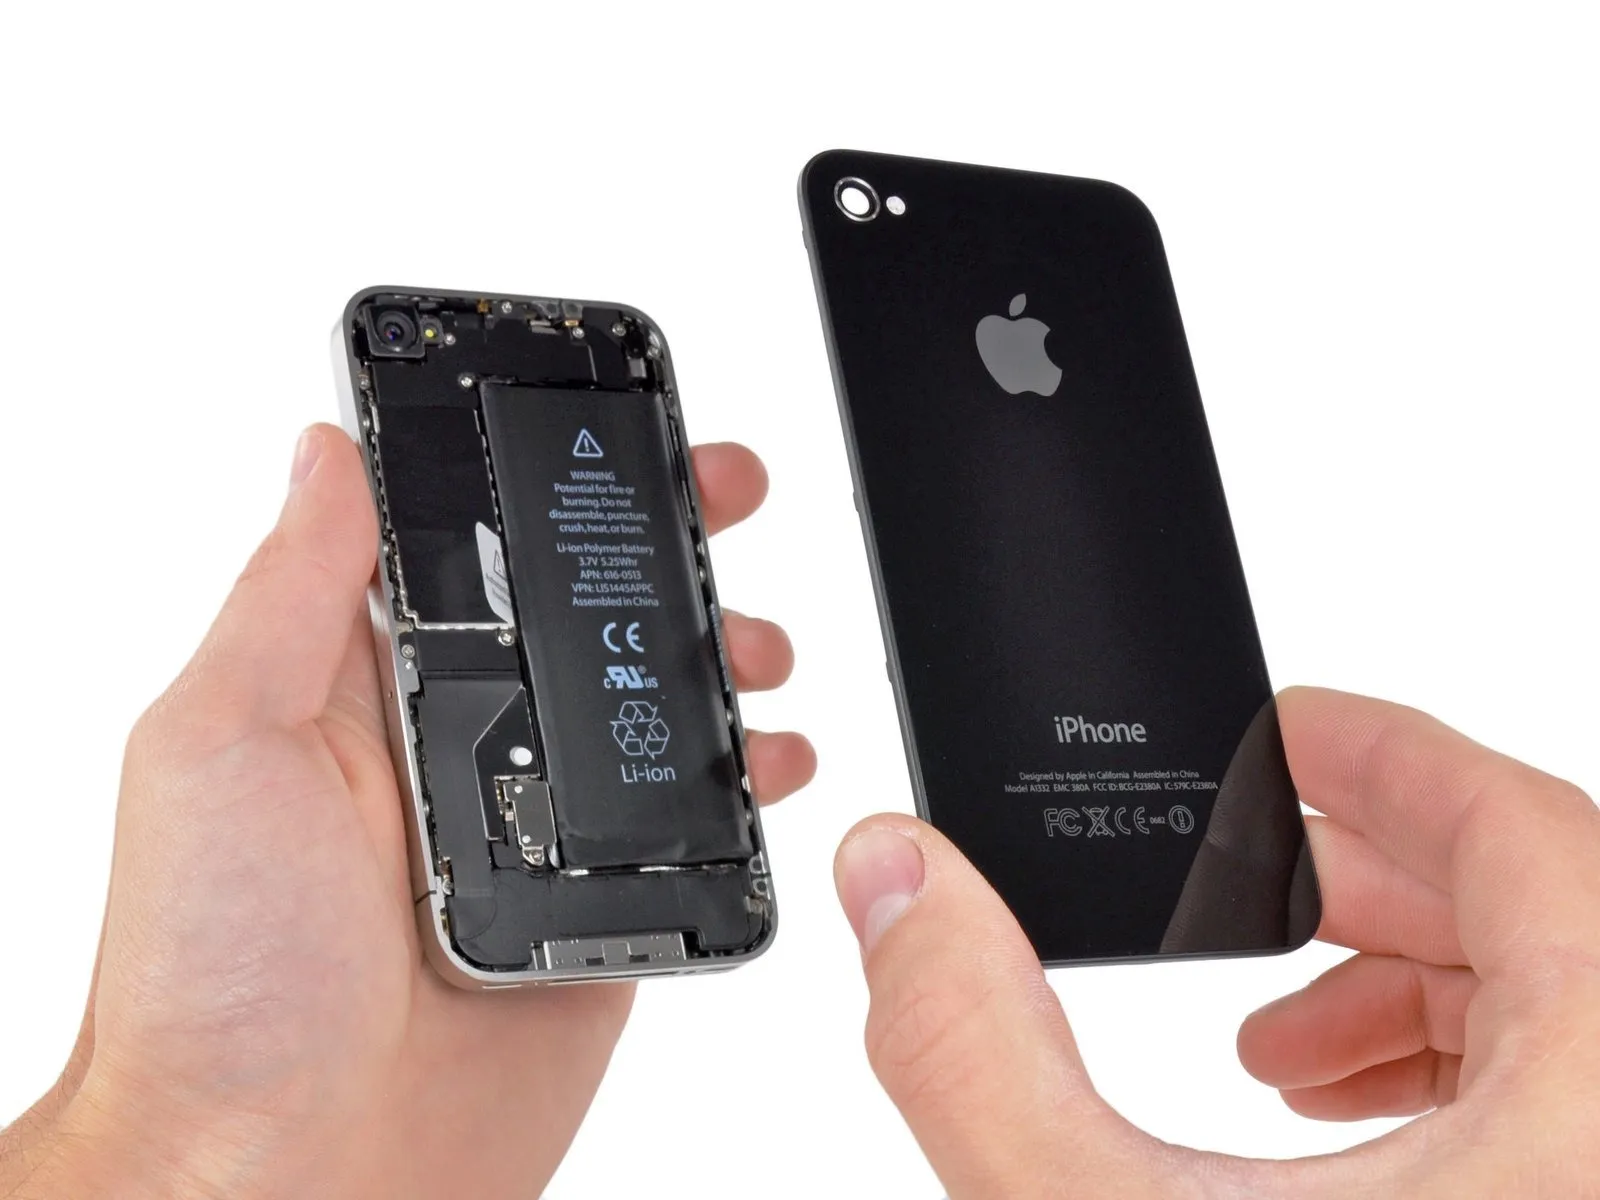
To detach the rear panel, either apply gentle upward pressure with your fingers while gripping the back surface, or secure a Small Suction Cup to the panel and lift.
Exercise caution to prevent harm to the plastic clips affixed to the rear panel.
Before attaching a replacement rear panel, peel away the adhesive backing from the protective plastic covering the camera lens’s interior surface, and also remove the sticker adhered to the large black area positioned close to the lens.
Exercise caution to prevent harm to the plastic clips affixed to the rear panel.
Before attaching a replacement rear panel, peel away the adhesive backing from the protective plastic covering the camera lens’s interior surface, and also remove the sticker adhered to the large black area positioned close to the lens.