Repairing iPhone 4 dust mesh
To restore your iPhone's dust mesh, carefully replace the component yourself.
- To access and replace the iPhone's front speaker dust mesh, a complete disassembly of the device is necessary.
A simpler, more economical alternative to address this problem exists.
Step 1 | Repairing iPhone 4 dust mesh


The photograph on the left depicts an iPhone lacking its front dust mesh.
The lower portion of the right-hand image illustrates the dust meshes.
The lower portion of the right-hand image illustrates the dust meshes.
Step 2


Employing a pocket knife, carefully excise a section of stainless steel mesh from a tea filter.
Employing scissors, cut the mesh to a dimension of roughly 3 millimeters by 9 millimeters.
Employing scissors, cut the mesh to a dimension of roughly 3 millimeters by 9 millimeters.
Step 3
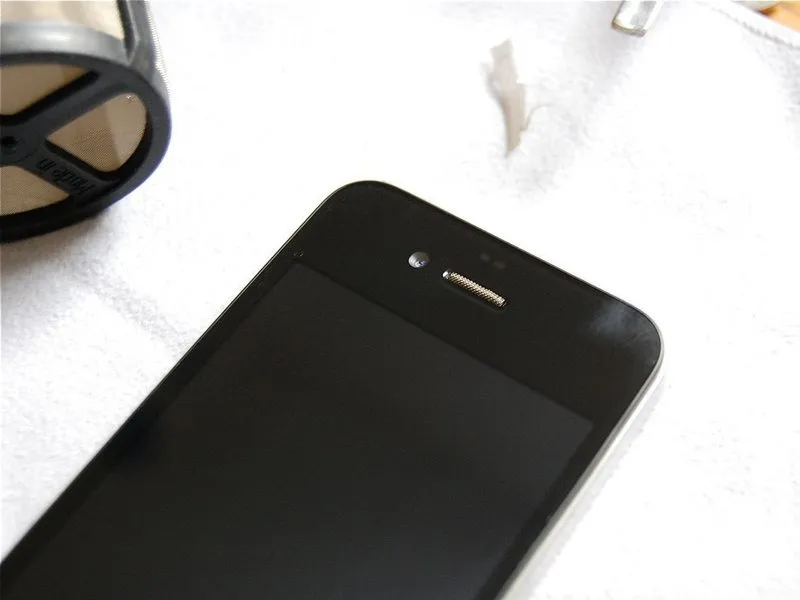

Employing the plastic tip, bend the mesh material in half along its length.
Carefully guide the mesh, already folded, into the opening situated directly above the speaker using tweezers.
Employ the plastic tip to position the mesh correctly.
Refer to the provided images to confirm the successful completion of the process.
Carefully guide the mesh, already folded, into the opening situated directly above the speaker using tweezers.
Employ the plastic tip to position the mesh correctly.
Refer to the provided images to confirm the successful completion of the process.