iPhone DIY Night Vision Camera and Massive External Battery Pack
Prior to commencing any repair work, it is essential to disconnect the device from all electrical power.
- The following implements are necessary for this procedure:A Phillips-head screwdriver is needed., A soldering iron will also be required.
Caution:Careless operation of the soldering iron presents a burn hazard; consistently practice safety measures when utilizing it.
Step 1 | iPhone DIY Night Vision Camera and Massive External Battery Pack


Having an additional iPhone presents numerous possibilities for utilization; this guide will detail transforming an unused iPhone 7 into a night vision camera system and integrating a large external battery for extended operation.
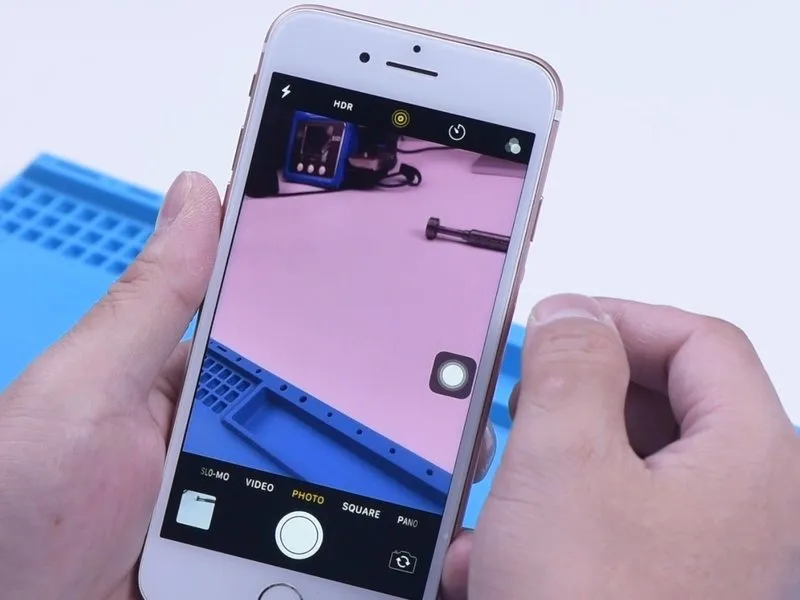
Prior to commencing the modification process, it is essential to verify the functionality of the iPhone's camera; confirmation of proper camera operation allows us to proceed with the planned modifications.
Step 2


- Begin by detaching the display panel, subsequently removing the camera module.
- Position the camera upon a 100 °C Heating Platform to facilitate thermal processing.
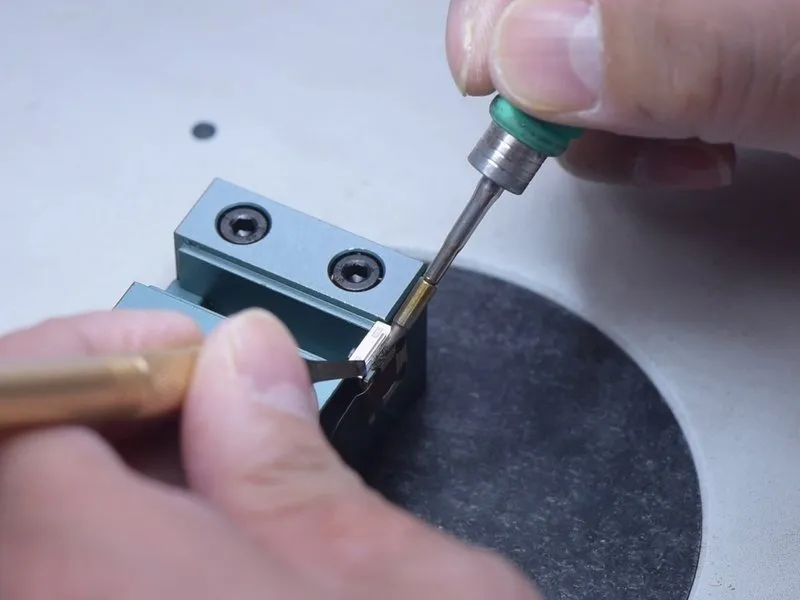
- Carefully separate the protective shielding cover utilizing a Pry Blade.
- Secure the camera within a purpose-built mounting fixture and apply Paste Flux in the surrounding area.
Step 3
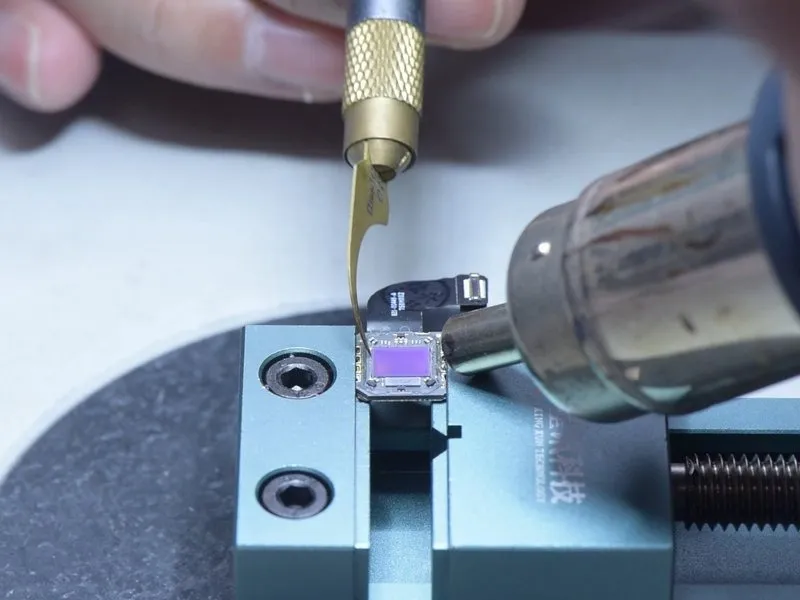

- Utilize a soldering iron to apply heat and detach the camera assembly.
- Employ a hot air gun to soften and eliminate the adhesive securing the optical filter.
- Subsequently, carefully extract the optical filter.
Step 4

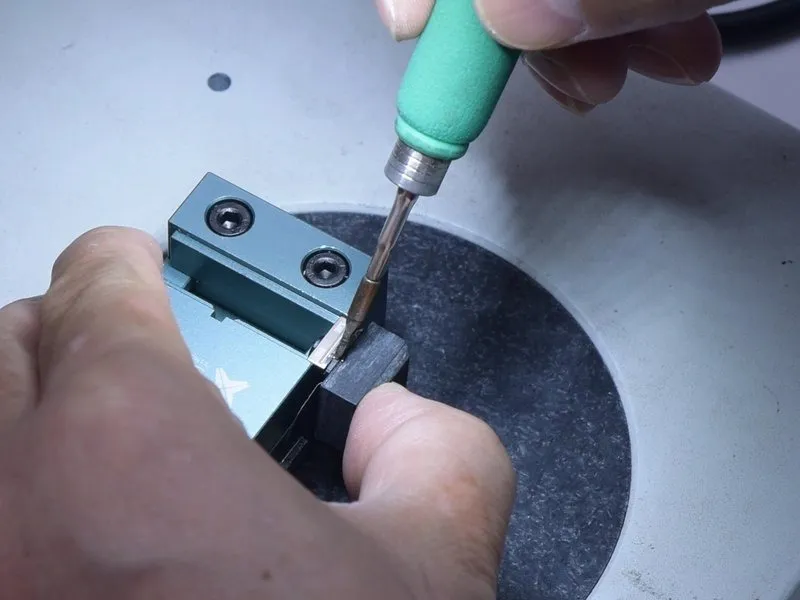
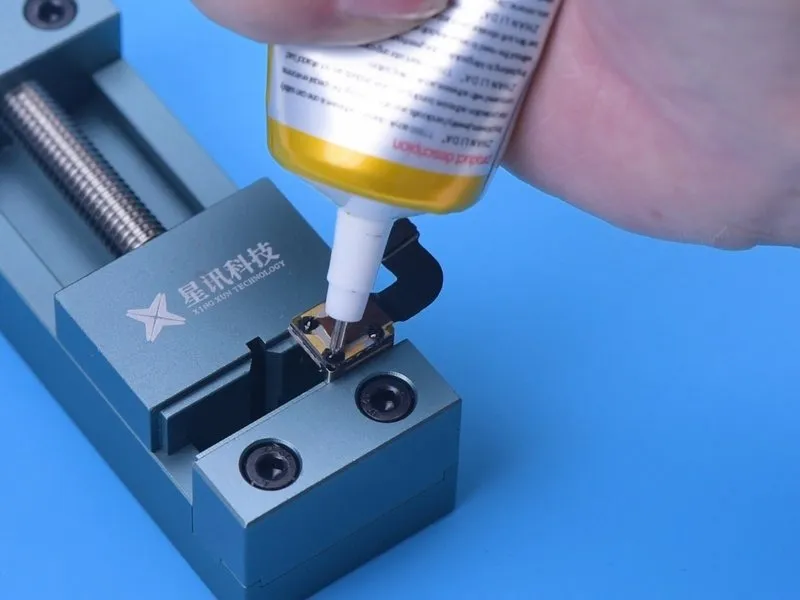
- To facilitate solder adhesion, utilize Paste Flux.
- Employ a Soldering Iron to melt the solder and create a secure joint.
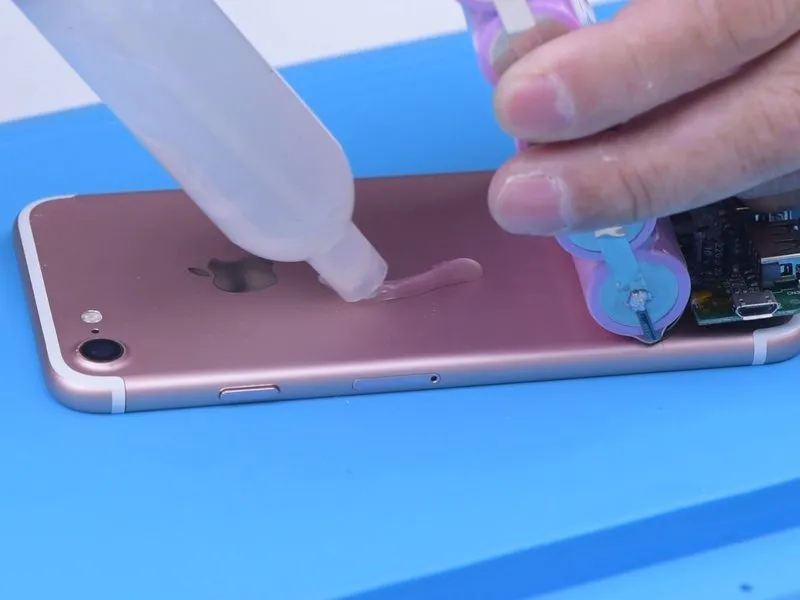
- Secure the shielding cover in place by applying B7000 adhesive.
Step 5
- Reattach the camera assembly to the iPhone housing, ensuring proper alignment and secure fastening.
- To transform the iPhone into a night vision device, proceed with the integration of an infrared illuminator.The infrared illuminatorrequires an electrical power source to operate effectively. Consequently, a 13000 mAh external power bank is incorporated to augment the iPhone's internal battery capacity.The external power bankprovides electrical energy to both the iPhone and the infrared illuminator concurrently.
Step 6

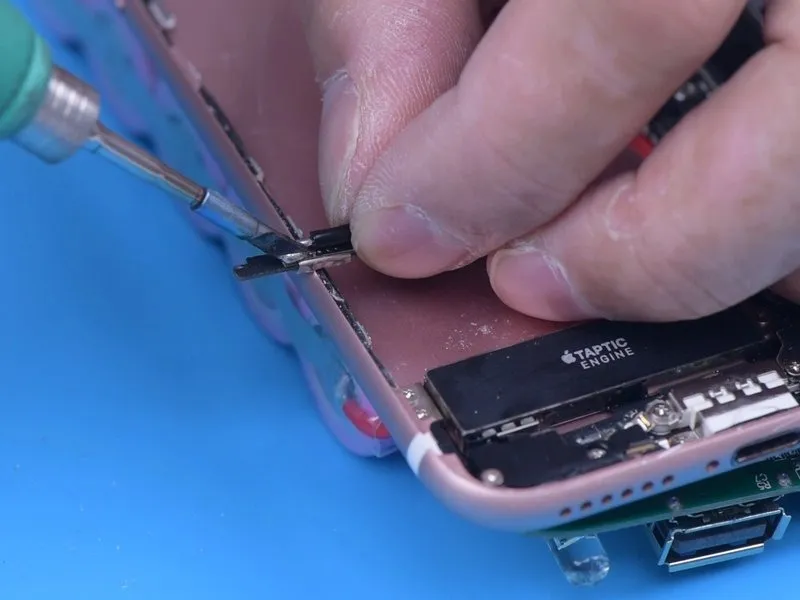

- Following the creation of an aperture, the external battery is linked to the power distribution circuit.
- Route the power cable through the newly formed opening and then establish a soldered connection to theBattery Management System (BMS) board located within the mobile device.
- Apply a layer of heat-resistant tape to safeguard the cable's connections.
Step 7


- Secure the battery and power board assembly using an appropriate adhesive.
- Following successful installation of the external battery, the infrared lamp is affixed to the battery.
- A switch is incorporated for the lamp's operation, and the lamp's wiring is connected to the power board.
Step 8
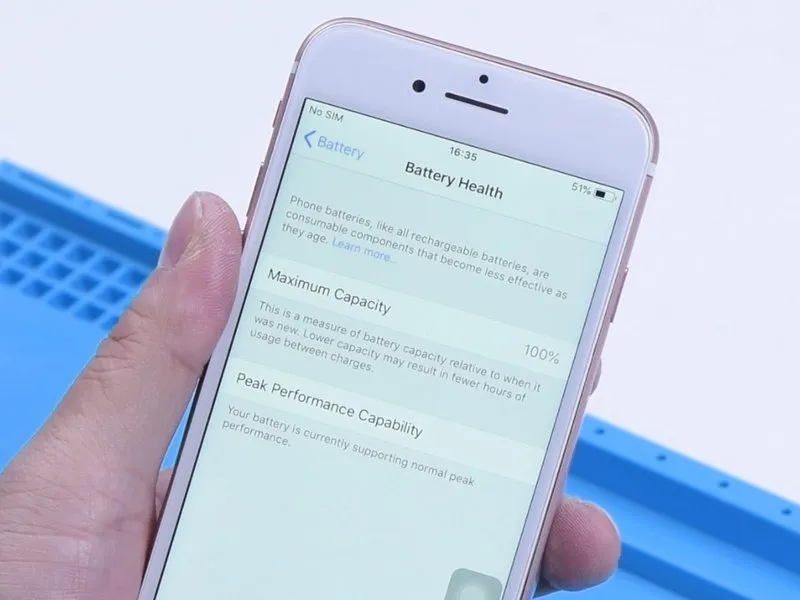
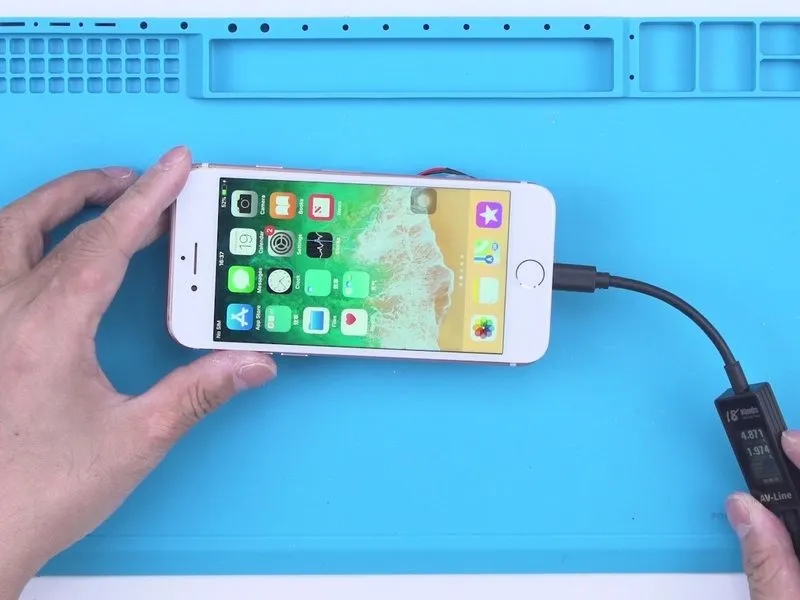

- Concluding the repair process, it is essential to verify the functionality of the refurbished iPhone; the device successfully powers on, and its battery exhibits a health status of 100%.
- Furthermore, the charging capability operates effectively, and the device retains the ability to provide power to other mobile devices, functioning as a portable power source.
Step 9


When operating in low-light conditions, the device's capabilities enable it to function similarly to a night vision camera.