iPhone 8 Back Glass Replacement
Advanced tools are essential for completing this repair, which is intended for experienced technicians only.Use a specialized tool designed for separating back glass to carefully detach the rear panel, ensuring no damage to the underlying adhesive or internal components.Using specialized tools, a damaged rear glass assembly on iPhone 8, 8 Plus, or X models can be detached within approximately three minutes, and leftover adhesive residue is readily eliminated, simplifying the installation of a replacement.Rear panel..
Step 1 | iPhone 8 Back Glass Replacement

- Connect the wires as specified.Use a specialized tool designed for separating back glass to carefully detach the rear panel.Establish an electrical connection by joining the components.Use a specialized tool designed for separating back glass to carefully detach the rear panel.Connect the air compressor to the designated port using the provided air pipe.
- Activate the power supply.Utilize the pneumatic device designed to generate compressed air.Activate the air compressor by releasing the valve.
- Activate the power supply.Employ a specialized tool designed for separating back glass assemblies.Adjust the pressure regulating valve until its reading indicates 0.4 MPa.
Step 2
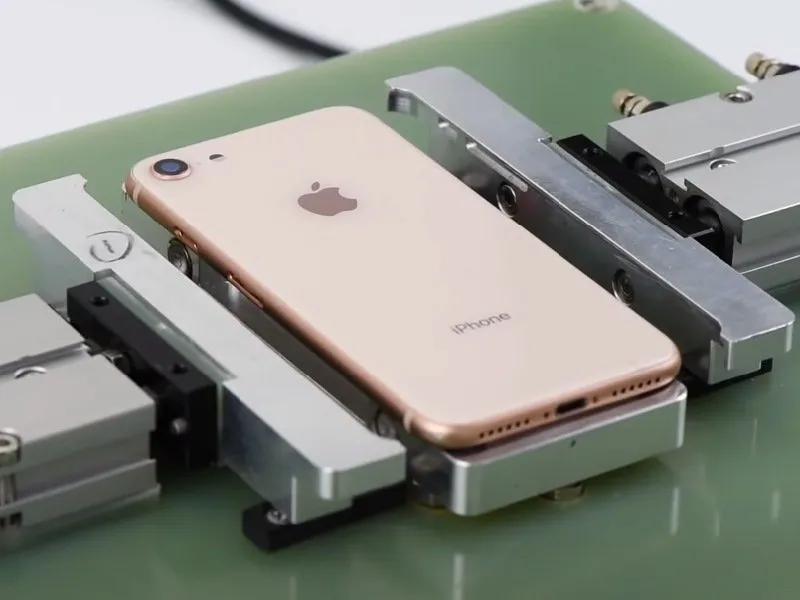

- Position the iPhone 8 rear glass component within its designated mold and initiate the upward clamping action.
- Initiate the process by selecting 'Start' once the equipment reaches 240°C; during operation, the mold secures the back glass assembly with a firm clamping force.
- Following a 200-second heating period, the machine's mandril will initiate operation.
Step 3
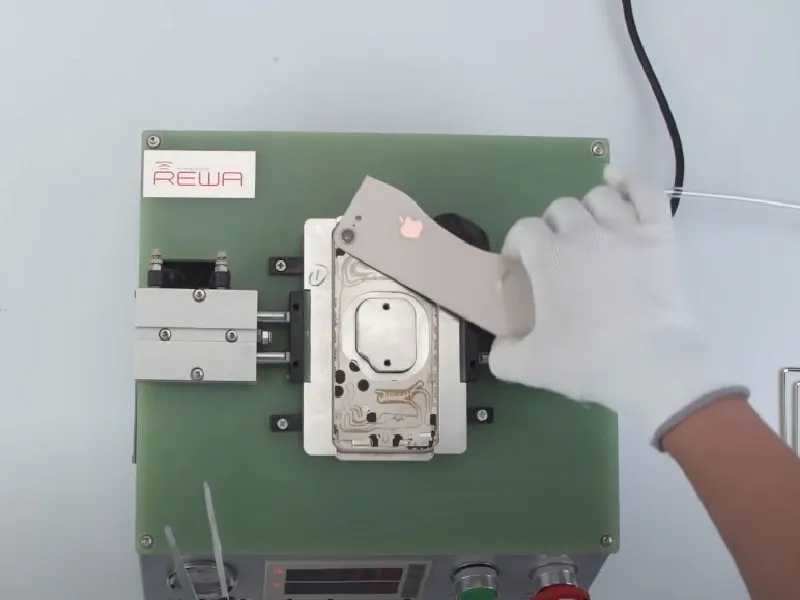
- Following an 18-second hold, detach the rear glass, then completely eliminate any remaining adhesive from its surface.
- Carefully detach the rear glass panel from the iPhone 8, maintaining awareness of the adhesive bond and potential for damage.The procedure is now finished without issue.
- Securely fasten the replacementRear panel assemblySecure the component to the midframe at its final location.