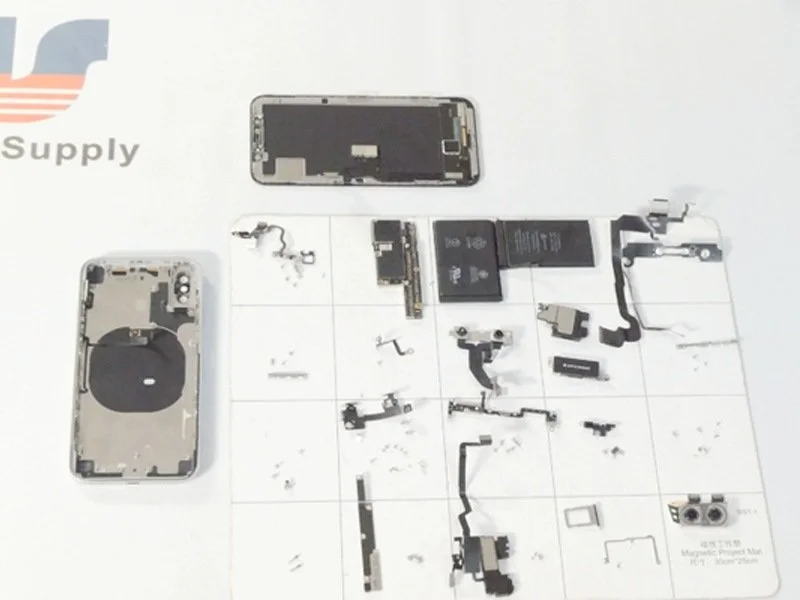
iPhone X Disassembly
This guide provides introductory instructions for taking apart an iPhone X.
Step 1 | Turn off the phone and remove SIM Card
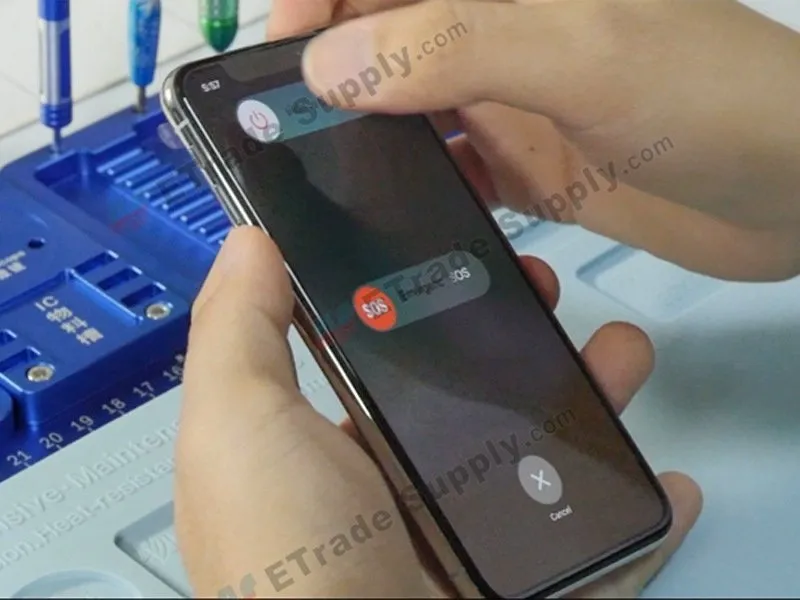
To deactivate the device, simultaneously depress the wake button and the volume down button.
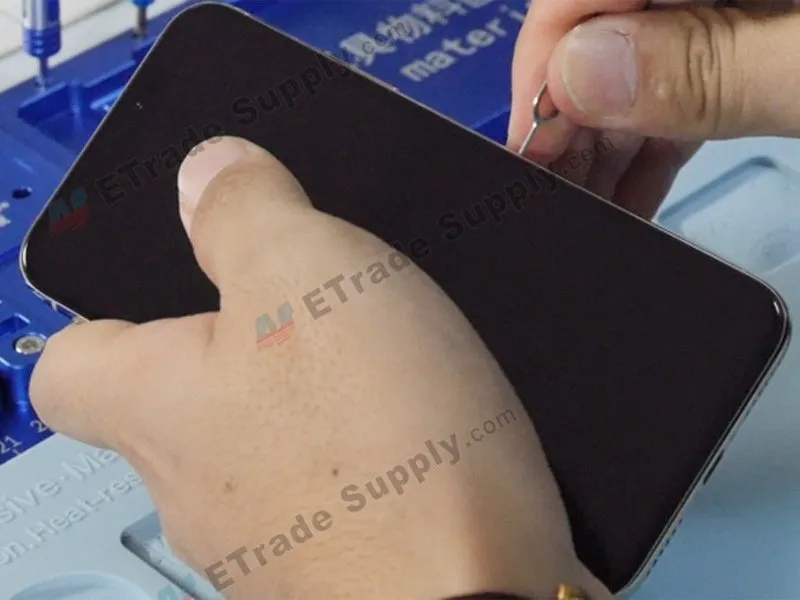
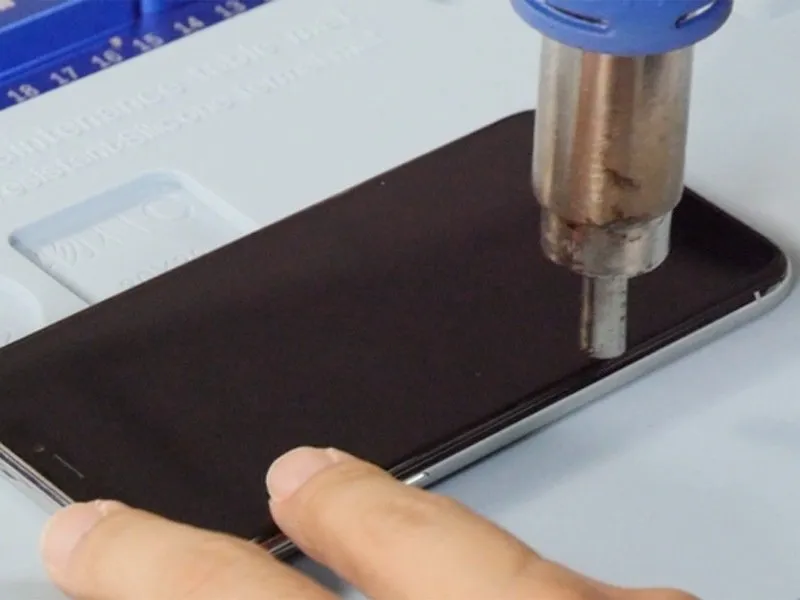
Step 2 | Open the phone
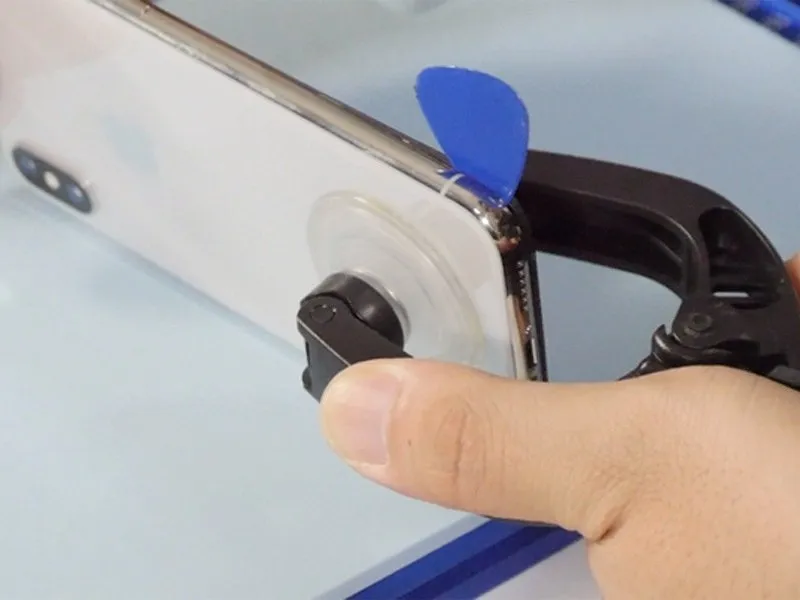
- Employ thePentaloble screwdriverfor the purpose of unscrewing the charging port fasteners.
- Applying heat to the device with a heat gun will facilitate easier separation of its components.
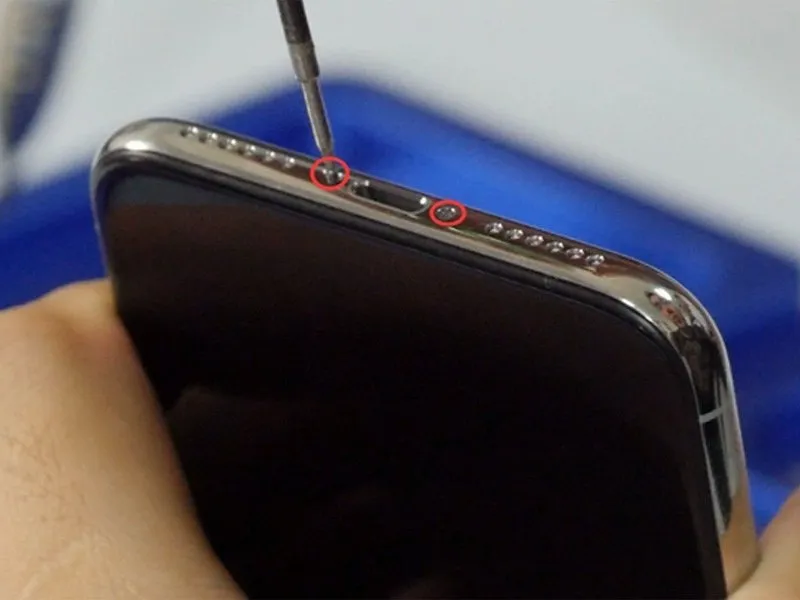
Step 3 | Remove the iPhone X OLED screen
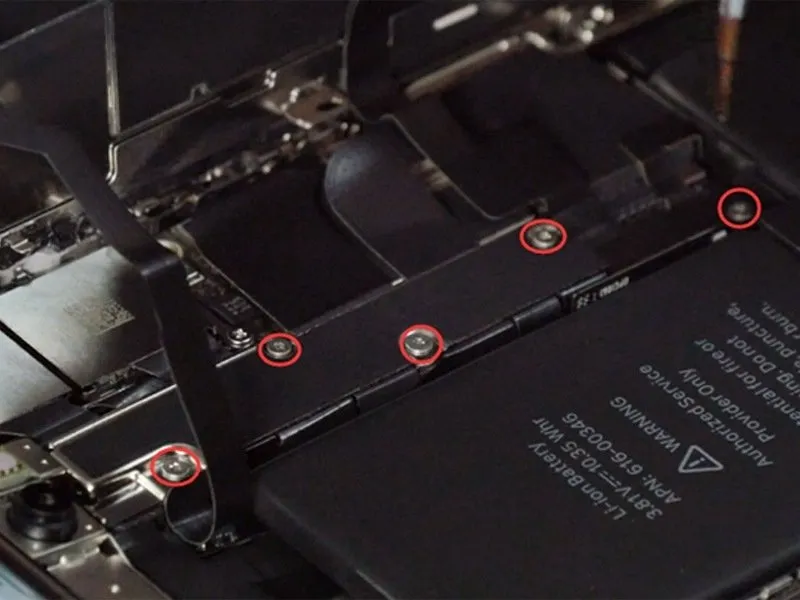
- To disassemble, remove the five screws depicted in the accompanying illustration using a tripoint #Y000 screwdriver.A tripoint #Y000 screwdriver is required for this step..
- Because each of these screws has a unique length, carefully note their original locations to ensure correct reassembly.
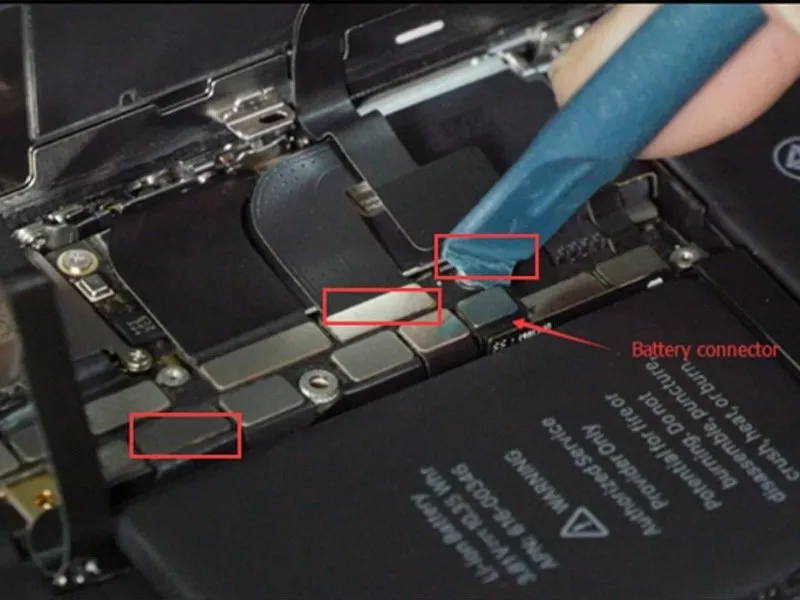
- Carefully detach the connectors linking the battery, LCD screen, digitizer, and ear speaker by gently prying with a spudger.
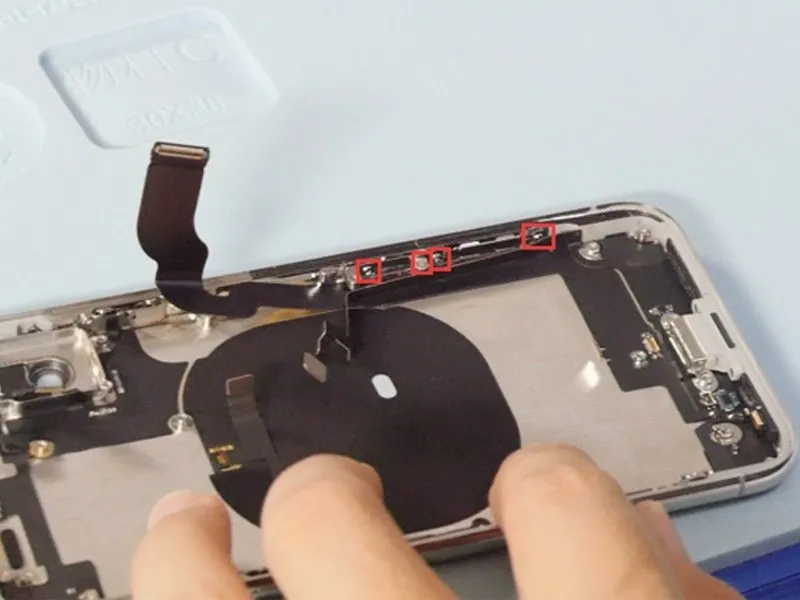
Step 4 | Remove the ear speaker
- To reverse the previous step, proceed with caution.Utilize Y000 screws for this procedure.Indicates a pause or transition point in the process.
- Applying warmth to the flex cable using a heat gun facilitates straightforward removal of the ear speaker.
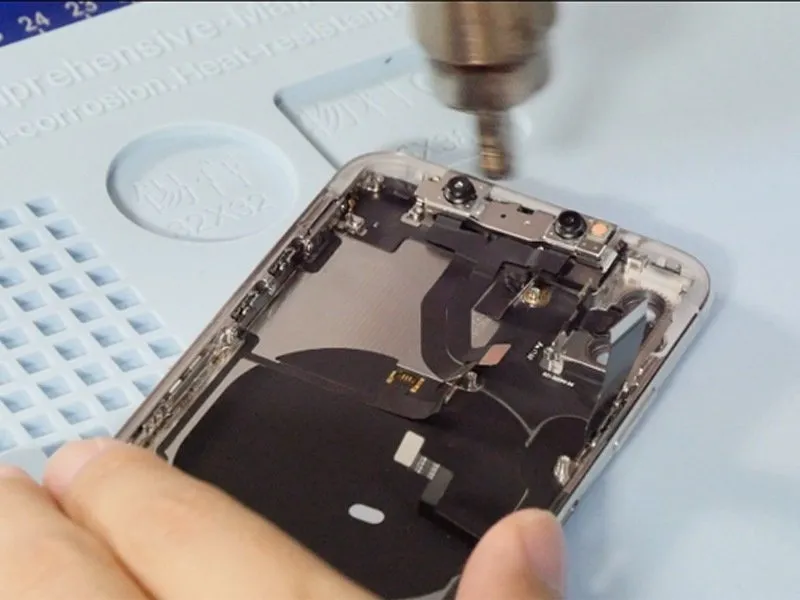
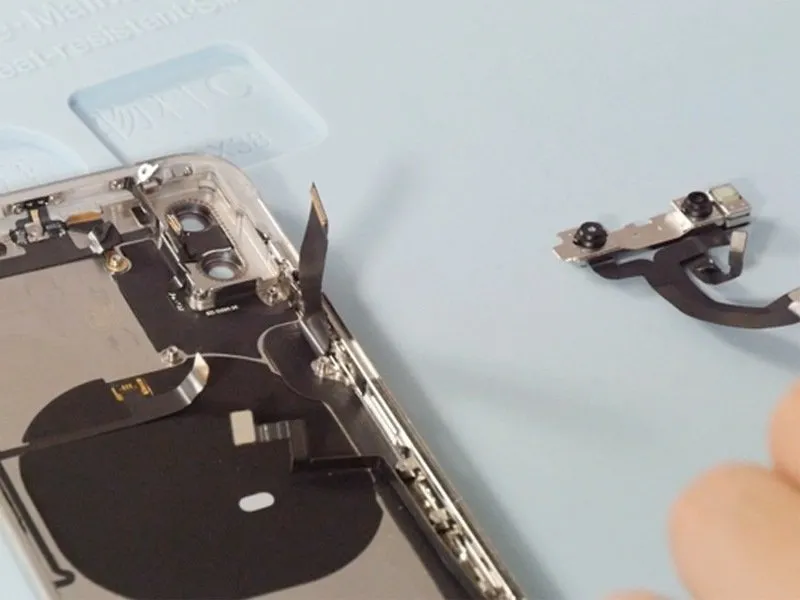
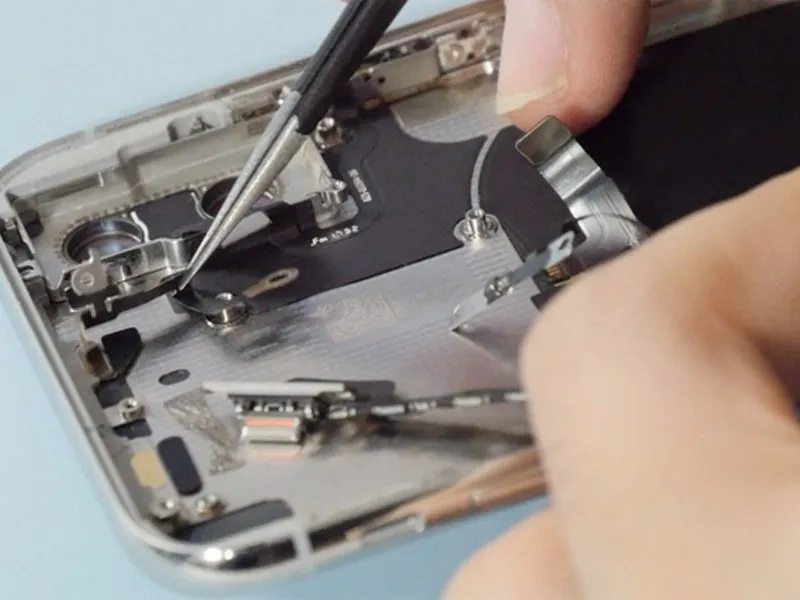
Step 5 | Remove rear-facing cameras.

- Detach thetwo Phillips head screws, designated #PH00and subsequently, detach the metal plate while disconnecting the connectors associated with the rear-facing cameras.
- Notably,these fastenersexhibit variations in their dimensions.
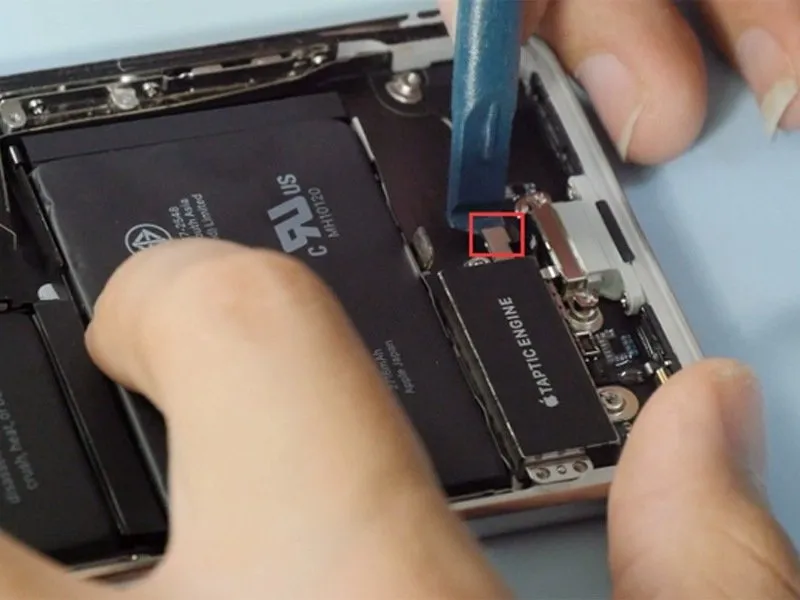
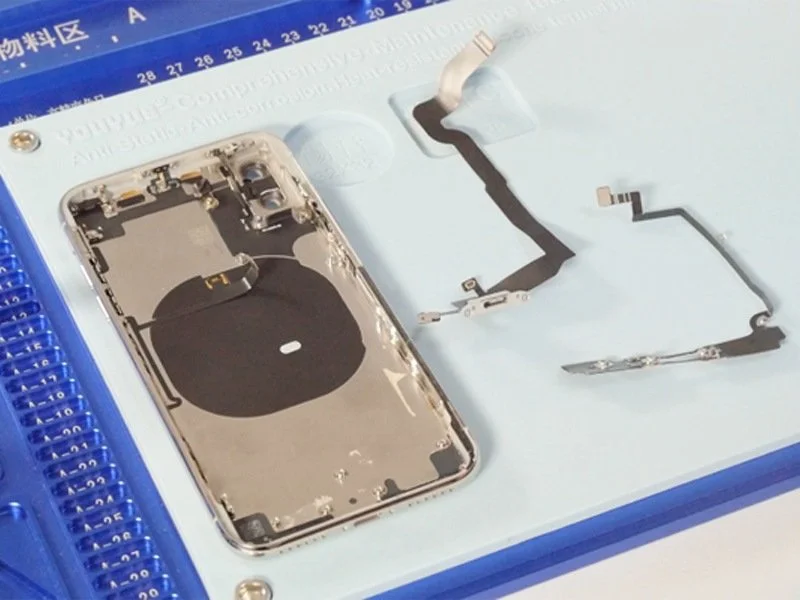
Step 6 | Remove motherboard.
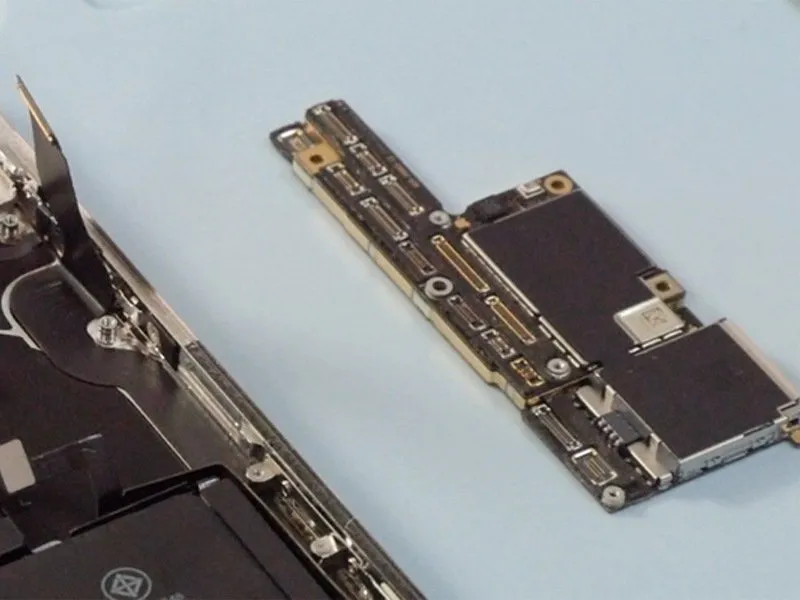
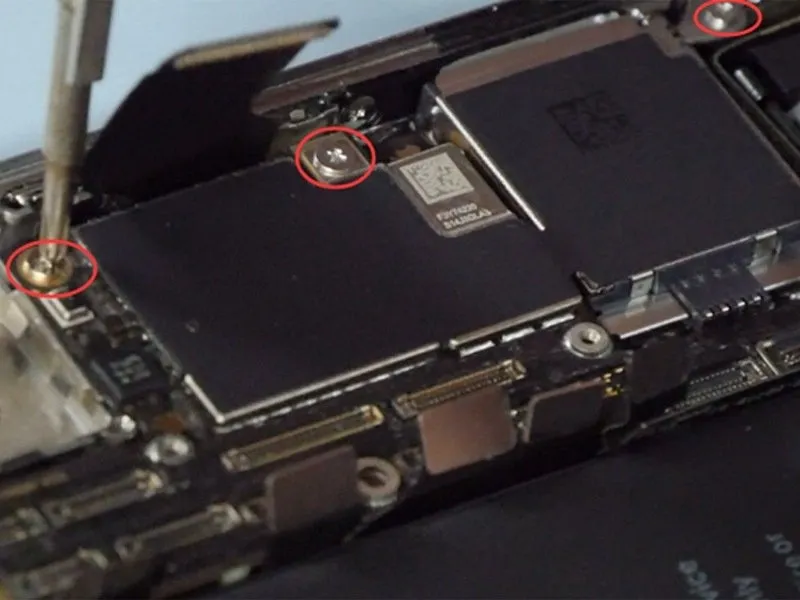
- Carefully detach all connectors from the motherboard using a spudger to avoid damage.
- Loosen three Phillips head screws, size #PH00, securing the motherboard, to facilitate its removal.
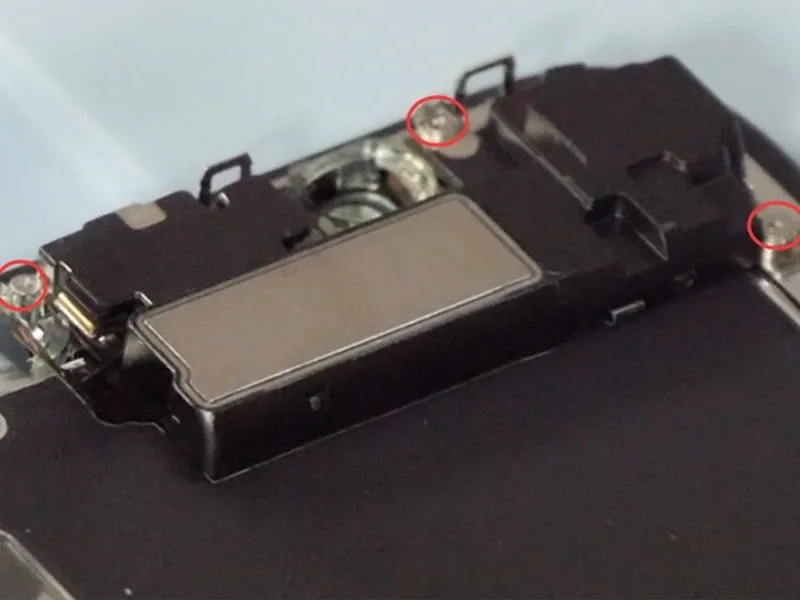
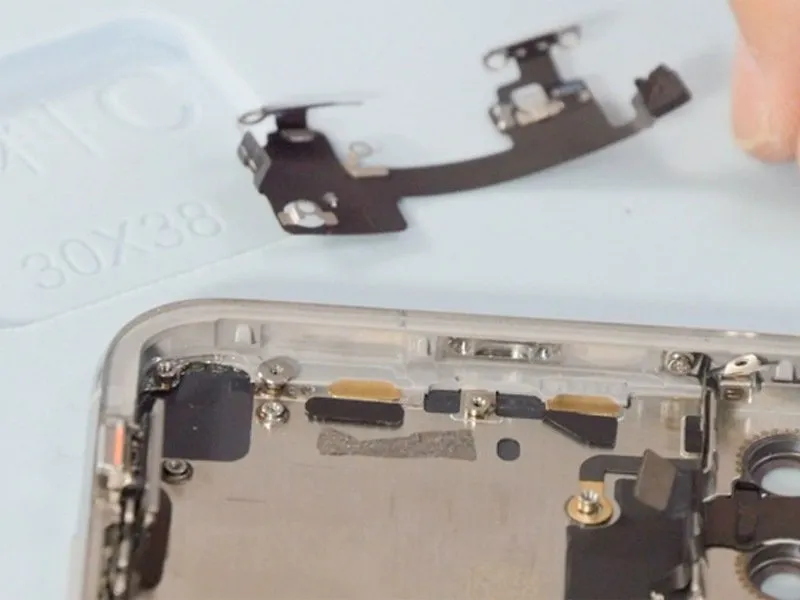
Step 7 | Remove Loudspeaker and Taptic engine
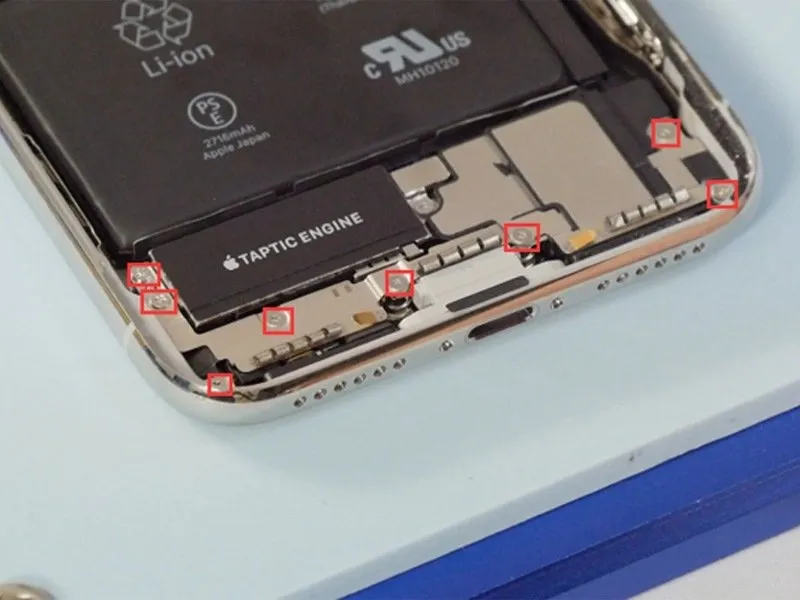
- To reverse the previous action, Eight fasteners must be detachedfrom the securing bracket; during removal, exercise caution to prevent damage to the delicate connector situated directly beneath the taptic engine.
- Proceed to extract the audio speaker and the taptic engine.
Step 8 | Remove battery
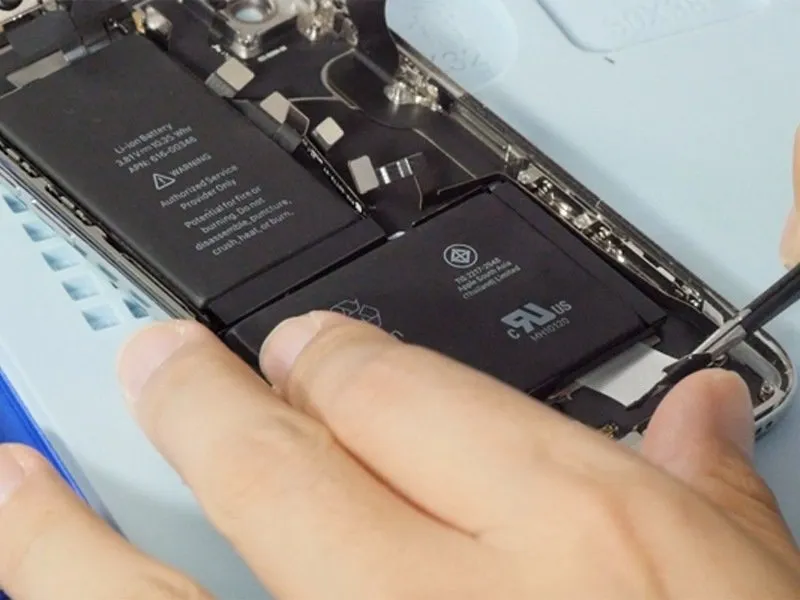
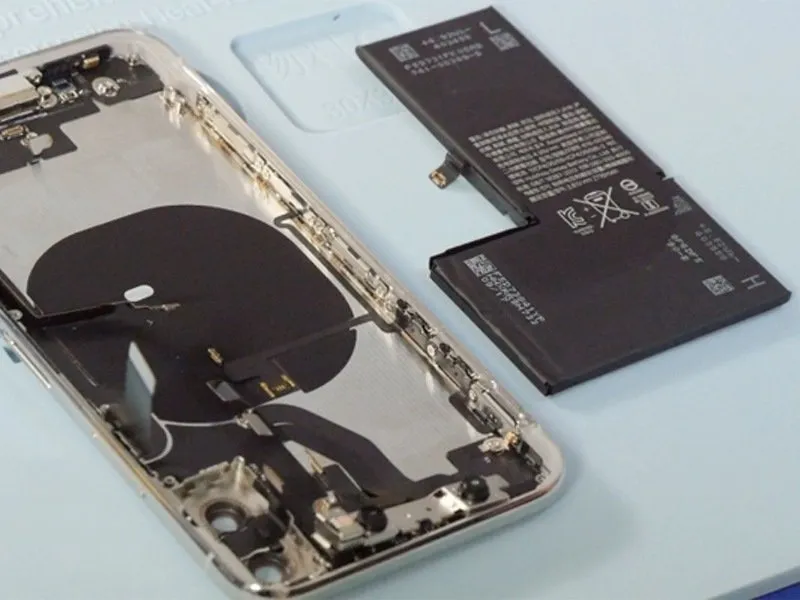
Carefully extract the four battery adhesives utilizing tweezers, which will allow for battery removal.
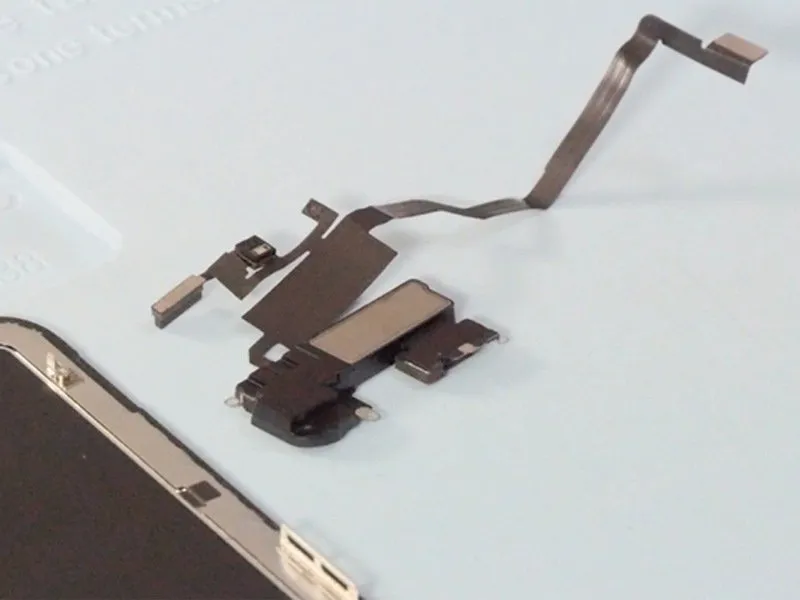
Step 9 | Remove front-facing camera
Applying warmth to the front-facing camera assembly using a heat gun will significantly reduce the adhesion, facilitating its removal.
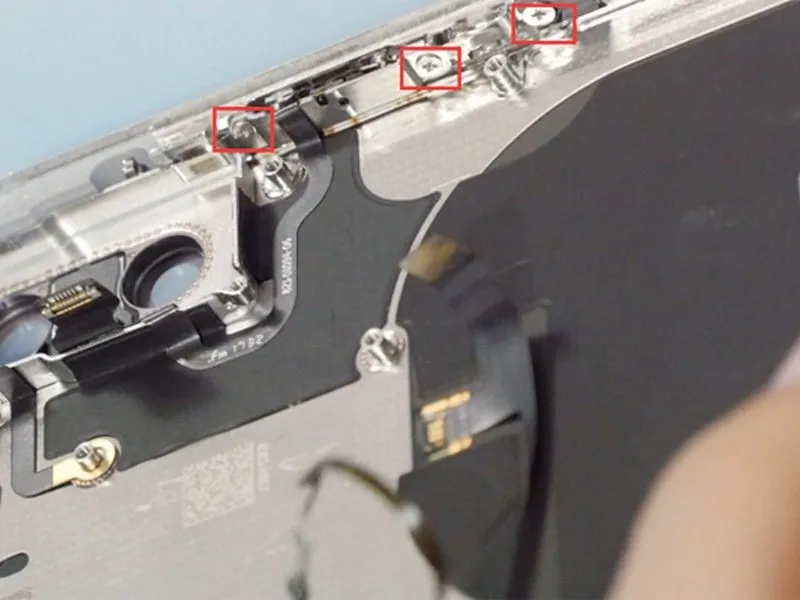
Step 10 | Remove the charging port and antenna
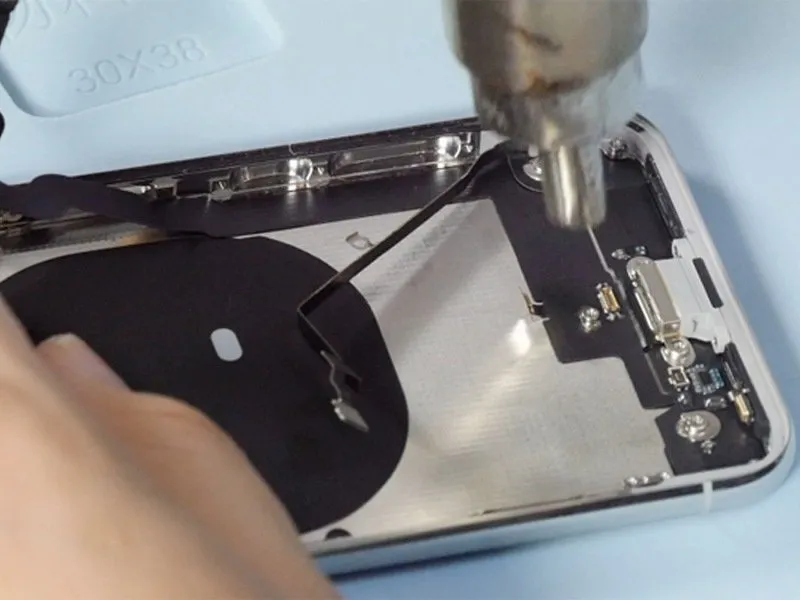
- Loosen the four screws securing the frame, as indicated in the accompanying image.
- Applying heat to the charging port flex cable will facilitate its removal.
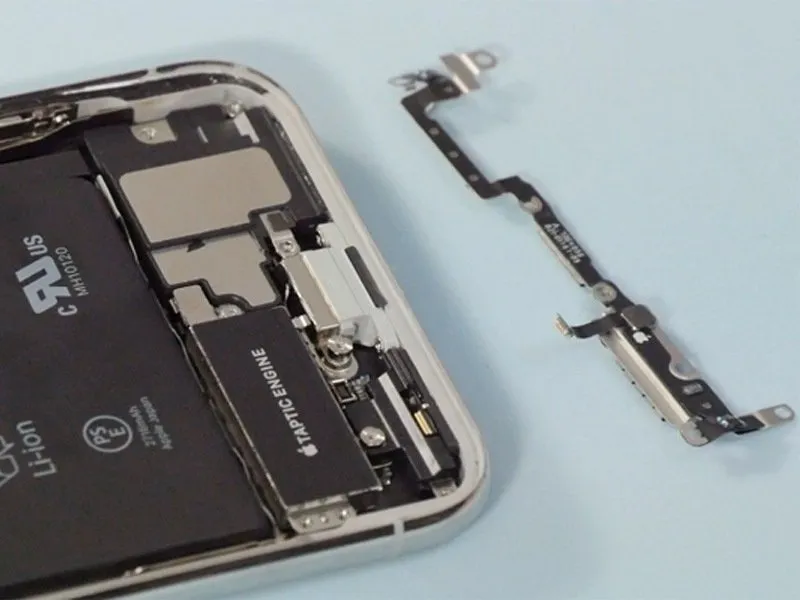
Step 11 | Remove Wi-Fi antenna

- Loosen the seven screws securing the Wi-Fi flex cable.
- Applying heat to the flex cable with a heat gun will reduce the force needed for its removal.
Step 12 | Remove power button flex cable
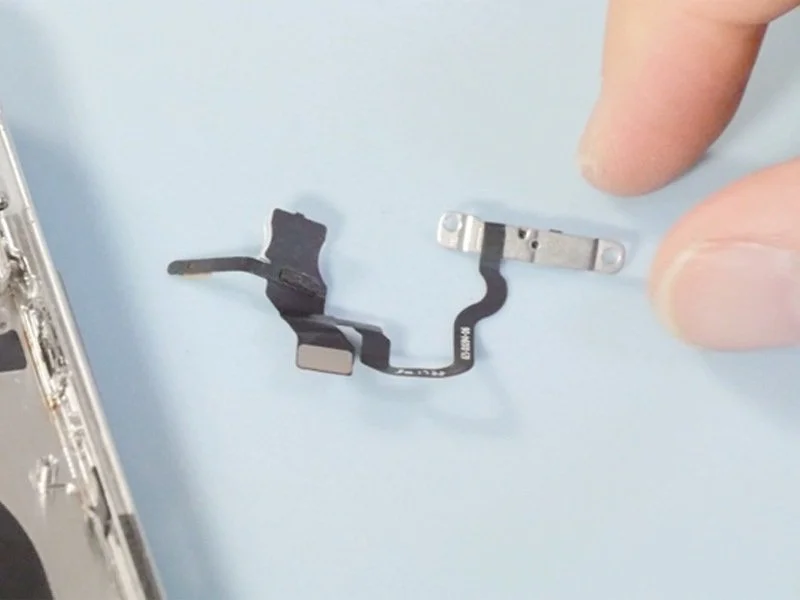
- Loosen the three screws securing the power button to free it.
- Applying heat to the flex cable using a heat gun facilitates its removal.